It’s been a while since the last update on the filament storage project. I was at the point that I needed to machine the brackets that will hold the filament spools when I started the spindle bearing replacement project. Since it took a while to get the spindle reliably working again, and there are 5 of them, it took a while to get the parts fabricated.
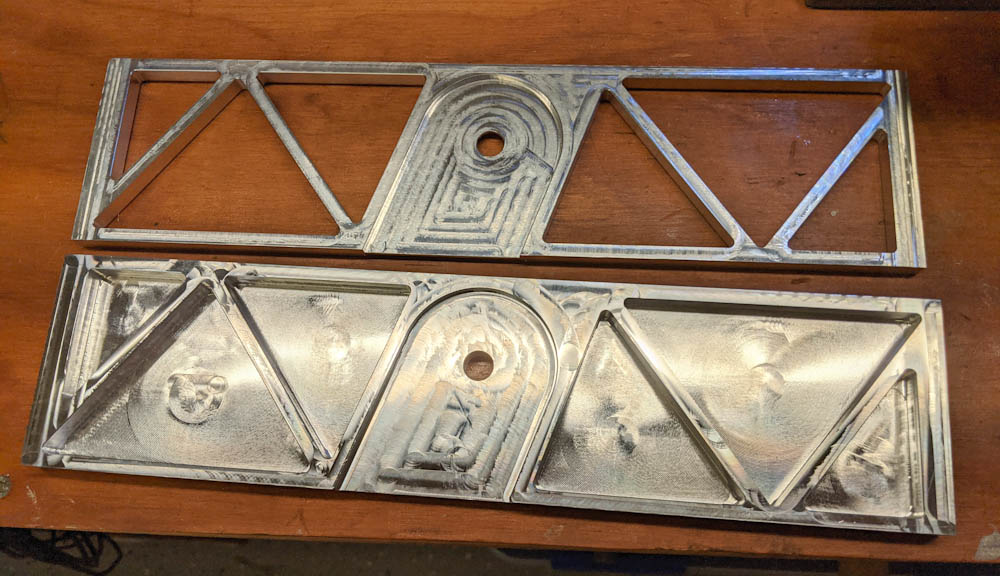
This is what the holders for the filament spools look like. The top one is finished, the bottom one has only been machined on one side.
The idea is that the filament rolls will be mounted on 2″ diameter tubes, and those tubes slide into the recesses cut in the spool holders. This of course requires these brackets to be lined up properly. The edges that will hold the filament rolls are only 3mm deep so they need to be located fairly precisely.
After thinking about how to do this, I decided to make use of the 10mm registration hole I had drilled through all the parts and line them up by getting a 10mm steel rod for a linear rail and threading them all onto it. This would ensure they are all concentric. Then I could cut spacers between each of them to also hold them at the correct distances from each other.
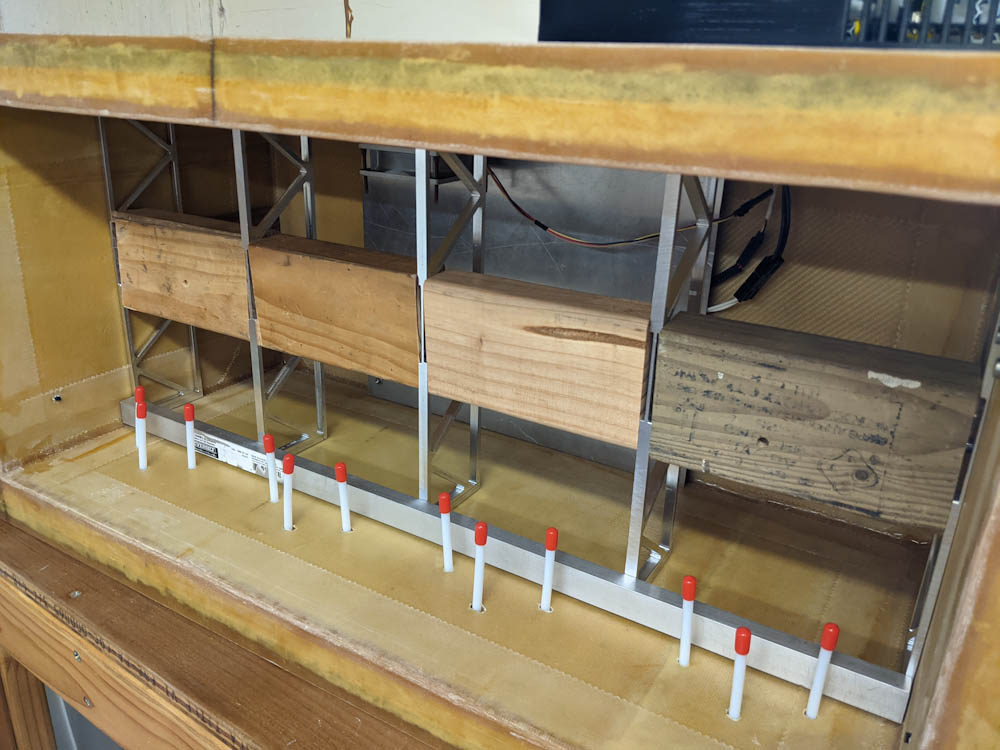
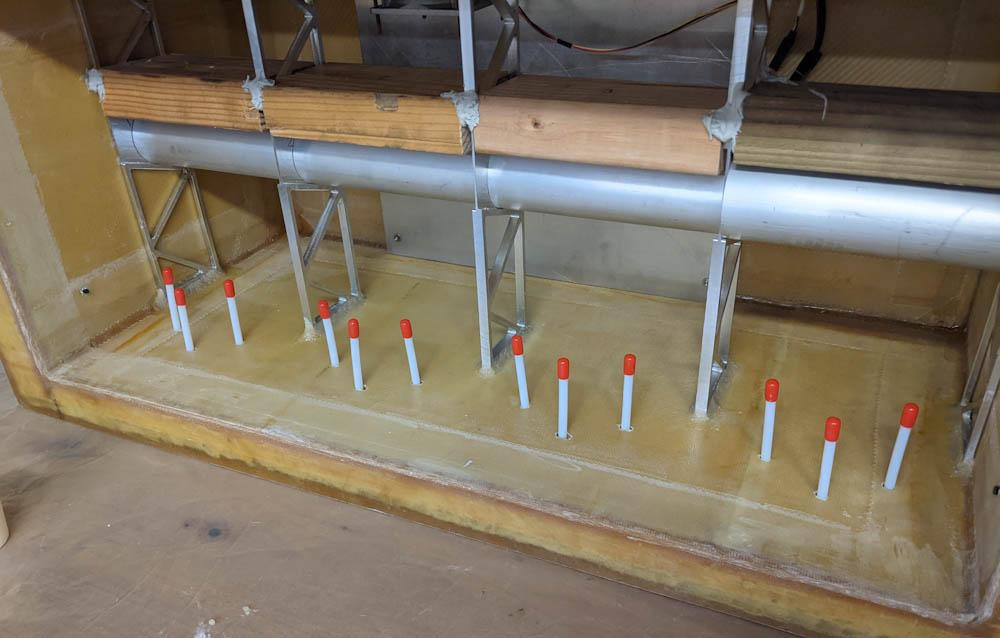
Test fitting the brackets, with pieces of 2×4 cut to the correct length to set the spacing. The aluminum angle at the bottom is used to ensure the brackets aren’t rotated relative to each other around the steel rod.
Two pieces of wood set the distance between the end pieces and the back, to ensure the assembly is parallel with the box.
If you think about it for a minute it becomes obvious that getting that steel rod out is a problem. Either it has to be cut into pieces (which isn’t easy since it’s hardened) or it needs to come out through the side of the box. I chose the latter, drilling a 10mm hole through the left edge of the box after locating the brackets.
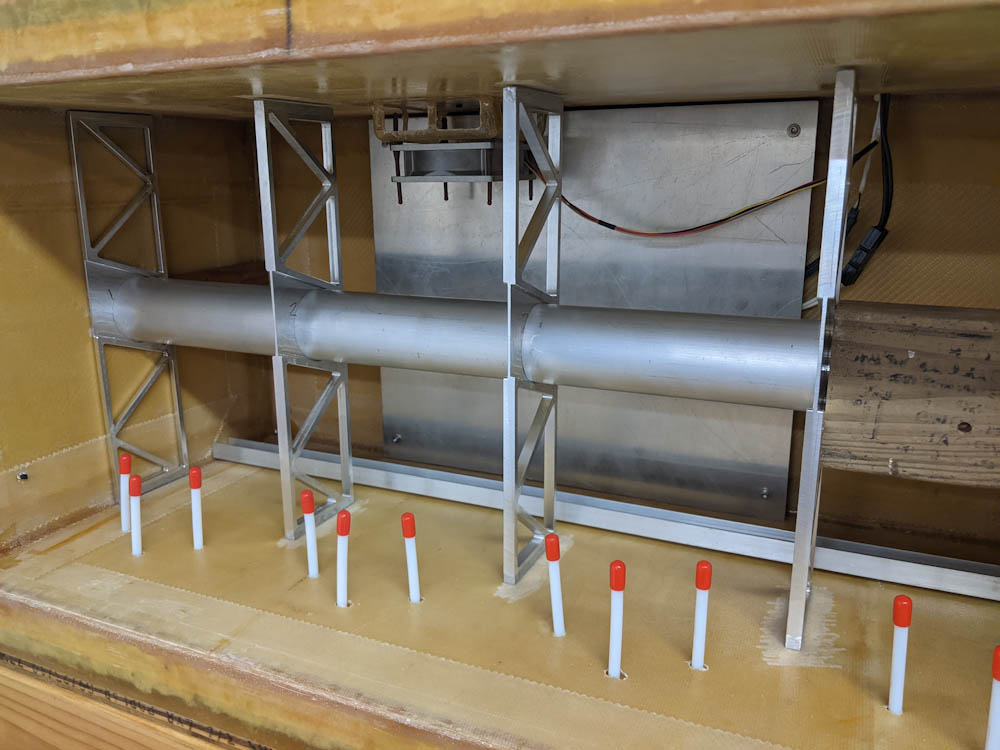
After cutting the 2″ tubes that will hold the filament rolls, these were also test fit.
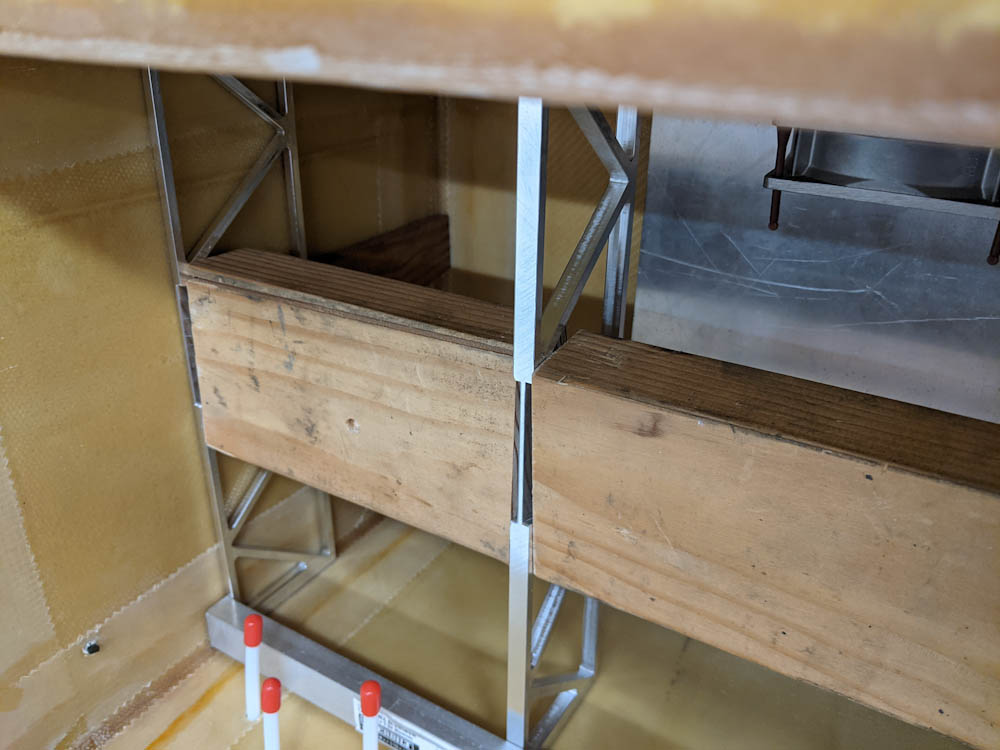
There was a lot of test fitting since I did not want this to go wrong. It would be a major pain to redo. After convincing myself that everything was good (and thinking twice and even three times about whether I could get everything out after fixing the brackets, I had convinced myself it was OK. The wood spacers were fixed in place with some Bondo, and it was time to mix up some flox.
After the wood spacers were Bondoed in place to make sure nothing would shift, the bottoms of all the brackets were floxed in place. Note that unlike the other three tubes, the rightmost tube is not in its mounted position, since this would make it impossible to get to the 10mm rod and push it out the side.
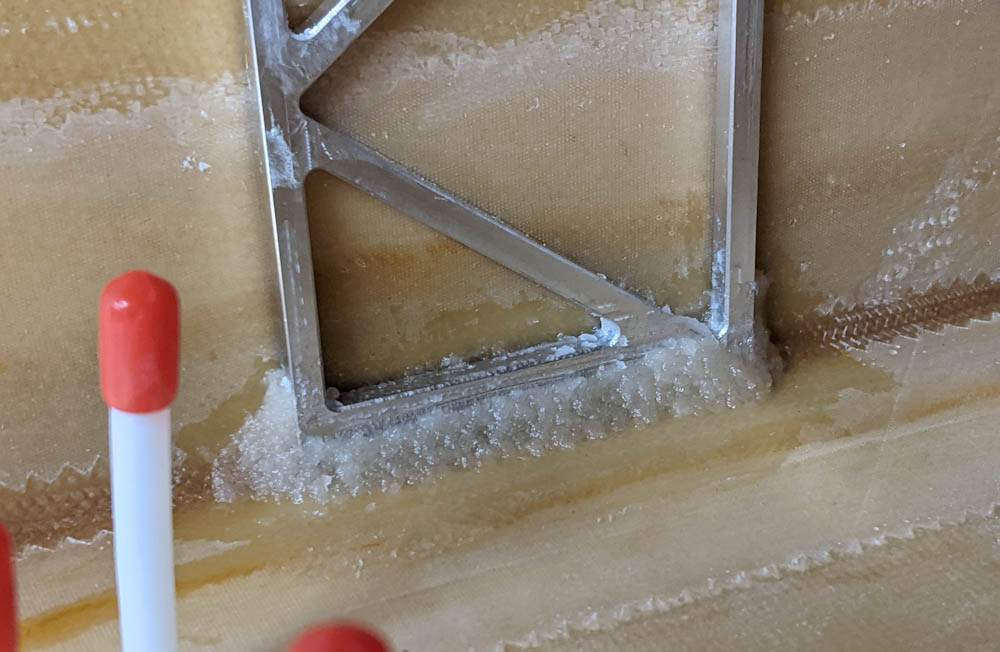
It was a bit tricky to get the flox, which has a tendency to clump to itself, to come out even. I tried my best to make a nice fillet all around the brackets, but in the end I had to go in and sand them to get rid of all the little sharp edges that resulted.
Once the bottoms had cured, I flipped the box over and repeated with the tops.
With the box flipped upside down, the tops of the brackets were floxed in place the next day.
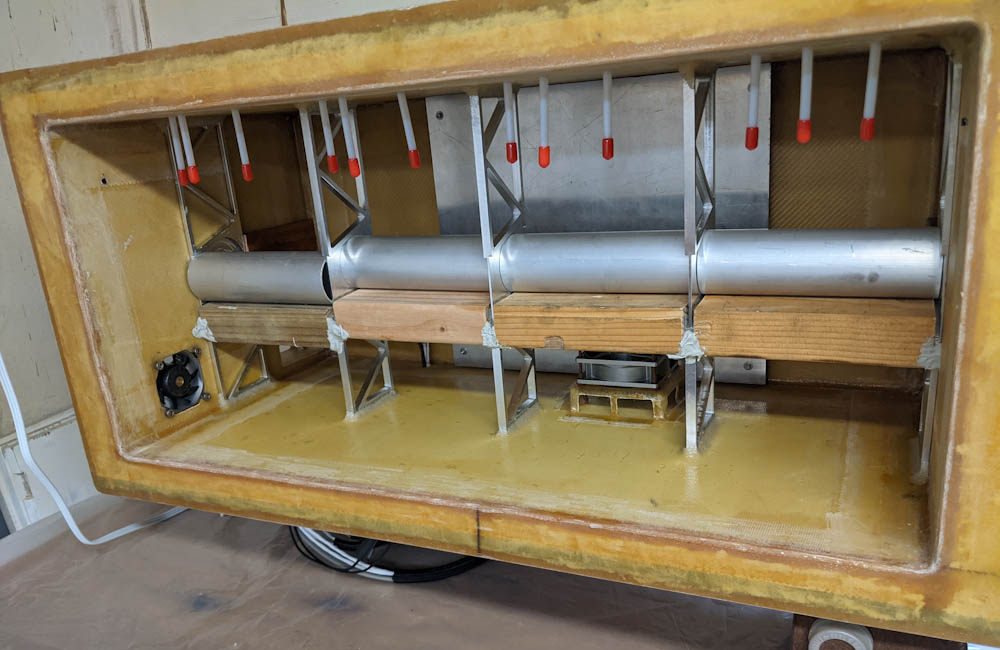
After a good cure, the Bondo was snapped off and the spacers could be withdrawn. Then the 10mm rod was pushed out the side of the box. The hole in the side was plugged with a foam plug fitted in place with micro and covered with two plies of BID.
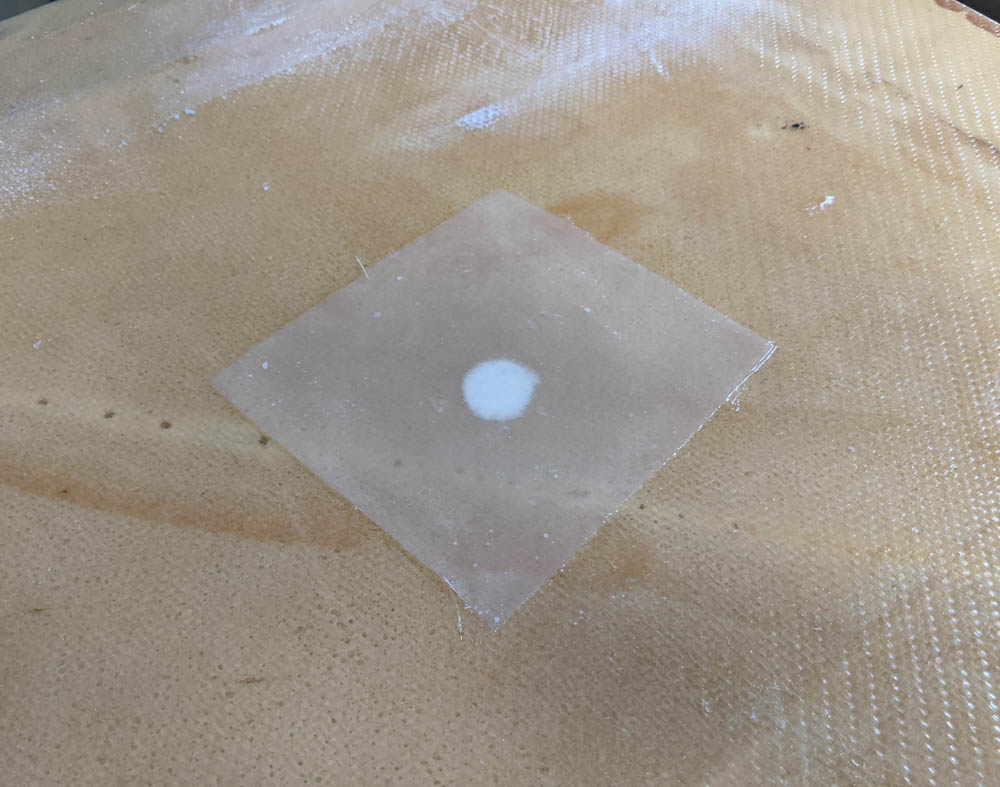
The hole in the side was filled in with a foam plug and micro and covered with some fiberglass.
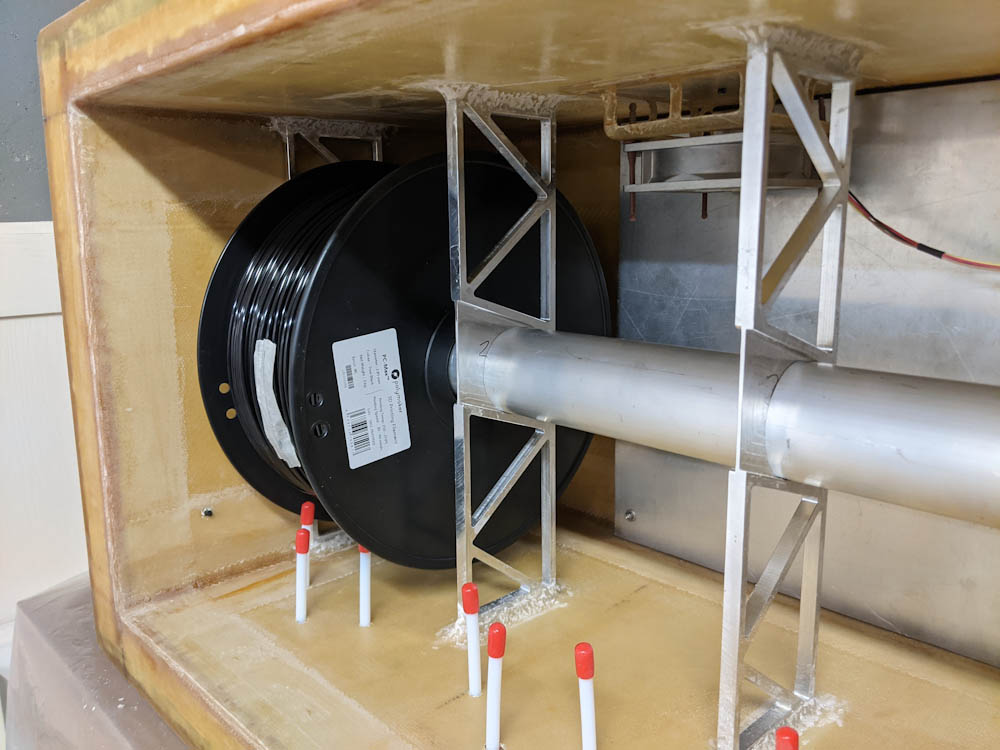
Verifying that a 3.5kg spool can indeed fit (and that the lid can be closed.) There’s not a lot of extra space, but that was intended.
So with this task completed, we’re rapidly reaching the end of this project. I need to adjust the channel where the water drips down after the cold plate, and I also need to put some handles on the lid so it can be taken off more easily. After that, it should be ready to start drying some filament!
Jag förstår inget så jag slutar följa!