The fuel pump housing I described in the last post has slowly been coming into existence. (There’s been some house-related distractions that I may talk about at some point…)
All the “complicated” parts have been completed. What remains is to cut out the 8 pieces made of 1/16″ (1.6mm) flat sheet.
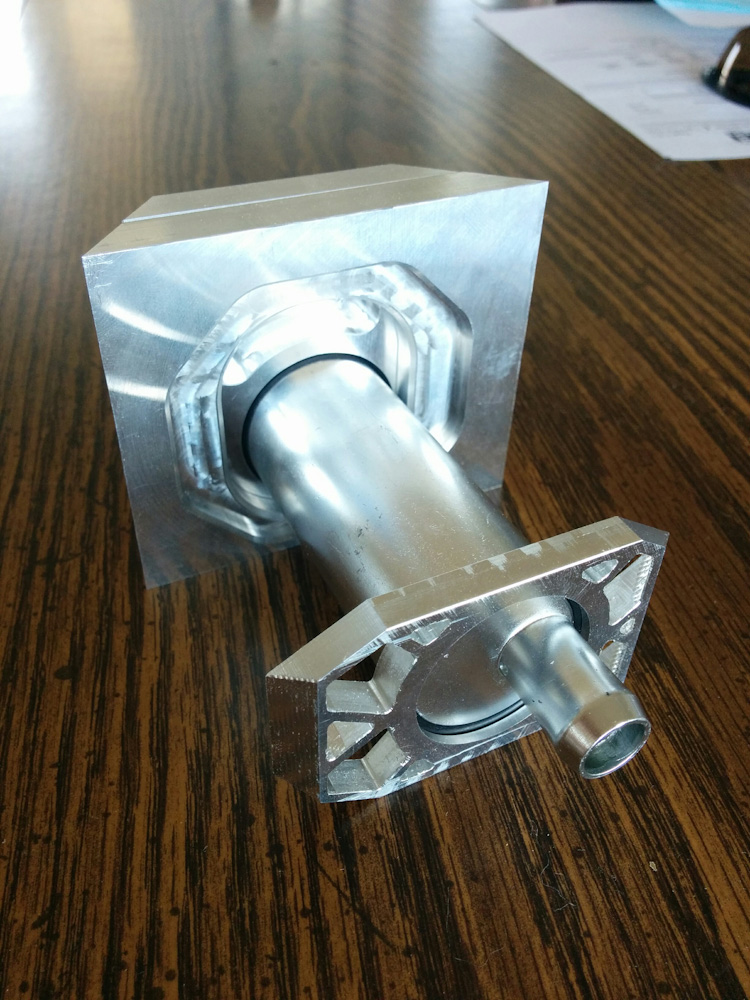
The fuel pump is held with two O-rings. The bottom one (in the foreground) is strictly just for vibration isolation, the upper one is in the lid and also makes a seal to the outside. When the lid is removed, the hole is large enough to pass the fuel strainer so it can be mounted after the housing is welded together.
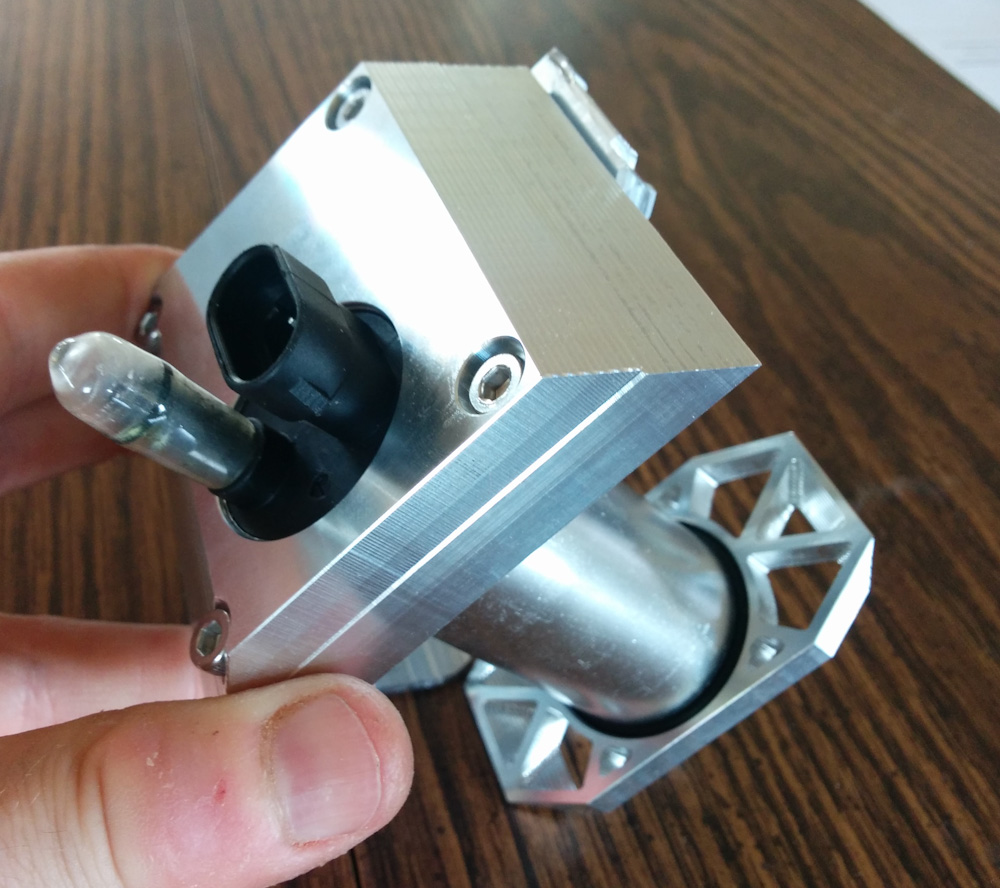
This side shows the “lid” of the fuel pump housing. The lid holds upper part of the fuel pump and seals against the lower part with a large O-ring. The hole for the fuel pump has a chamfer at the top which prevents the pump from sliding out, so it’s held down against the bottom holder.
I’m not entirely sure of the best way is to cut the flat parts to size. It’s tricky to clamp them in the vise, but it’s also tricky to clamp them directly to the table. Most of them are square, but the sides are cut on a diagonal so that really needs to be done on the mill. I’ll keep you posted.
Pingback: Microsquirting the NC30, part #26: Petcock replacement – Patrik's projects
Pingback: Microsquirting the NC30, part #31: Finishing up the fuel pump housing – Patrik's projects