Back in 2013 when we knew what address we were moving to, I decided to make a street sign with our address and names on it. I ordered fancy wood from Inventables and was going to route it on the ShapeOko. However, the ShapeOko has not yet been unpacked and it’s been 2.5 years so finally I just decided to do it on the CNC mill instead.
Routing wood is really more of a high-rpm application than the mini mill is made for, so it’s not optimal but obviously it can be done. I had a 1/8″ straight flute bit from the ShapeOko, but ordered a 1/16″ one, plus a large 45-degree chamfer bit to chamfer the edges of the sign.
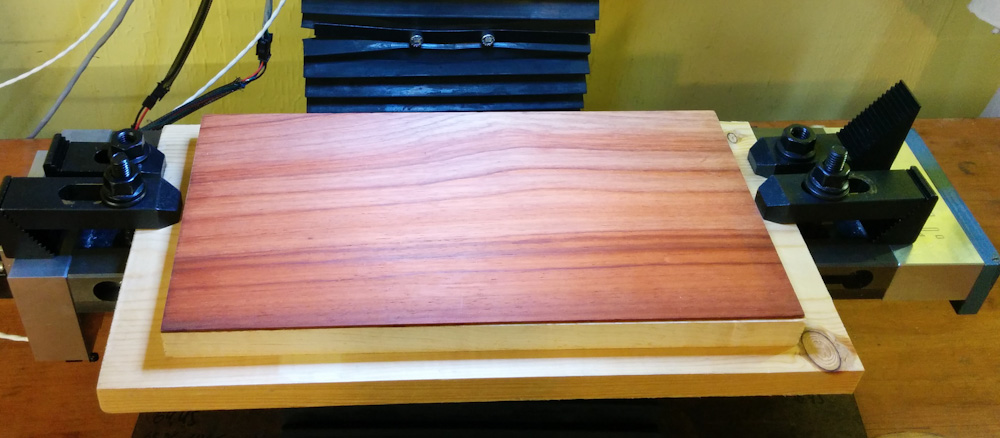
The starting point was a 12×6 piece of hard maple with a 1/16″ sheet of Padauk, an exotic hardwood with very red color, glued on top. The plan was to route out the red part and end up with white letters on the red background.
Designing the sign turned out to be a bit of a frustrating exercise. Fusion 360 really is not good at handling text — there is no way, at least that I could figure out, to justify or align text. It had to be done freehand. That’s not so bad with the small amount of text I had to deal with here, but still…
The rough clearing was done with the 1/8″ bit and Fusion360’s “adaptive clearing” operation which makes the bit go in tiny arcs rather than plow through the material full width.
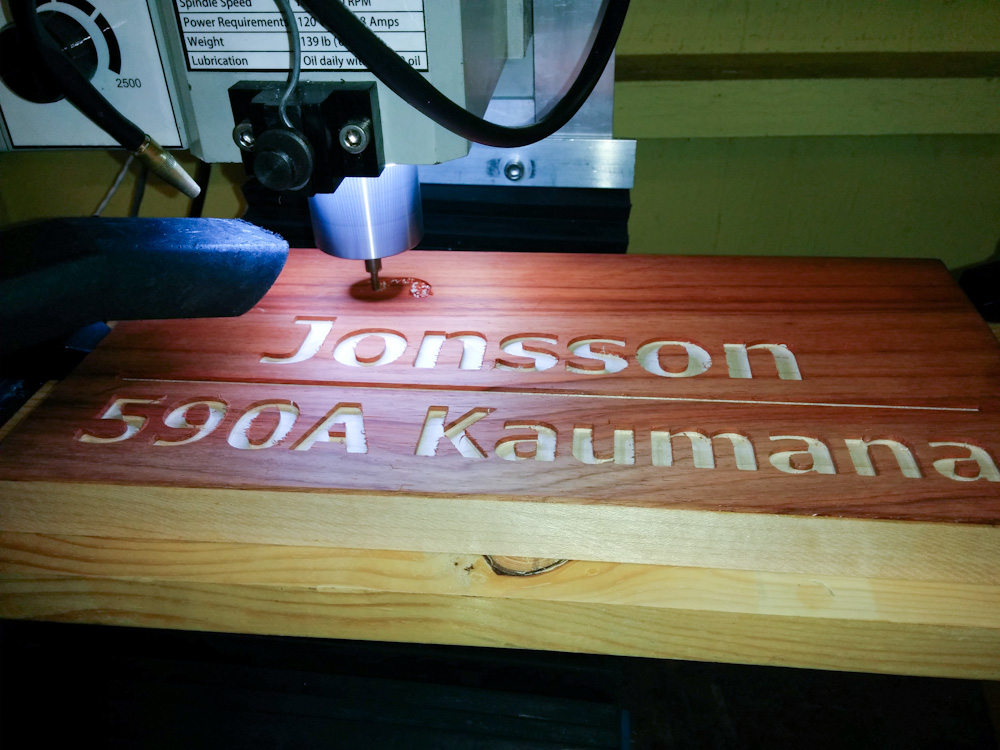
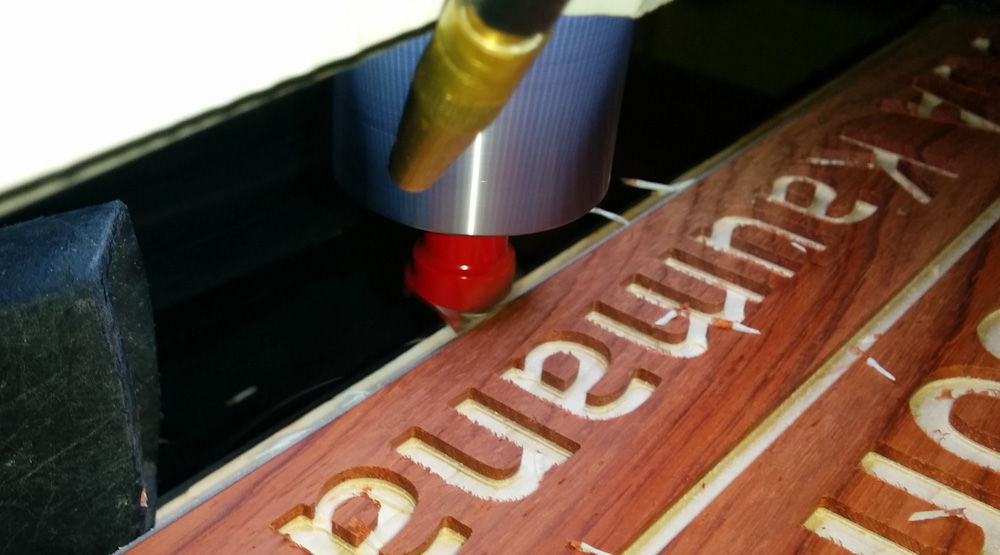
The actual milling took a long time. With a max speed of 2500 rpm, you can’t really go very fast through the wood, especially with the 1/16″ bit. After first clearing most of the material with the 1/8″ bit, the remaining was done with the 1/16″, and then a profile cut around the edges of all the letters. Finally, the 1/8″ was used to clean up the bottom of the letters from the traces of the adaptive clearing’s little arcs. Overall, it took more than 3h of cutting time.
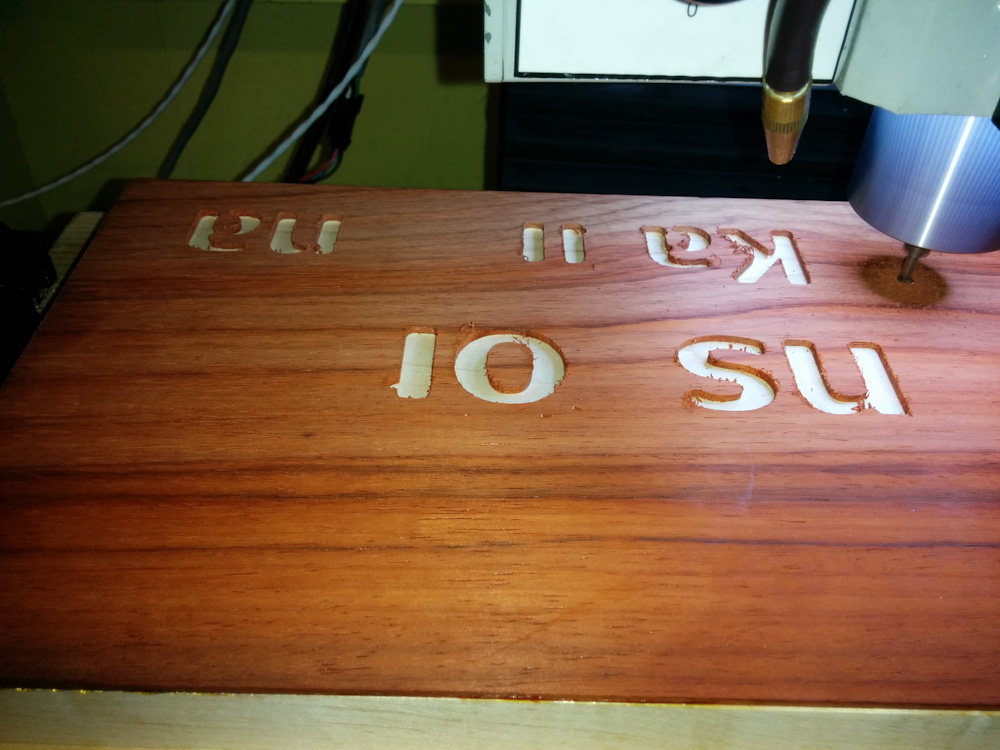
Because the sign is 6″ tall and the mill only has 5″ of travel in the Y-direction, I had to use two setups, flipping the sign in between them. Here’s the start of the second op.
The letters are done. Now for the chamfer around the edges.
Cutting the edges with the 3/4″ 45-degree chamfer bit.
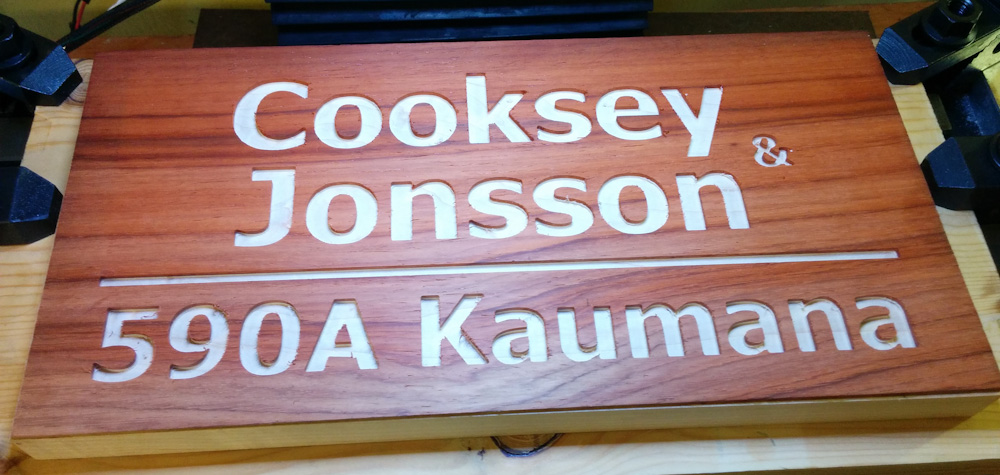
The result is pretty good. The red wood is a bit softer and has larger grain than the maple, so it had a tendency to tear a bit in the sharp corners. There was also a fair amount of loose fibers that had to be cleaned up, but overall it looks pretty cool.
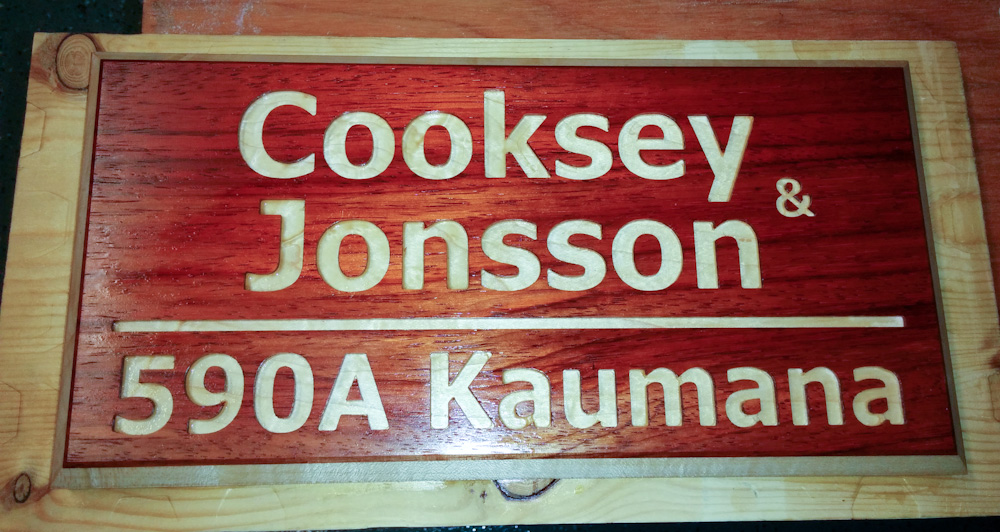
After cleaning up and the first coat of varnish, it looks pretty nice. The varnish really brought out the red in the Padauk. It might fade a bit when it dries, though.
Now I’ll just have to get another couple of coats of varnish and then we’ll have to figure out where to put it. We were thinking the garage wall, but at 12×6 it’s a bit small to read from the street at that distance. Maybe we’ll hang it on the mailbox or something.