The filament storage box was now in a state that I could start wiring everything up. Running the wires was pretty quick, but then I had some software work to do before things started functioning. I had stubbed out a lot of the code back when I assembled the circuit board, but there’s only so much you can do without having hardware (or a simulator!) to test it on.
I also still had to glass the inside of the lid before I could add seals to it to make it really tight, but I did verify that the heater and fans work. So far I’ve worked up to a box temperature of 70C, but slowly to give the epoxy plenty of time to post-cure to deal with the higher temperatures. The Pro-Set can be post-cured up to a temperature of 80C for an ultimate glass transition temperature of 95C, so there’s a bit to go yet.
Glassing the inside was a bit tricky because of the sharp corners. I had initially intended to vacuum it, but it actually turned out that the glass conformed pretty well to the corners without it, so I didn’t bother.
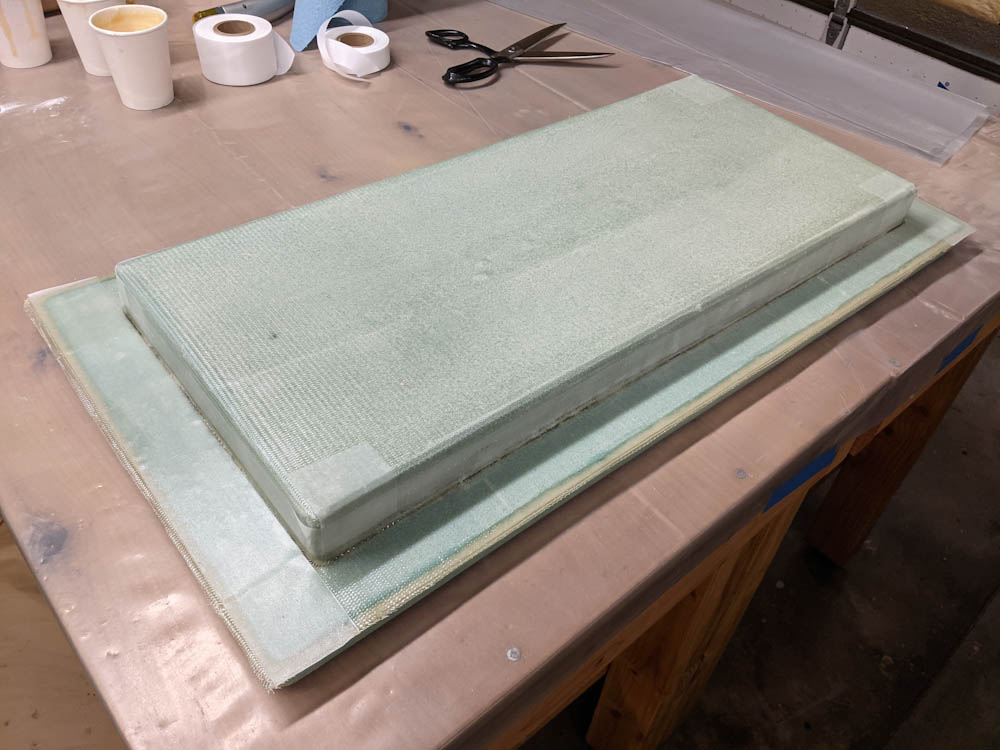
The finished layup on the inside of the lid. There’s a flox corner around the entire outside, and the glass is lapped halfway up the flange to give it a chance to conform to the corners.
To post-cure the lid, I strapped it in place while heating the box up to 70C. This took out the small curve it had gotten while curing and made it conform very well to the shape of the box.
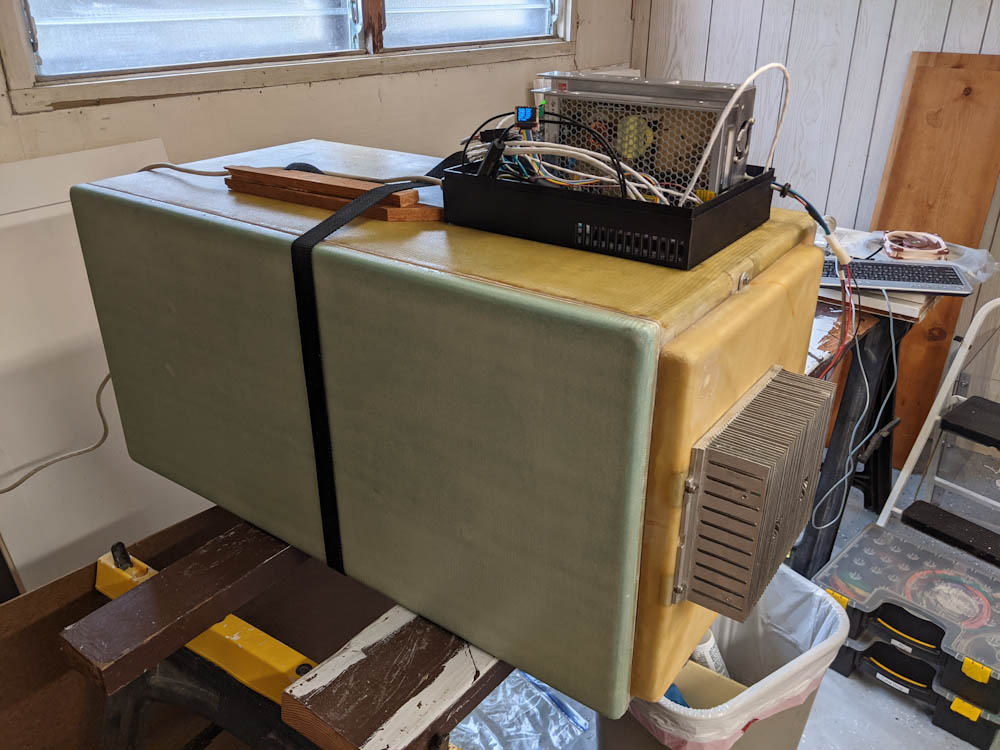
The lid had taken on a bit of a curve as it cured, so I decided to “post-cure it in place” by strapping it against the box while heating it up. The heat makes the glass creep a bit and worked perfectly for taking out the curve.
The picture above also shows the electronics enclosure with all the wires. It’s a bit of a mess now, it still needs to get cleaned up. The little MicroOLED display from SparkFun that displays the current temperature and humidity can be seen among the wires. It will be attached to the top of the enclosure, which still needs to get printed.
There’s one more fiberglass layup needed, because the fan that blows air over the exterior dehumidifier heatsink needs a bracket/duct for it. That layup is curing right now, so more on that shortly.