Coming up on the end of fiberglass work, I completed the first layup for the box cover, the outside. This was pretty easy since it’s mostly just flat, but the glass has to go around the edges and conform to the corners. The cloth will go around a 90-degree corner but only barely. Since the side is only 0.75″, there’s not much material for the cloth to hold on to.
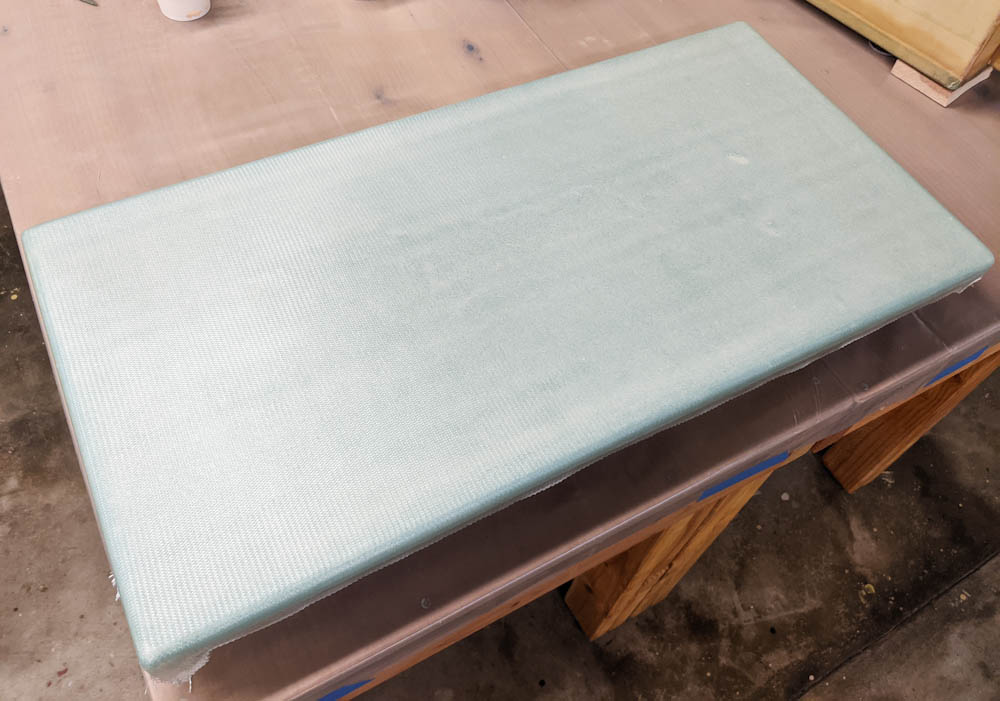
The first layup for the box cover, the outside, is done.
I had to go back and wipe the cloth into position a few times but as it cured and the epoxy got thick and sticky, it eventually stuck in place.
One other thing that needed to be done was adding something on the cover for the dehumidifier so it could be held in place. I glassed in hardpoints in the side of the box so now I needed to add something that could hold it in place. I decided to just dremel a hole in the glass and carve away enough foam that I could flox in an aluminum tab with a screw hole in. Cutting the hole was quick work and by filling the hole with very wet flox, moving it around a bit, and then inserting the tab, I could be pretty sure there were no huge air voids.
To get the tab in the correct place I simply screwed it in place while it cured. This worked really well and one M4 screw top and bottom, in combination with the stainless steel pins that register its position, will hold it very securely.

Close-up of the restraint for the dehumidifier cover. An aluminum tab was floxed into the cover. Mounting the screw while curing ensures the tab lines up with the threaded hole in the hardpoint on the box. The plastic film ensures I don’t epoxy the cover to the box.
Next is the inside of the cover. This will need to go across an inside corner so I think I will use the vacuum technique here, too. That will be the end of the structural glass work.