It’s been a couple of weeks since the top of the filament storage box was completed. In the time since, I’ve been working on the bottom.
The first thing that had to be done was to add a drain for the water from the dehumidifier. I did this by adding an aluminum hardpoint glued to an aluminum tube, just like I did for the filament storage pockets.
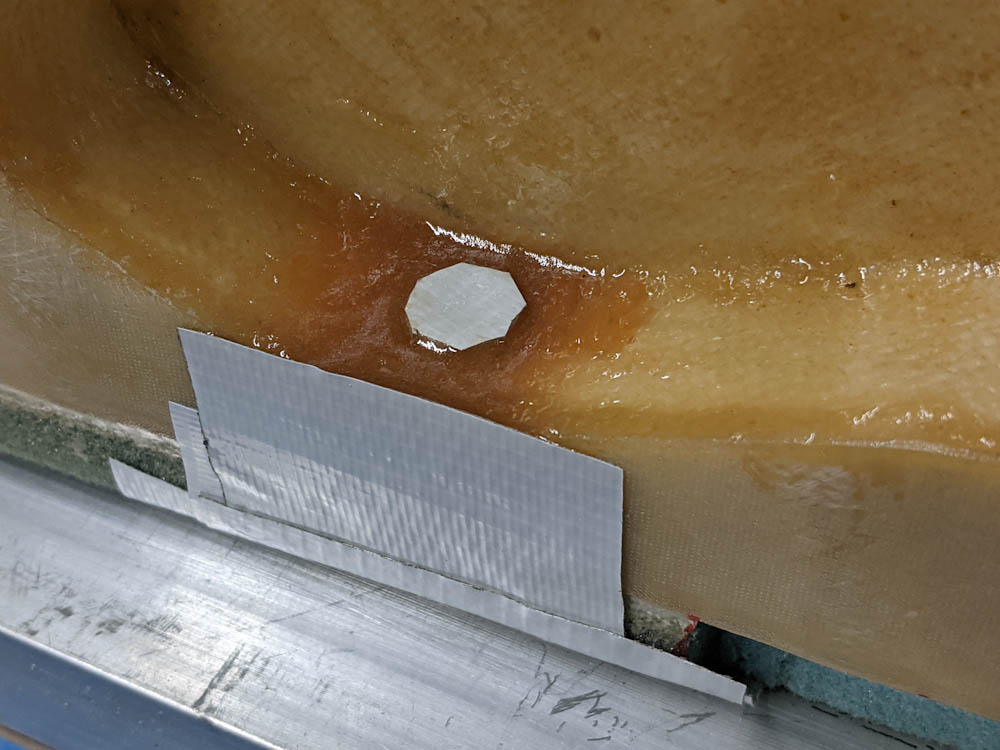
The drain hole for the dehumidifier. The top of the aluminum tube has been capped with duct tape to avoid getting flox into it.
After filleting the area around the tube with lots of flox and letting it cure, I sanded away flox and the aluminum to make a nice shape for the water to drain into (and not out towards the surface.
So the bottom of the box should have penetrations for all the filaments to exit. After going back and forth a bit I decided to make a bracket that could hold push-in fittings on both the inside and outside. The reason for having them on the inside is so that a short length of tubing can go through the foam, enter the inside of the box, and create a transition so the filament won’t scrape against the fiberglass on the inside.
I conveniently had a piece of PVC foam left over after cutting the top and bottom. This was perfectly sized for making this bracket. Each side of the bracket will have 12 of the push-in fittings, so I had to fabricate 24 small pieces of aluminum and tap them with a 1/8″ NPT thread. I also had to make 5 pieces countersunk for the M4 mounting screws that will hold this bracket in place against the bottom of the box.
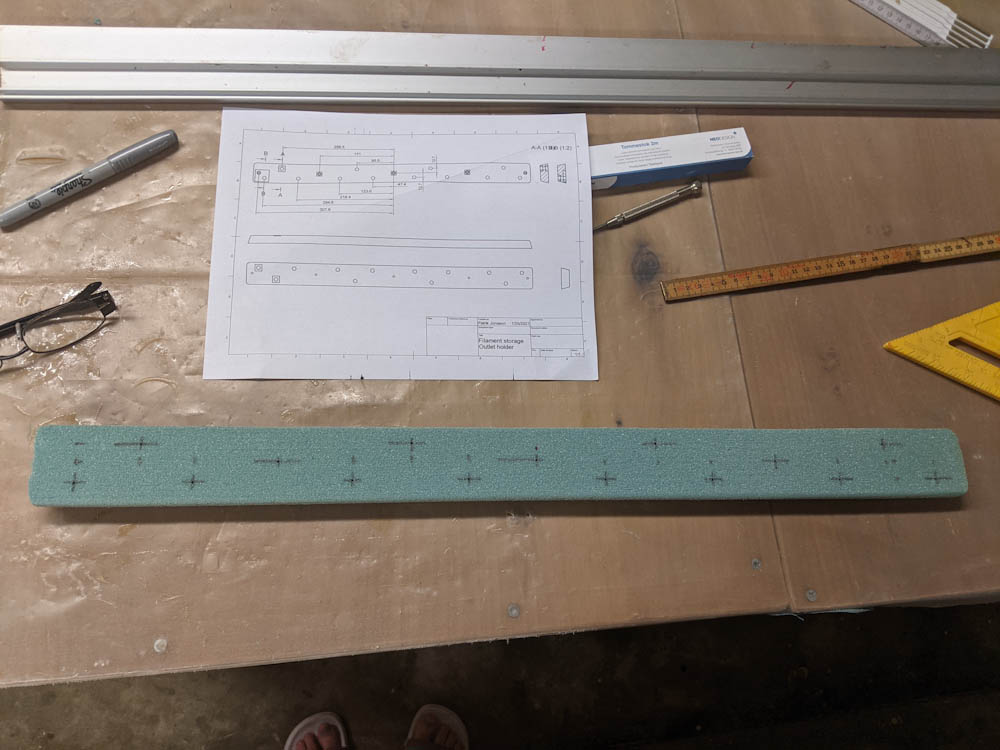
This piece of foam will have 12 holes on each side where the push-in fittings will screw in. It will also have 5 holes for mounting screws. That’s a lot of hardpoints.
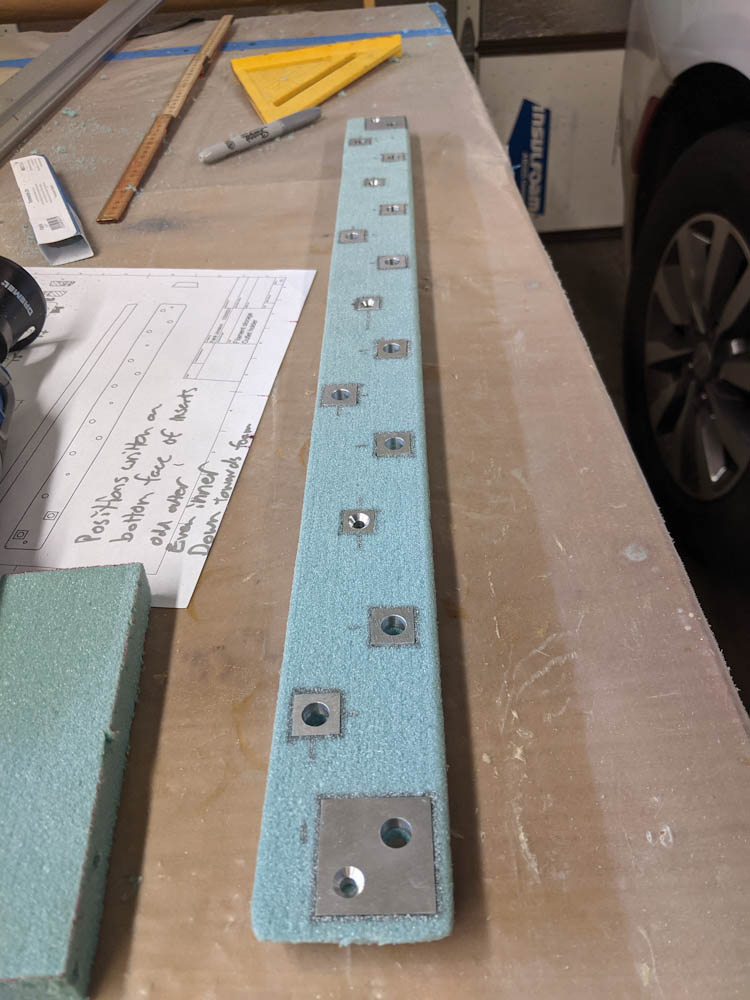
The hardpoints for the NPT fittings and the mounting screws have been fabricated and fit into the foam.
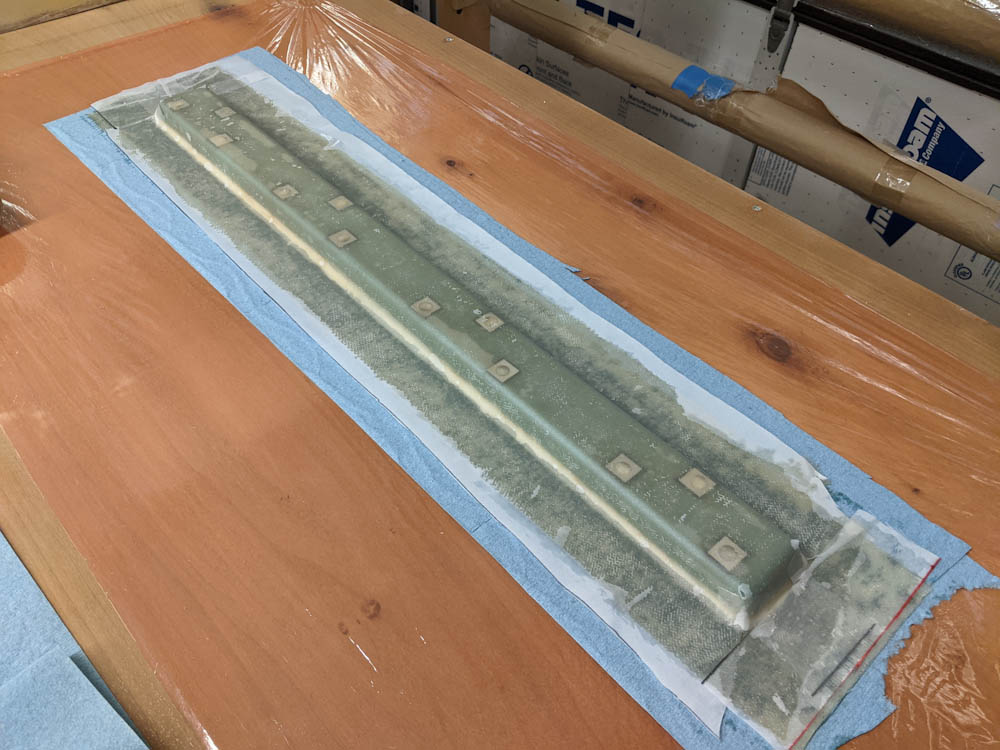
The top and bottom of the bracket has been glassed and peel plied.
To make it easier to glass this bracket, I beveled the sides slightly. I did not have a lot of extra material, though, so even with the bevel there would be quite a sharp turn for the glass to make.
I had recently read about the “Lo-vac” method used by the Cozy Girrls that seemed like it would be useful for this situation. It’s sort of a “vacuum bagging lite” where you use peel ply, paper towels, and plastic pack wrap with a cheap vacuum pump to put the layup under a slight (like 50%) vacuum to help get rid of voids and make the glass follow the foam tightly. It seemed worth a try.
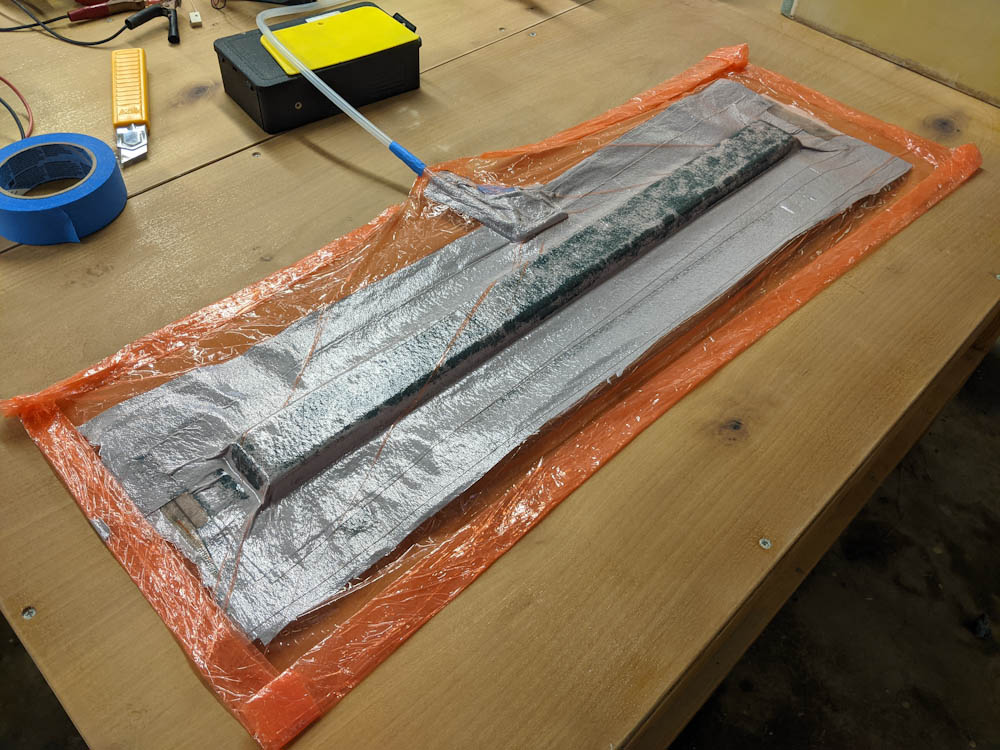
The “lo-vac” layup has been wrapped in plastic wrap and put under vacuum. It does definitely help the cloth conform to the shape of the foam, but also make the “bottom” (the outside) of the layup no longer lay flat.
The plan was to give the bracket a flat outside, extending a bit outside the foam. This would make a surface so the inside layup could get some glass to glass bonding. (Similar to the Long-Ez practice bracket.) I intended to do this in a single layup, but didn’t realize that for this to work I needed to put the flat part against a surface inside the vacuum bag. As soon as I put the layup under vacuum, the flat part got pulled into a curve.
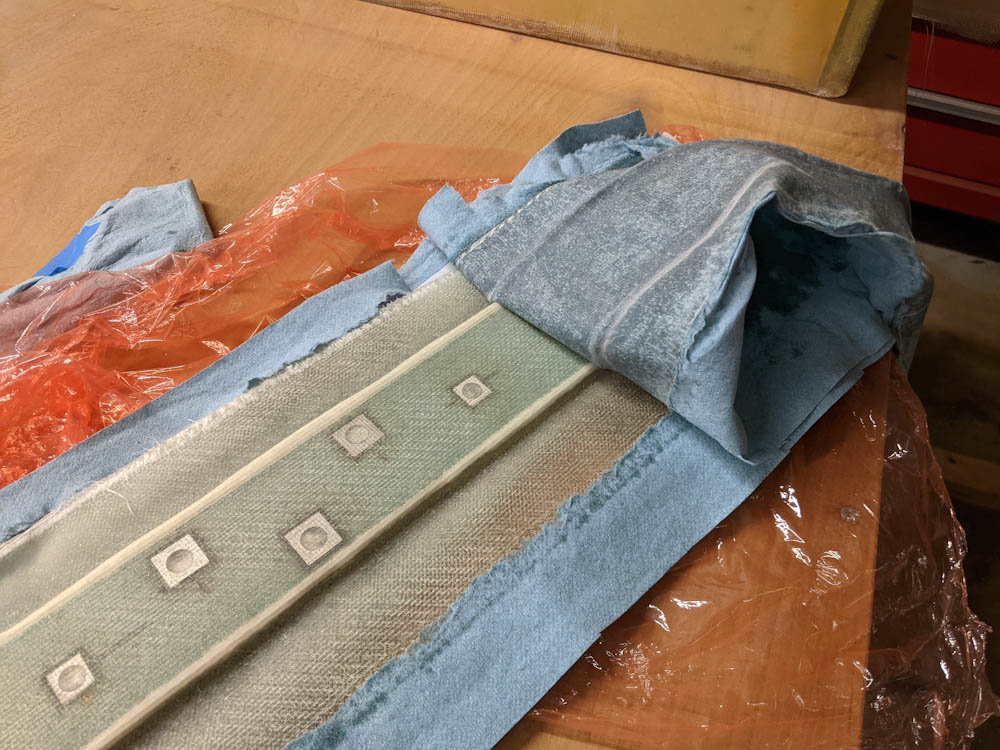
After partial cure, the peel ply and paper towels have to come off. Normally you can peel off peel ply after a full cure, but the presence of resin-soaked paper towels on the outside makes it far too stiff to do that. I struggled a bit anyway and had to warm the layup to make it easier.
After curing and trimming, the part looked pretty good apart from the non-flat top. However, the layup ended up with a whitish appearance, which typically means it is resin-starved. I’m not sure whether this is just the fact that the peel ply was pushed tightly against the glass cloth and it’s just in the surface, or if the vacuum pulled air bubbles up out of the foam and into the cloth. The layup definitely was not too dry before pulling the vacuum. The part is fine for this purpose, but before using this for airplane work I would definitely have to sort this out.
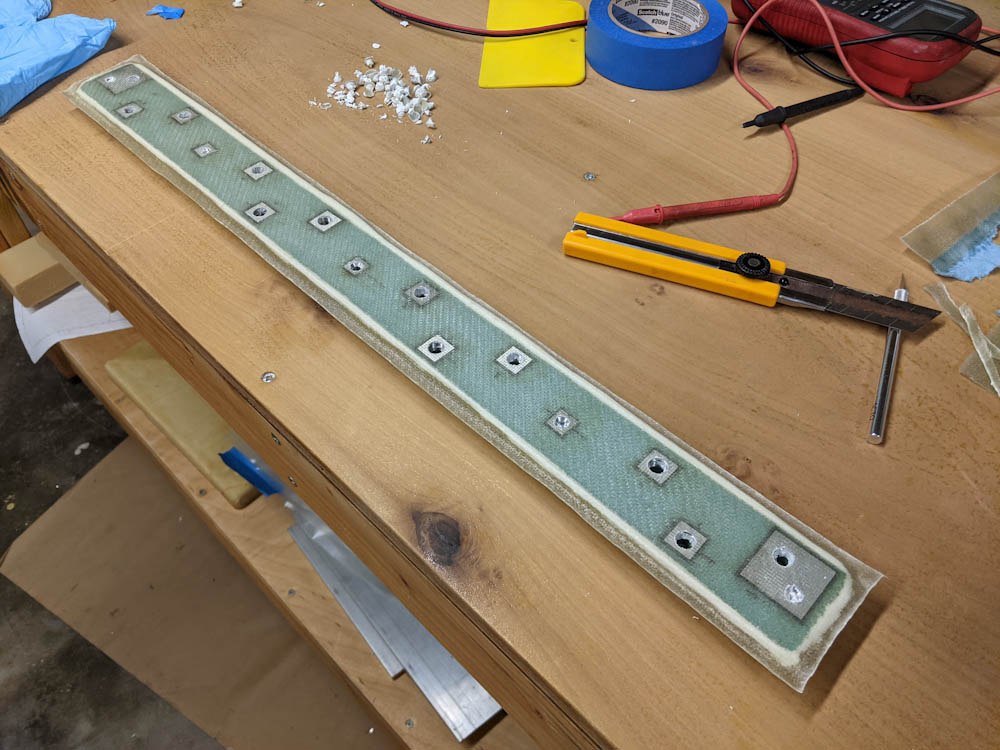
The finished, trimmed bracket.

The layup ended up with this whiteish appearance that makes it look like it was too dry.
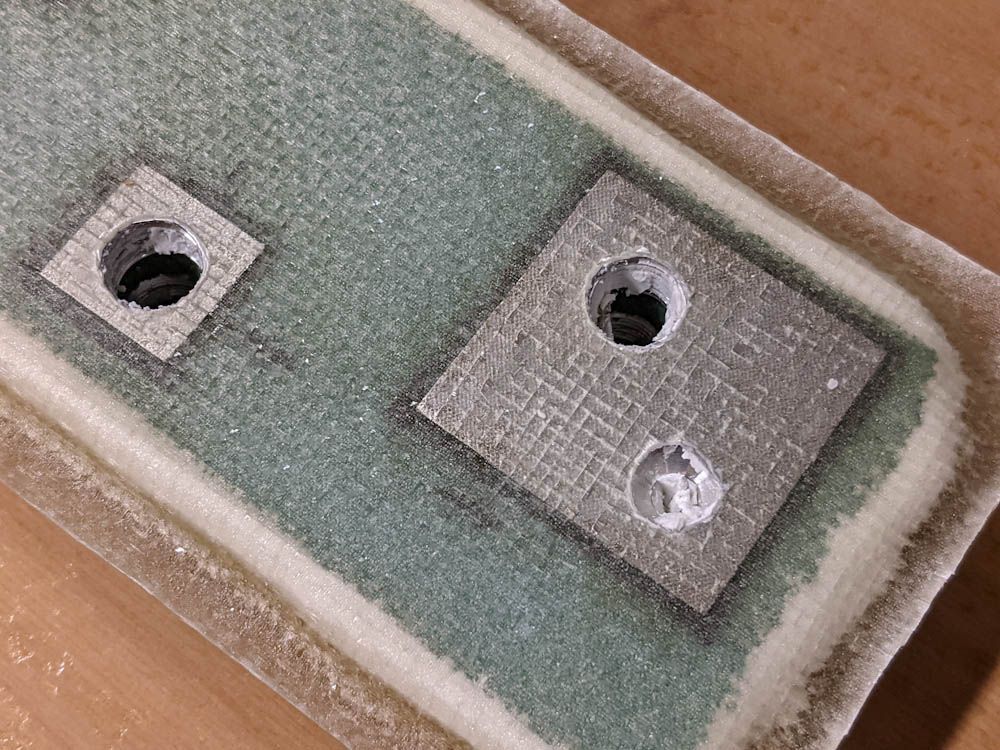
After cure, the glass was cut out from all the holes, the sealant removed, and the threads chased with a tap to clean them up.
The final step was to cut the fiberglass over all the holes in the hardpoints with an X-acto knife and then clean up the holes. It ended up working quite well.
With this bracket done, it was time to cut a recess in the bottom of the box and glass it. That’ll be the topic of the next post.