Now it’s time to complete the bottom of the box, fitting the penetration bracket into it.
First, the shape of the bracket was measured out on the bottom of the box, and the foam removed to the depth that would match the bracket using the Dremel. This recess was then beveled to match the bracket.
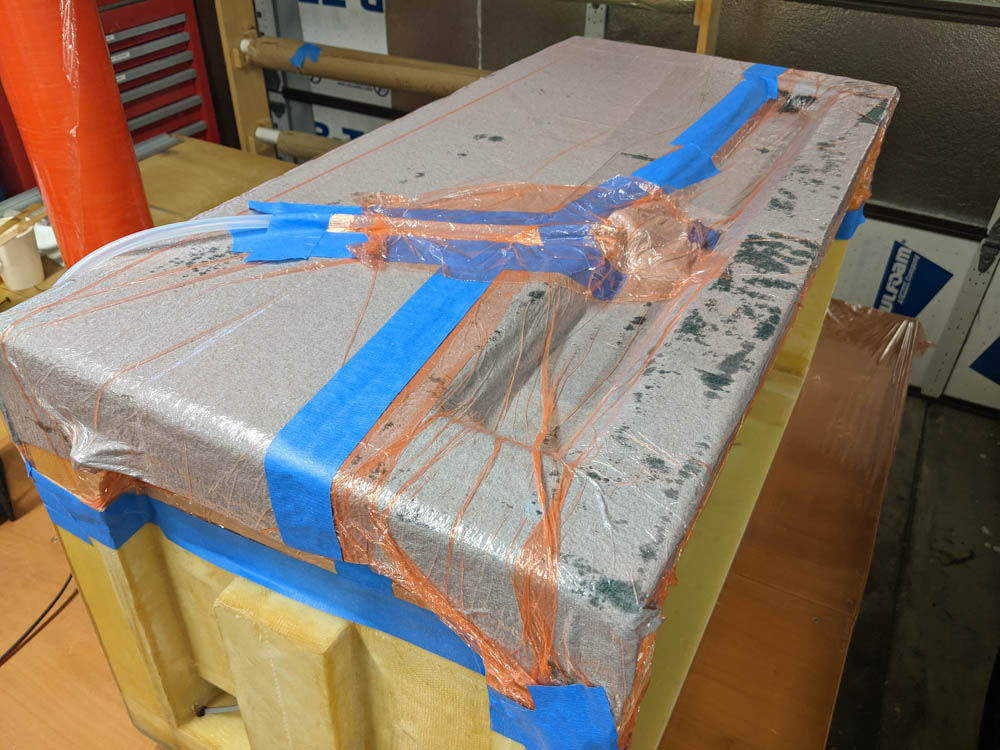
Since the recess also had quite sharp corners, I decided to try the “Lo-vac” method again. This setup was a bit trickier since I’d either have to enclose the entire box inside the plastic wrap or make some sort of joint along the sides. I used some plumber’s putty to put a bead all around the box a few inches below where the layup would end, circling into the inside.
The trickiest part was the front of the box, which still has bare foam. Trying to press the putty into the urethane foam would just have obliterated it, so I put a bead of sealant along the foam, let it cure, and then gently pressed the putty into it.
I didn’t end up taking any pictures before or during the layup, since things got pretty busy. I was pretty sure getting the big piece of fabric covering the top to conform to the recess would be next to impossible, so I used two narrow strips that went into the recess and just lapped onto the flat part, and then covered those with two large plies of cloth. Once the cloth was on, I used the electric cutter to cut a large hole so it just fit over the perimeter of the recess. This worked pretty well, but it all took a pretty long time and since I also used the “medium” Pro-set hardener instead of the slow that I usually use, things were getting pretty sticky by the time I was ready to put the vacuum on.
I also had a hard time getting a good seal for the vacuum. I spent the better part of an hour going around the edges, pressing into the putty, straightening wrinkles, taping the loose edge, and once I also injected some sealant around the hose I finally got it to pull a decent vacuum.
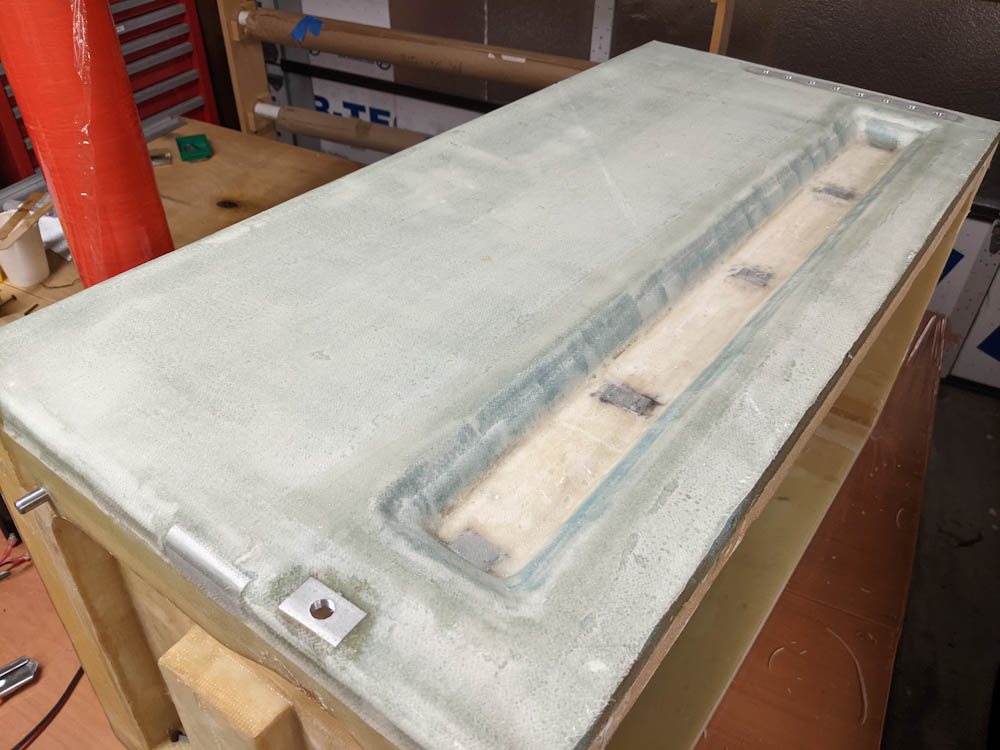
After the layup had cured for 3-4 hours more, I could pull the peel ply off without too much trouble. Here, I’ve already cleaned the threaded hole for the drain fitting in the lower left.
The peel ply came off pretty easily, but the layup has a similar whitish appearance like the bracket in the last post. There are also some air bubbles visible. I think I just took too long and by the time I had vacuum the resin had gelled enough that the dinky little vacuum pump didn’t manage to pull the air out through the cloth. It did conform pretty well to the recess, though.
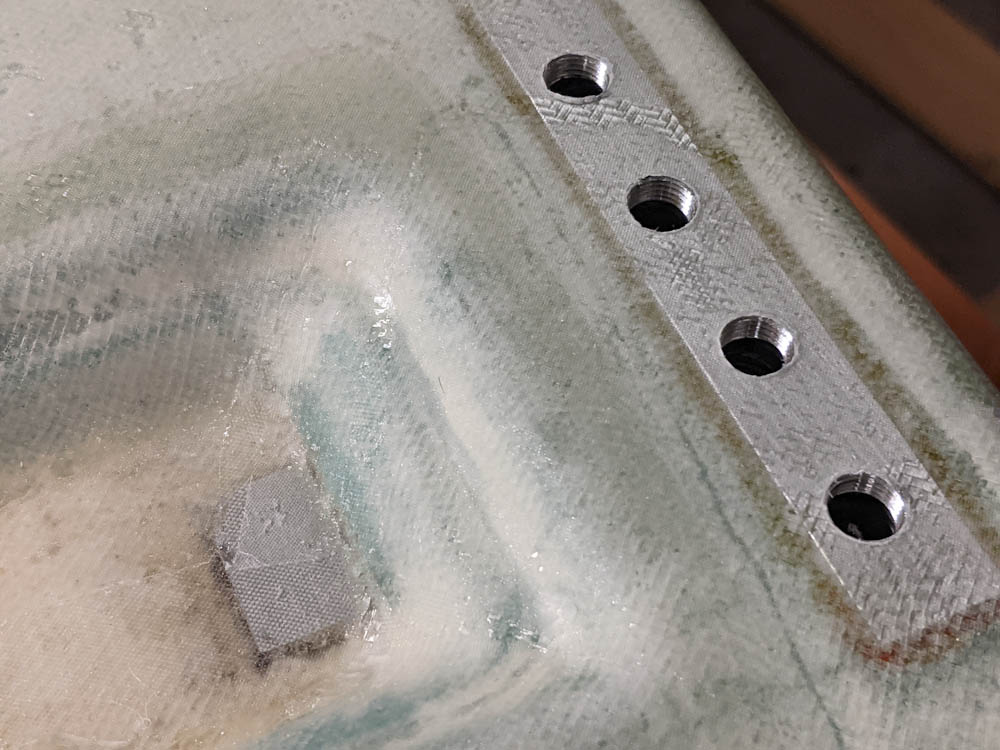
The holes for the storage fittings have also been cleaned. The hardpoint in the recess is for the mounting screw and has yet to be drilled.
Cutting out the fiberglass over all the threaded holes and cleaning out the threads worked like a charm, this method definitely works. If you get the sealant just the right temperature with the hot air gun, you can actually pull it out of the threads like a plug without leaving much of any residue at all.
Next it was time to drill and tap the holes for the mounting screws in the hardpoints in the recess. Using the bracket as a template, I just marked the locations with a drill, drilled out the holes the proper size for an M4 tap, and tapped them.
Finally, the recess needed to have holes for the inside fittings and tubing cut. I attempted to mark the locations there using the bracket, too, but here I did a fairly poor job so I had to enlarge the holes a bit to get them all to fit.
These holes are just bare foam on the inside right now. Ideally I would coat these with flox so there’s no chance of damaging the foam, but once assembled there’s no reason to be fiddling around with these so it shouldn’t matter. It can always be done later, if necessary.
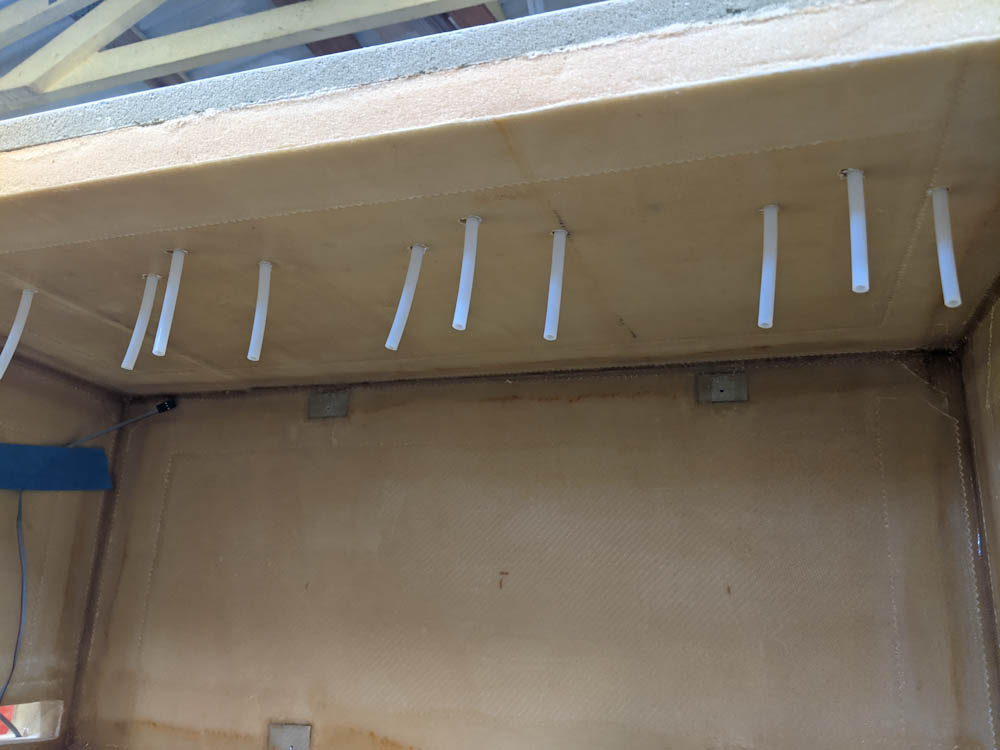
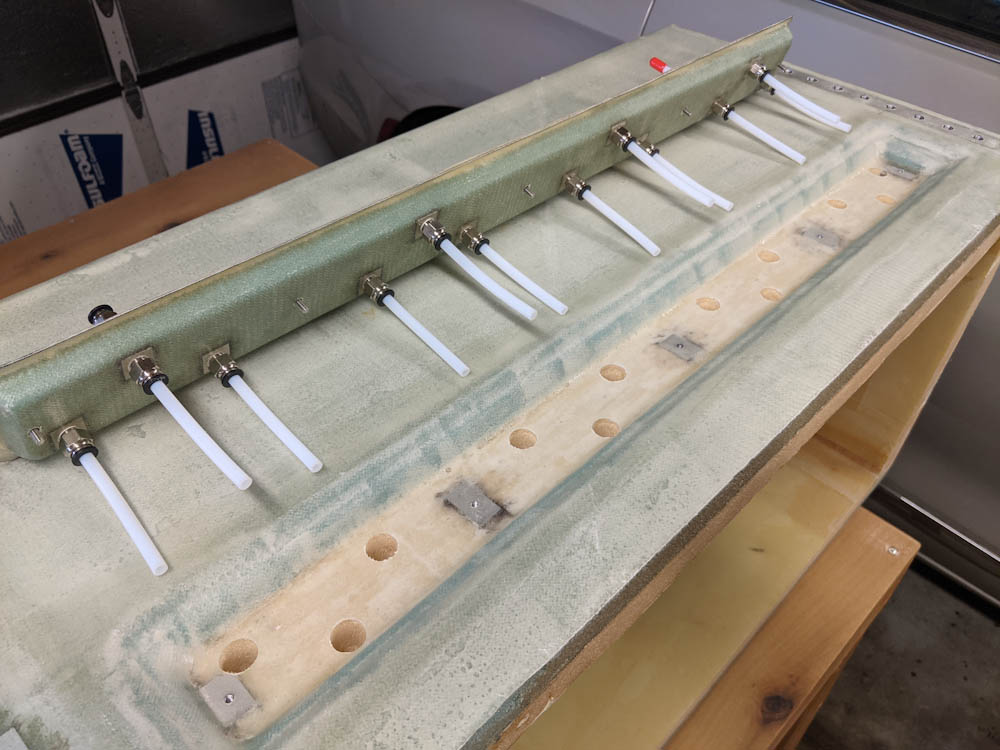
Here are the penetrations into the (upside-down) box. By having the tubing protrude into the box, the filament won’t have to make a sharp turn as it enters the hole.
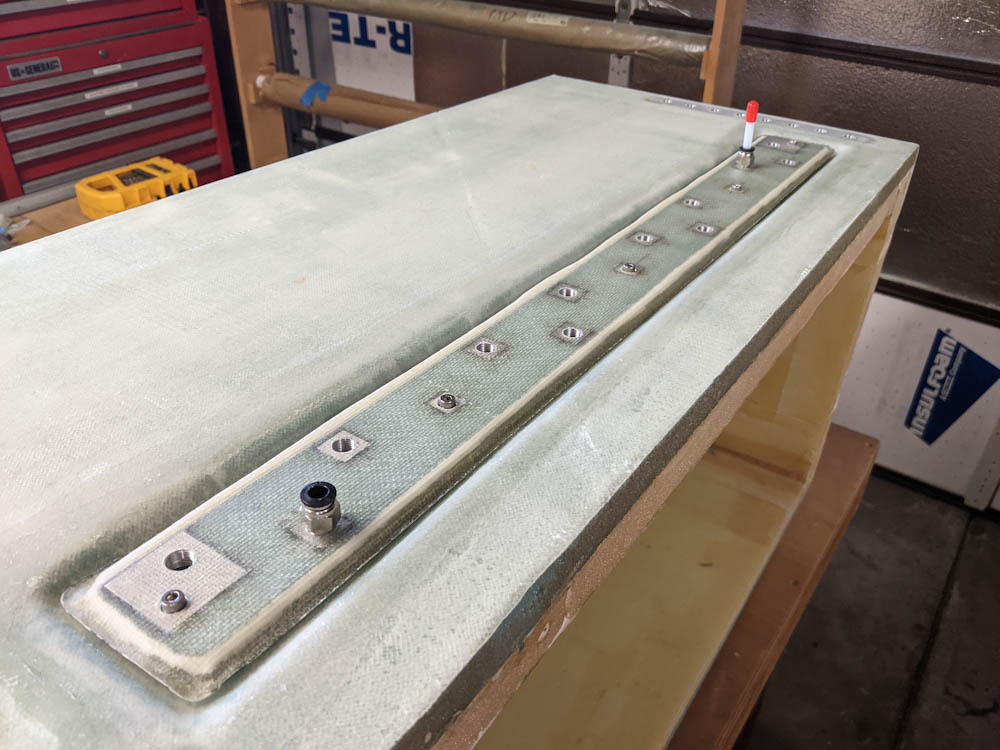
Here’s the bracket mounted into the bottom of the box. Only a few of the fittings are in place now, and I need countersunk screws instead of the button-head ones, too. The short piece of tubing with the red cap shows how unused fittings will be closed off so there’s no air entering.
I’ve been worried about how to make these penetrations since I started thinking about making this box over a year ago, but this worked out OK. The fit isn’t stellar but it’ll do. The only thing that remains to do now is glass the front of the box and fabricate the cover. At that point we can actually turn on the heat and see what happens! (To actually put some filament in there, I need to fabricate the holders for the spools that go inside, too.)
While this is clearly one way to build a box to store filaments in the Hilo climate. What do all the other 3D printing hobbyists in Hilo use? Is there a more conventional option?
They grin and bear it? Or they don’t print Nylon or polycarbonate…