As I’m now about to start fabricating actual parts for the Long-EZ, I was contemplating the easiest way to shape the foam pieces. This Long-EZ builder used a router to cut the depressions, but was left to do the tapered parts by hand. Wouldn’t it be nice if there was some way to do this automatically…
Then I came across the ShapeOko, a low-cost DIY CNC mill based on open-source hardware and driven by an Arduino! It’s not the most rigid and capable CNC mill in the world, but it’s a couple hundred bucks and apart from the foam it should be good enough to mill aluminum with some work. The standard size is pretty small, but the cool thing is that you can enlarge it just by getting longer aluminum rails. After agonizing about it for a few days I went for it, and I got the parts just in time for when my family arrived for my brother’s wedding in Vegas (different story). So while the girls toured Hollywood looking at famous people’s houses, my Dad and I worked on putting it together, and the evening before they left we finally got to the point that we milled wood for the first time.
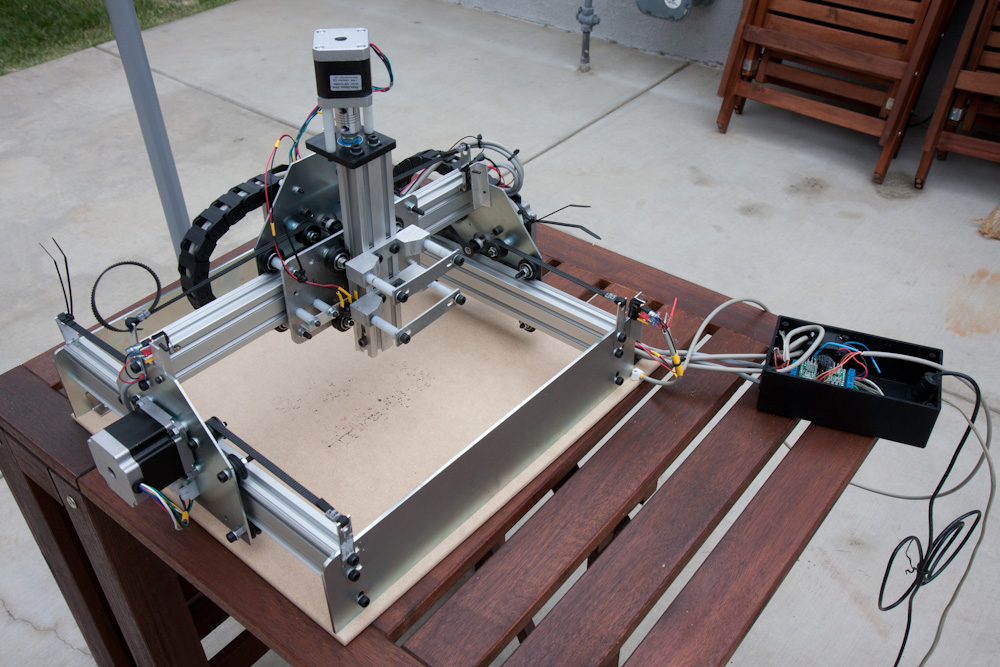
This is what it looks like. The Y-axis has two motors, one on each side of the gantry. The X-axis then runs on the Makerslide aluminum profile connecting the two.
Putting the basic machine together didn’t take long, we spent more time figuring out the cable management and adding limit switches.
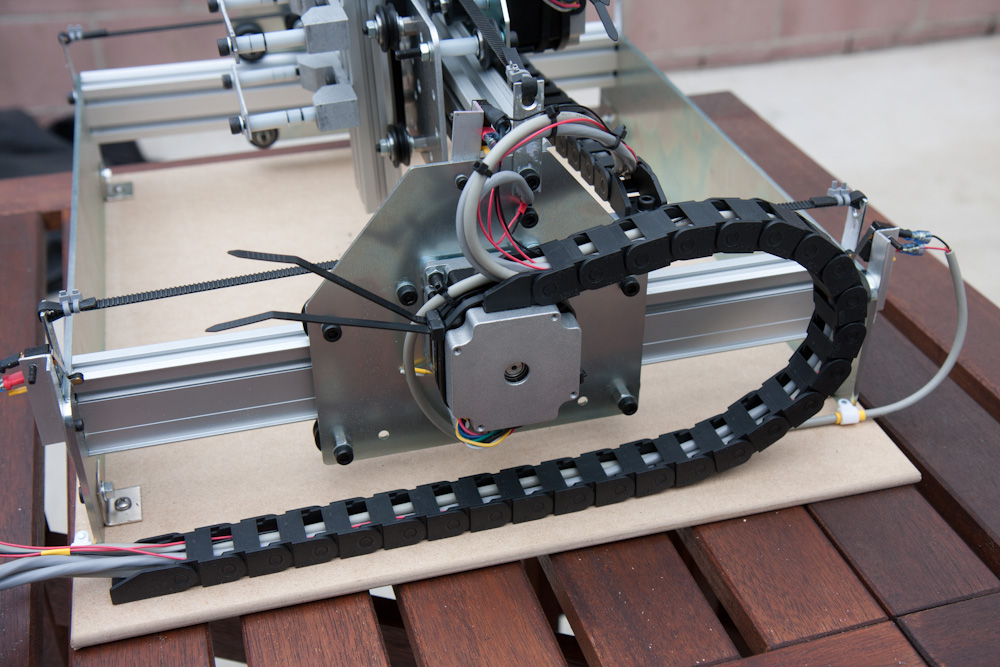
To get the wires to the moving parts, this cable chain from eBay is used. It actually works very well and has enough space for all the wires needed. I have enough links for a 1m length, but we shortened it since it’s not needed in the current configuration.
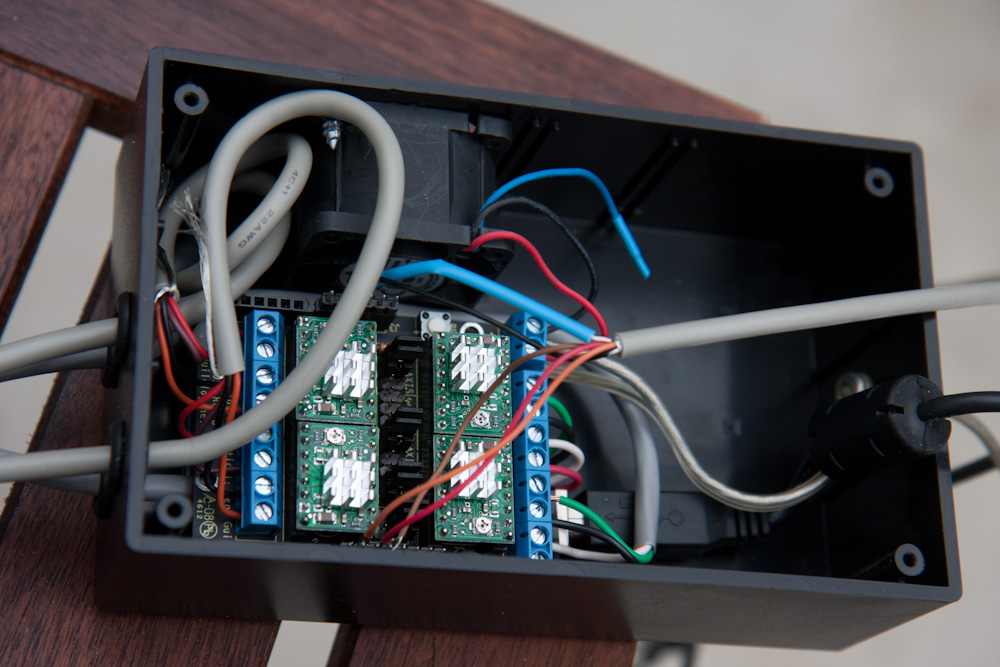
It’s still in draft form, but this enclosure contains the Arduino and the stepper driver shield (the GrblShield, as it’s known).. Plus a really loud 24V fan to cool them — many people have problems with the stepper drivers overheating and skipping steps without good airflow.

By default, the machine has no limit or homing switches. After running it into the edge a couple times, we quickly realized this was not acceptable. The limit switches are microswitches mounted on an aluminum angle, making them adjustable.

The Z-axis limit switch was more tricky, because there’s nothing convenient to mount it on. Luckily, the spare nylon spacers from the Shapeoko kit had exactly the right length so we could trigger off a bolt screwed into the Makerslide.
The first “hello world” job you are supposed to run is writing “ShapeOko” with a marker attached to the machine. Here’s how it worked for us:
After reversing the X-axis and getting the homing functionality working so the machine can position itself repeatedly, we were finally ready to try to cut some wood, using my old Dremel as the spindle:
As you can see, it worked and the result was not half bad, but the bearings on the Dremel clearly are not up to the task. I also have a trim router, and after some fiddling I managed to get it mounted in the standard ShapeOko spindle mount. This worked much better:
First order of business is now to cut a better set of mounting brackets for the router. A half-inch thick piece of Delrin sheet is on the way. Then we’ll see what can be done to make the machine stiffer, which is probably going to be needed to work with aluminum. More on that later.
Pingback: A street sign – Patrik's projects