It’s been more than two years since the last post about the kitchen cabinets where I talked about how they were going to get reconditioned with Brushing Putty before being repainted… Well, you know how it goes. First there was the basement flood that lead to the basement unfinishing and drainage projects taking precedence, and once you’ve lost momentum you know what happens; not a whole lot. That is, until last month when my parents visited from Sweden for a month. My workaholic father decided that it was about time we made some progress on the kitchen, and boy did he make it happen!
I don’t remember how much I talked about the kitchen counters before, but the existing kitchen had several severe deficiencies, beyond the fact that it had flaking lead paint.
For one, the hole for the range is way too wide, so for the past two years we’ve had ~6″ spaces on each side that are perfect for dropping food into. The original range they had when they installed the counters must have been gigantic.
For two, the counters aren’t the same height everywhere. The counters to the right of the sink were about 2.5″ taller than the sink itself and the rest of the counters. It’s kind of visible in this vintage picture from when we first looked at the place.
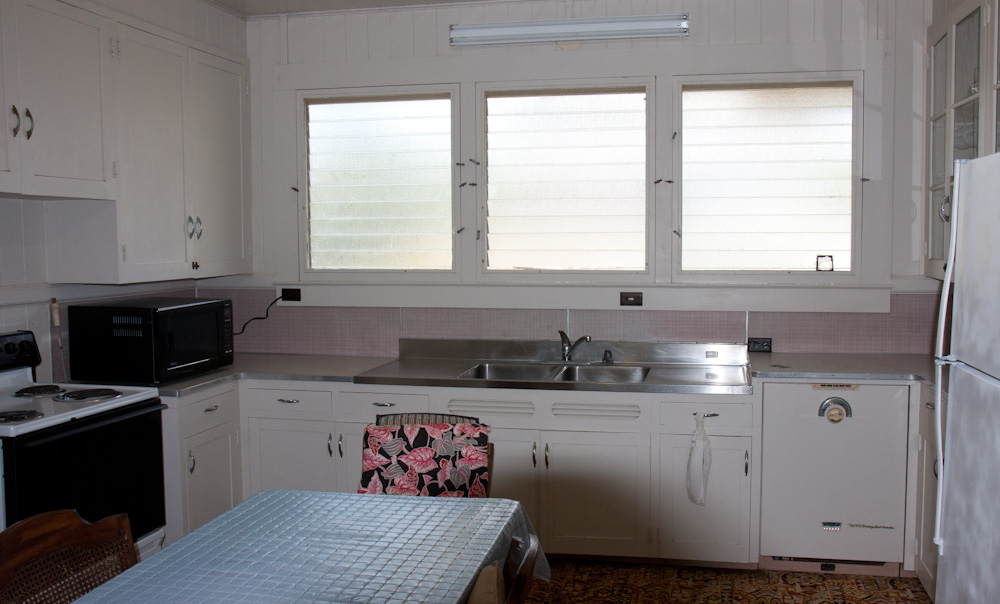
This is what the kitchen originally looked like (including the thankfully long gone carpet). Note that the counters on the right are higher than the rest. The original builders must have been very short, because the main section is quite low.
Getting a new kitchen countertop was always on the list of things to do, but these two facts meant that it wasn’t just a matter of ordering a new countertop; we’d first need to raise the cabinets and shrink the space around the range, and that’s what my Dad and I went to work with!
As far as raising the cabinets, one could imagine either building a frame above them or raising them up from the floor. Since they are built in place, they weren’t moving, so the only reasonable option was to build a frame above them. This would mean a wide, unused face right under the countertop on the left, but we decided we could live with that. The alternative would have been replacing the cabinets altogether and we didn’t want to do that.
Getting the old laminate countertops off turned out to be quick business — they were barely glued in place and most of them could be pulled off. In a few places we had to make use of the floor scraper. Then we could without much trouble pry up the planks that made up the subsurface (a welcome change since most things in this house is cross-nailed to the nth degree and usually won’t come off in one piece).
It turned out that the counters needed to be raised by almost exactly the width of a 3″ piece of lumber, about 66mm. The existing counters were fairly well leveled, but there was an offset between the two disconnected counters on each side of the range and the sink was a little off level. We corrected for this by planing down the 3×2’s that we built the frame out of as needed. This basically consisted of making a bunch of small adjustments until things fit.
To cover the open spaces on each side of the range we extended the frame out over them and then fixed a plank of the correct width under it. The whole deal took about a day in total, not bad at all given how much I’d agonized about how to do it.
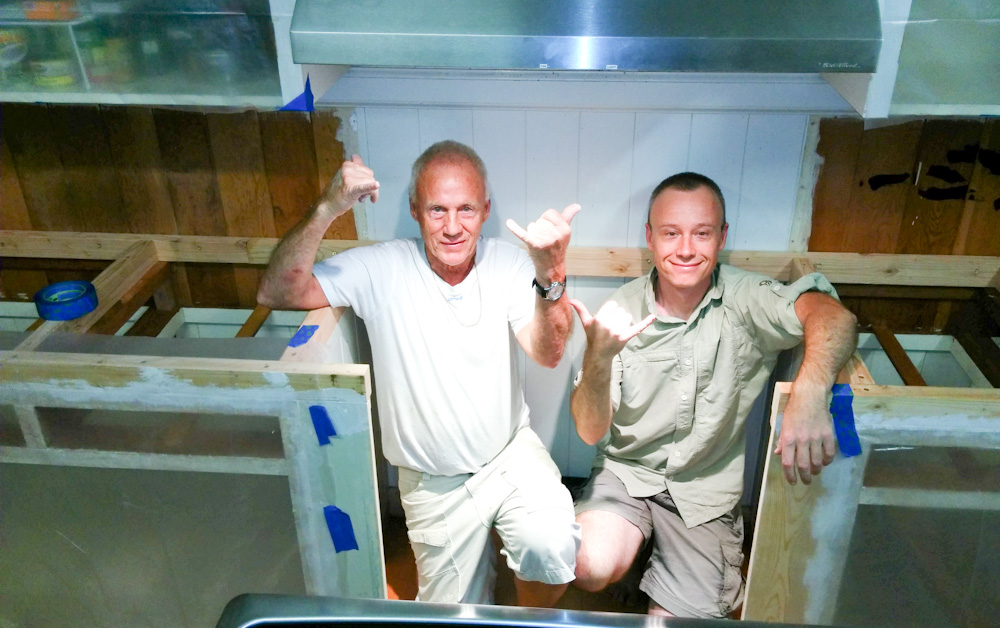
Bengt and I celebrate in the now-correct-width recess for the range. The cabinets are covered in plastic sheeting because we’d also stripped out the lead paint from the floors.
In hindsight, we should have planed the fronts of the frame before even mounting them, because as it was we were left with quite a lot of spackling to make them even. It would have been less work and have come out looking better. Oh well, this is how you learn.
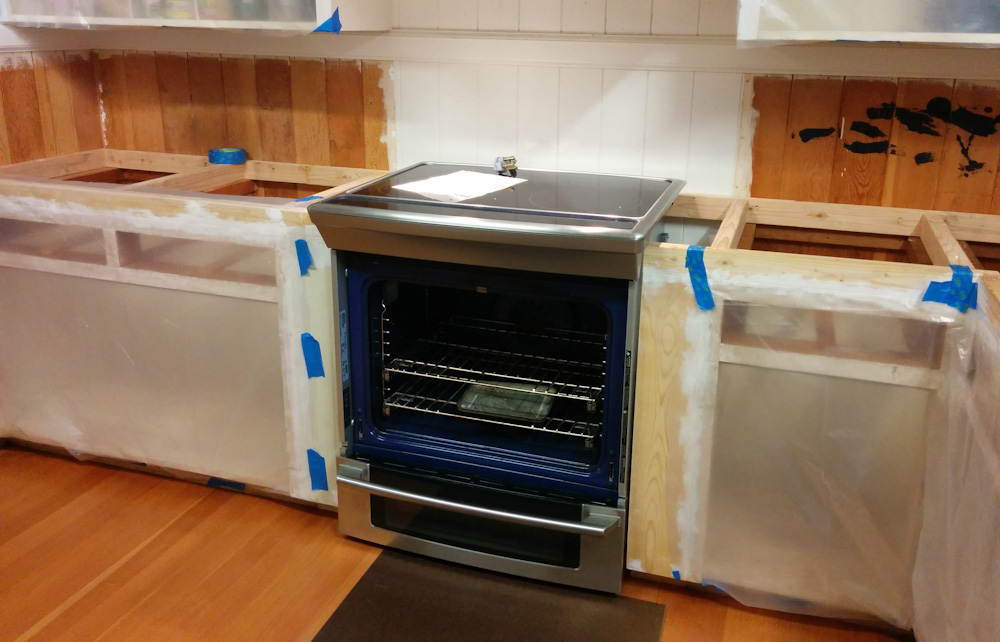
Test-fitting the range in the recess. It’ll look a bit funny to have these large blank areas, but the spaces are really too small to be useful for anything.
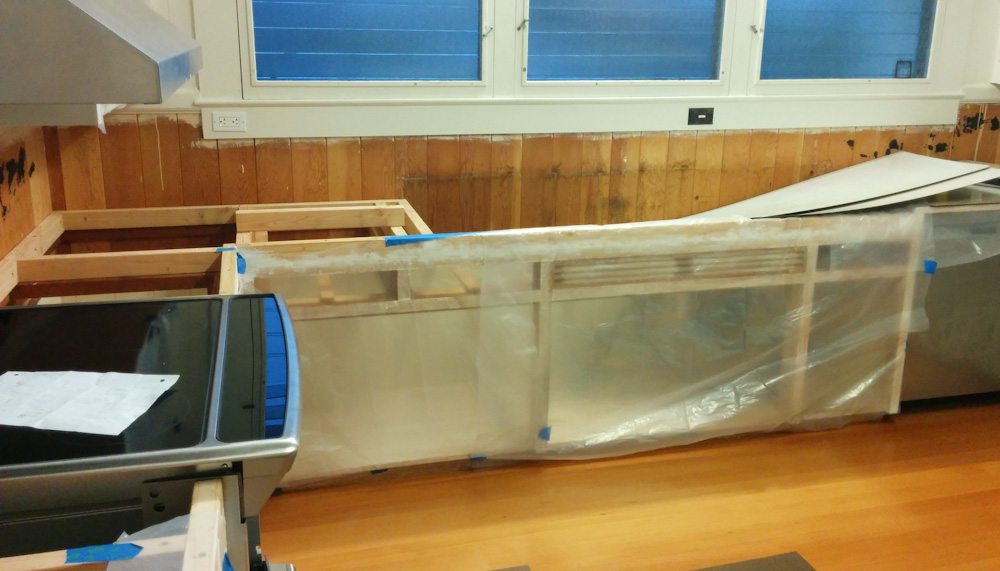
The sink area after raising to the correct height. Notice that the counters on the right are still higher? Don’t worry, we didn’t screw up.
With the counters now at the right height, it was time to paint them. That’ll be the subject of the next post.
Pingback: Back to the Kitchen #2 – Painting – Patrik's projects