With the bottom of the box done, time to cover the remaining bare foam on the front. The front is 1.75″-2″ wide so we’re talking applying glass tapes all around. To bond to the sides a loooong flox corner was needed all around the inside and outside, which required a lot of Dremel work to remove the foam and get bare glass everywhere.
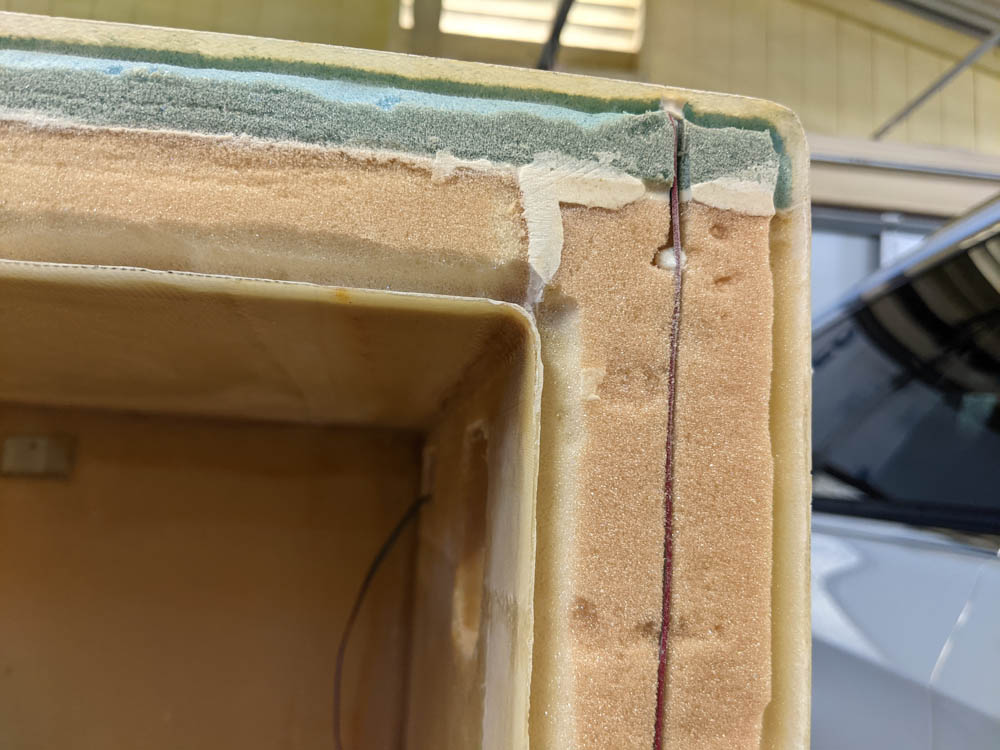
The box front uses flox corners all around the inside and outside, so there was a lot of foam routing needed.
It took a lot of flox, too. I think I mixed 7oz of epoxy before it was all filled. I used scrap BID and just kept cutting tapes and applying until I had two plies everywhere, and then added peel ply.
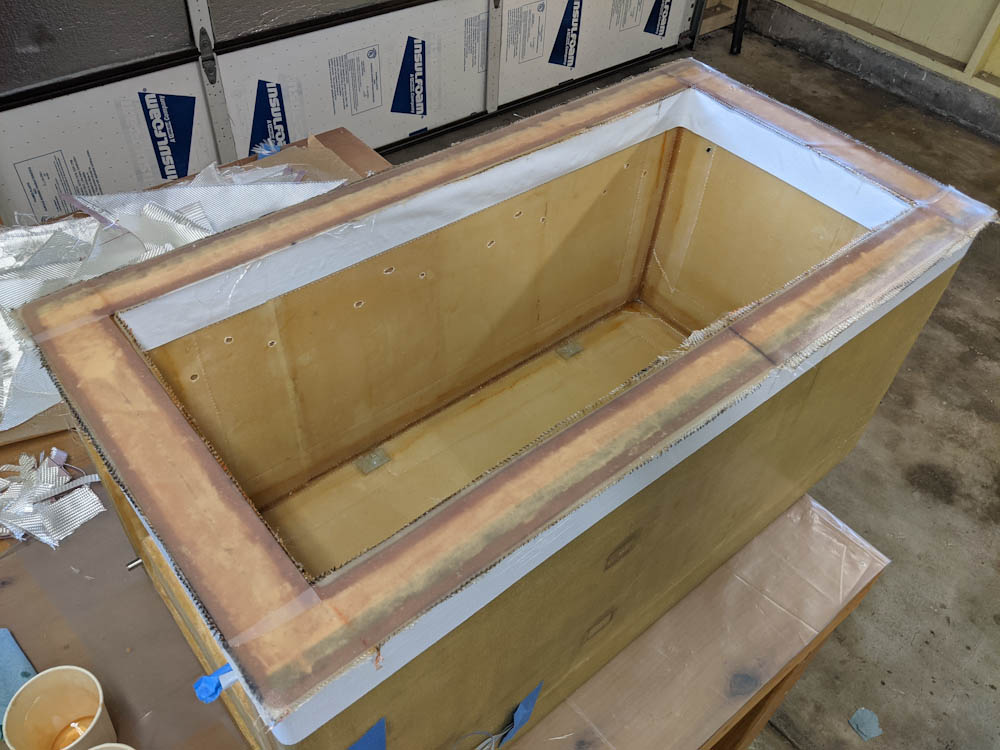
The layup is complete, including peel ply. There were a few small air bubbles against the flox, but not many.
That completed the main work on the box. At this point all the wiring for fans, heaters, and sensors can be added.
The lid also needs to be fabricated, though. This consists of two blocks of foam, which were cut and sanded so one fits into the opening and the other makes a flange that matches the perimeter. After a lot of sanding, these were joined together with micro and weighed into place.
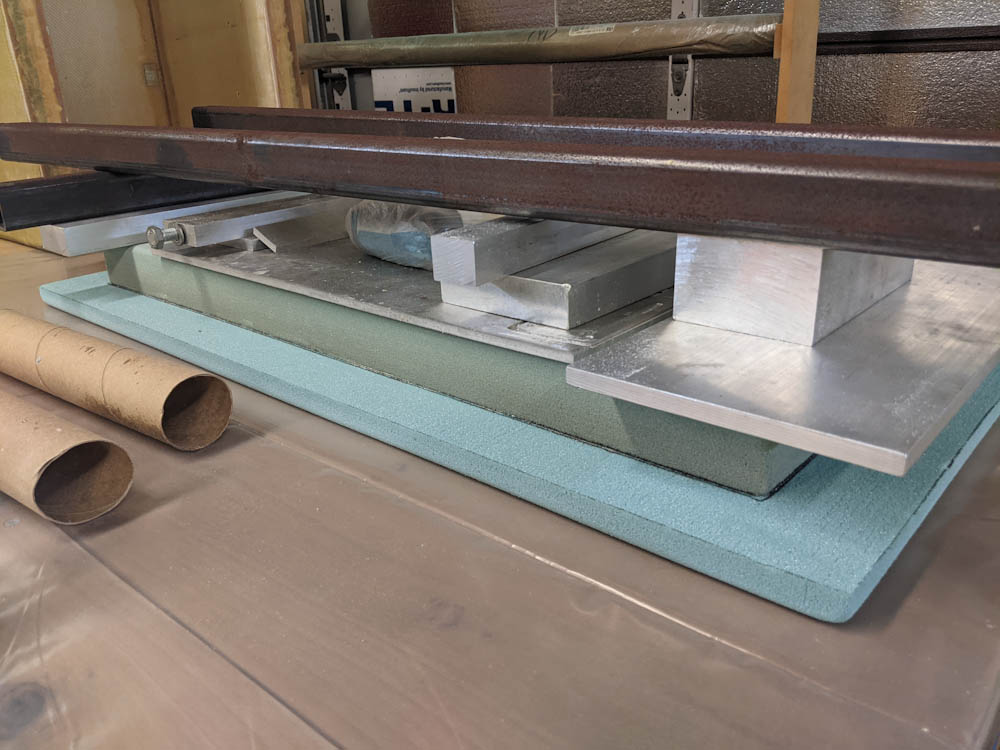
The box lid uses two pieces of foam, one for the inset and one for the flange.
Once the micro has cured, the lid will get two layups, one for the outside and one for the inside. Then we’re finally done with all the fiberglass work.
Are you essentially building this? https://www.webstaurantstore.com/19-1-2-x-12-1-2-x-12-1-2-insulated-foam-cooler-1-1-2-thickness/451INTPC50.html?utm_source=google&utm_medium=cpc&utm_campaign=GoogleShopping&gclid=CjwKCAiAm-2BBhANEiwAe7eyFDLEC6DOJp5xKFS7Gti38QfP2qkKlZ6Be9u0U5LQ09SPFeqT5jmRZhoCgpwQAvD_BwE
Yes, basically. 112 bucks!?!? I can build one cheaper than that!
If I could find one that had a built-in dehumidifier, I would have gotten one in a heartbeat. But the market for dehumidified beer coolers seems small.