The previous installments of the “2016 kitchen sprint” described the prep work needed before getting new counter tops. In parallel with getting this done, Kathy and I had started the discussion about what kind of counter top we wanted.
Basically we considered three different alternatives: granite, “solid surface” which is a mixture of acrylic and minerals (most known as the Corian brand), and quartz, which actually is a mixture of ground quartz and polyester resin (most known as the Silestone brand).
The pros and cons of these various materials are well described elsewhere, but in the end we settled on quartz. The only clear advantage we found with Corian was that they can be thermoformed into shapes, so you can have an integrated backsplash without any seams. In previous kitchens we’ve had, this seam frequently got moldy and nasty since it’s hard to not get water there. Since we are keeping our large integrated stainless steel sink, that’ll be much less of a problem in this kitchen.
The next question then was what color to choose. There are a bewildering array of choices. We did a rough cut by looking at the manufacturer’s web sites and then went in to Big Island Countertops to see them in person. We both agreed we wanted something mid-gray toned. We even brought in our one painted cabinet door to compare. Here are the final three we were down to:
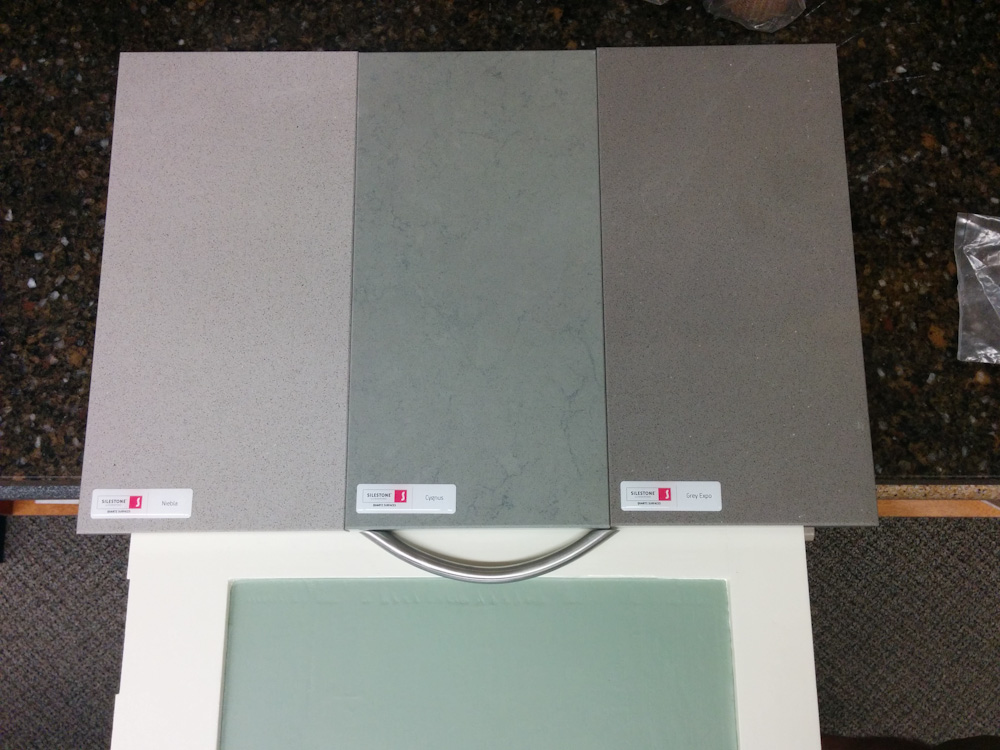
We were down to these three colors. From left to right: “Niebla”, “Cygnus”, and “Grey Expo”.
If you know Kathy, you can probably guess how this went… Actually, we both agreed that the green-toned “Cygnus” went really well with the green in the cabinet doors. The overall shade is different, because it has these other dark and light tones in it, but the green is a good match to the door. So notwithstanding my mother’s concern that “your kitchen will be all green”, that’s what we went with.
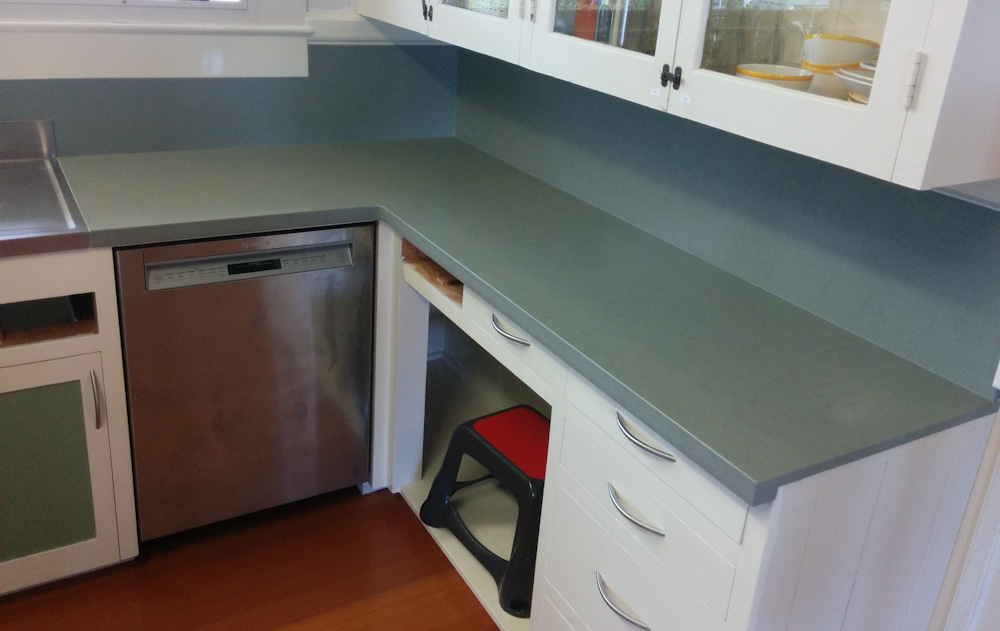
The design was a little bit unconventional. We didn’t want the planks exposed above the backsplash, so we got a quite tall backsplash, all the way up to the “waist” on the wall. This made it more like 11″ tall, while a “standard” backsplash is more like 6″. This is how the old laminate counter looked, and saves us from having to either keep the painted surface clean or coming up with a completely different material for those sections.
All that backsplash area adds up, and those colors are of course also custom orders, so the quotes we got were quite a bit more expensive than the $3-4k I had initially estimated. We decided we’re putting enough work into the kitchen and we spend enough time there it’s not a big deal in the long run.
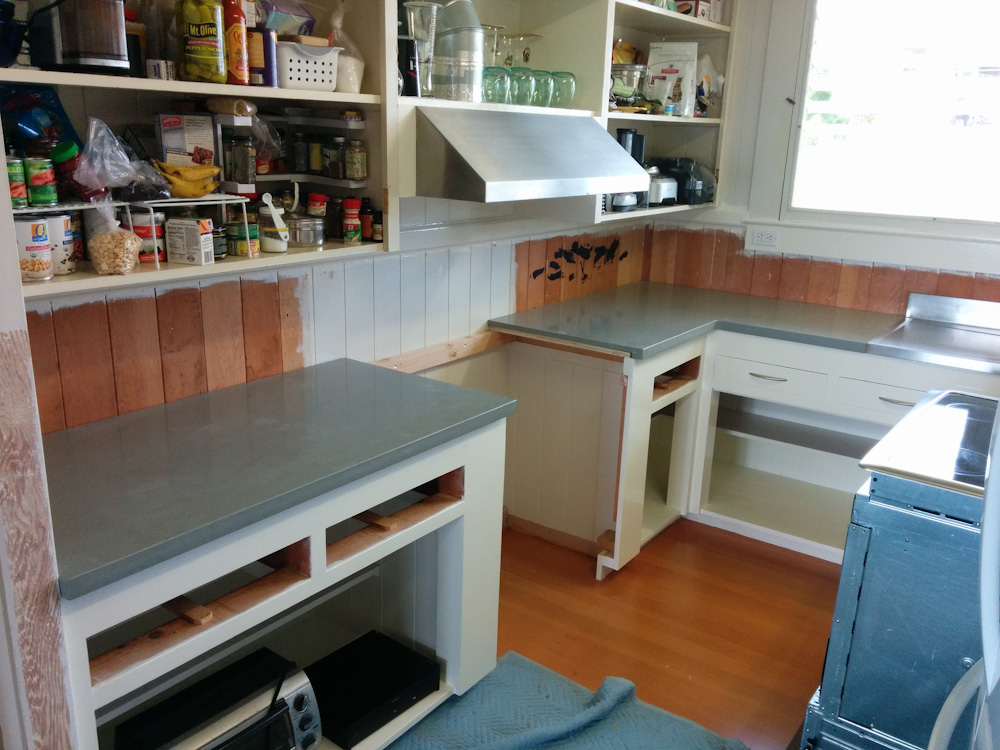
First they dropped the counter top pieces in. There are three large pieces for the three counter sections. The only seams are for the narrow piece behind the range.
The backsplash is in place on the section on the right.
The only part that is a bit funny about this is that the new backsplash is the same thickness as the counter top, 20mm, while the only one was just a thin piece of laminate. This means the backsplash actually is thicker than the window frame visible in the upper left of the picture above. It looks a bit strange, but not bad.
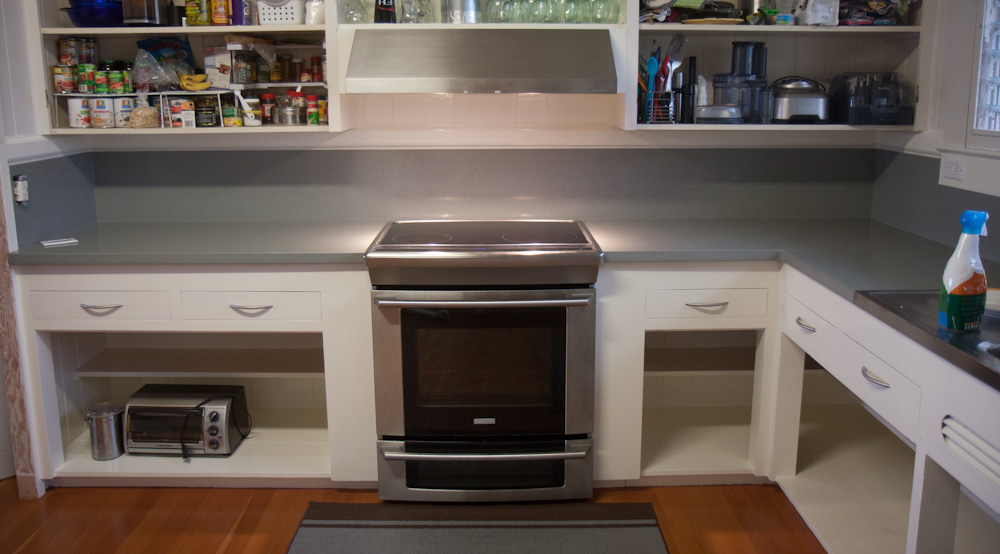
The final result. For the first time since moving in we no longer have to worry about dropping food down around the range when cooking!
It came out really well. There are of course a few little blemishes you can see if you know where to look, but overall the installers did a really good job. It’s not too green either. The color is actually hard to characterize, in some lighting it actually looks more blueish than green. Keeps you guessing!
So now we are back to having a fully functional (actually even more functional, given that we no longer have those annoying holes around the range) kitchen. Painting the lower cabinet doors is the next part, still a work in progress.
Pingback: Back to the Kitchen Again – Cabinets – Patrik's projects
Pingback: 2022 House update: the kitchen – Patrik's projects