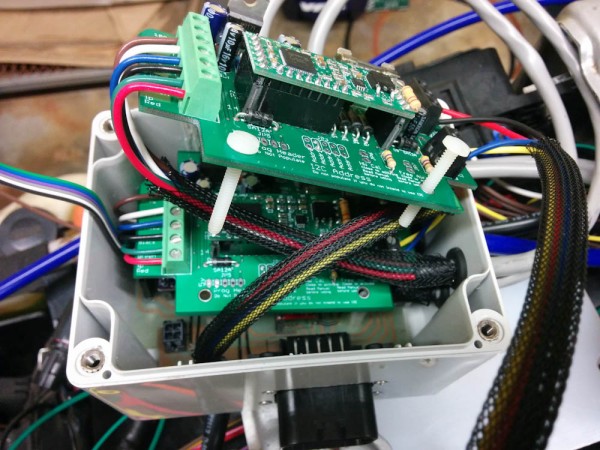
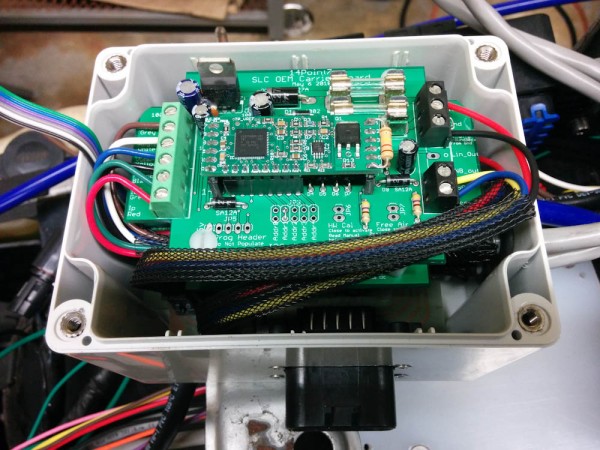
Since the last post, the oxygen sensors are functional! While I had tested the controller boards when I initially built them, they’ve been sitting around since then. Now it was time to pack them into the box.
It was quite fiddly getting all the wires in place, but eventually it all got stacked up and aligned.
After plugging them in and adding all the fuses, it was time to try starting it! This presents a bit of a chicken-and-the-egg problem because, at the moment, the stock ignition is connected to the Microsquirt-switched power, which won’t be on unless it detects that the engine is at least cranking. The problem is that I’ve hooked the Microsquirt crank sensor input to the ignition coil, which makes it possible to at least detect a basic rpm signal, but the ignition coils aren’t powered unless the Microsquirt thinks the engine is running…
The solution, for now, is to start the engine immediately after turning the key on. The switched power will be on for 2s as the Microsquirt boots (so the fuel pump can bring the fuel system up to pressure), so as long as it detects that the engine is cranking within that time, it will allow it to continue running. Kind of ghetto, but fine for now.
So I poured some gas into the carbs and tried it. Nothing. Maybe it needs a bit more cranking? Nothing. Ah — it probably works better with the fuse for the ignition coils in place… After adding that, cranked again and was greeted by an epic backfire, with a shower of sparks coming out the muffler! Apparently, I didn’t really need to crank that long…
When I tried again, it started fine, and I quickly started getting data from the two oxygen sensors. First I thought it was idling epically rich, at lambda 0.75 or so, until I realized that I hadn’t actually set up the O2 sensor calibration. Actually, it appears to idle slightly lean (although that could also be all the misfires…) Revving it up to 3-4000 RPM gives much more stable lambdas, slightly on the rich side.
The wideband controllers also send the O2 sensor temperature to the Microsquirt, so I could also see them very quickly get up to 780C and stay pretty much rock solid there. Nice.
I realized there’s one more thing I needed to hook up now: the tachometer. That’s the next post.


Pingback: Microsquirting the NC30, part #8: The tachometer | Patrik's projects
Pingback: Microsquirting the NC30, part #27: Idle Air Controller – Patrik's projects
Pingback: Microsquirting the NC30, part #8: The tachometer – Patrik's projects