In the Long-EZ and related aircraft, the fuel tanks are integral to the structure. The strakes on each side of the fuselage are hollow and contain the fuel. They are made of the same glass/foam sandwich as the rest of the structure, which is fine because the epoxy is impervious to gasoline.
… to pure gasoline, that is. Unlike common automobile fuel, the standard aviation “100LL” gasoline does not contain additives like ethanol (or, previously, MTBE). The plans warn that gas containing ethanol should not be used, because unlike pure gasoline, ethanol does attack the epoxy. It must have something to do with ethanol being a polar molecule, in general, ethanol is a better solvent than gasoline.
This is something people refer to when arguing about whether it is safe to use ethanol in cars that were not made for it. Some people say that ethanol will eat every rubber seal in the car, others (like David Blume from Santa Cruz) say all cars already use ethanol-resistant materials.
Anyway, if aviation gasoline (“avgas”) doesn’t contain ethanol, why do we care? Well, the days of 100LL (where LL stands for “low lead”) are counted. Despite the name, 100LL contains more lead than automobile gas ever did. It’s also expensive, and getting more every day. It’s becoming more and more common for builders of experimental aircraft to use converted automobile engines, and fuel cost is a big driver of that. And while traditional Lycoming and Continental engines generally are not approved for using automobile gas, newer engines like Rotax work just fine on it.
So that long introduction just serves to point out that it would be desirable to not have fuel tanks that dissolve if you put automobile gas in them. This happens to some people and not to others. What the determining factor is is unclear: regional differences in gasoline content? the type of epoxy used? temperature ranges? whether the epoxy was post cured or not?
The most recent post on the canard aviation forums about this was by John Slade, who cut his tanks open after discovering sticky goo coming out of the strakes and found the top couple of layers of epoxy to be partially dissolved.
The experiment
I’m long away from putting fuel into an airplane, but I thought it would be interesting to conduct a little experiment by building a small “fuel tank” and storing some gasoline in it. West Systems epoxy is supposedly one of the more chemically resistance epoxies, so we’ll see if it stands up.
I cut 6 4″x4″ pieces of 0.5″ thick urethane foam and assembled a cube. First the foam faces were glassed with a single BID ply. Then they were gradually assembled by bonding the edges together with 2″ wide BID tapes. With 5 out of the six faces mounted, it looked like this:
The cube, with 5/6 sides bonded. The tricky part is getting the last one on.
In the process of doing this, I realized I should have made the cube a bit larger as it got harder and harder to reach inside. At this point, I let it cure for a couple of days and then filled it with water. No visible leaks.
The hard part is putting the last face on. You can’t just add it, there needs to be some glass-to-glass area for the bond. The foam edge is not strong enough, and unless the pieces fit perfectly together, it would leak.
The way to proceed is to make flanges for closing by temporarily covering part of the top surface and pretend you are mounting it. If the piece is covered with plastic, the epoxy won’t bond to it and you are left with a perfectly fitting flange.
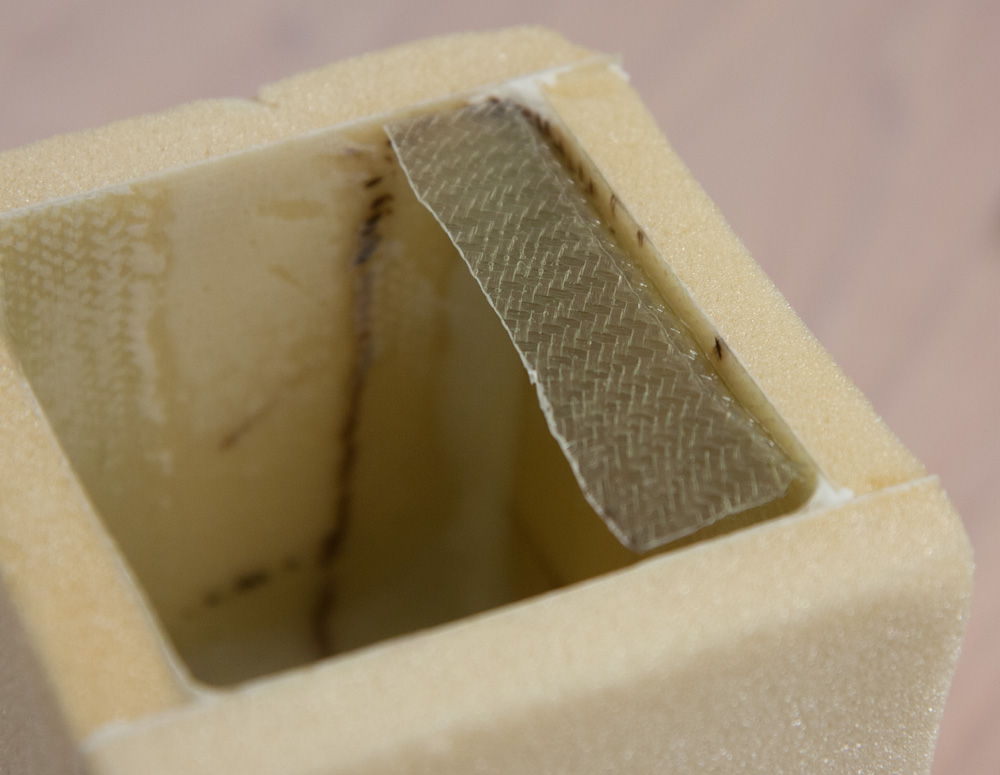
These flanges will give the lid something to bond to.
To make the flanges, a partial cover is taped to the top, and then a BID tape is stuck onto the inside. The epoxy sticks to the plastic on the cover but comes off easily once cured.
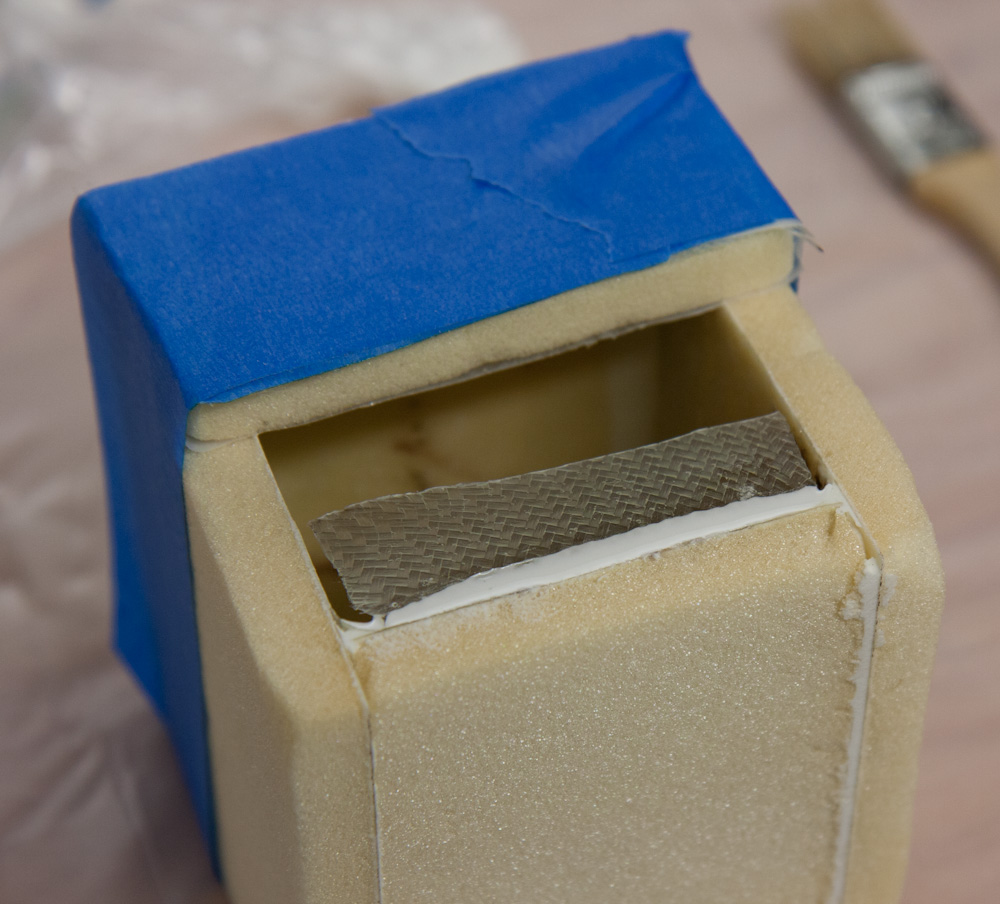
After adding flanges like that around all four edges (which got really difficult towards the end as the hole in the middle ended up only about an inch in size), I let the piece cure for about two weeks. In addition, since post curing the epoxy takes it to a more complete state of cure and makes it less susceptible to chemicals, I post-cured it by sticking my space heater on the lower shelf of the work table and enclosing it in plastic. This “ghetto post cure oven” got about 55C inside, and I kept it there for an afternoon.
Then it was time for the final closing. The intent was to partially fill the container with gasoline and then completely seal it. Once it is completely sealed, weighing it will immediately reveal whether any gasoline is penetrating to the outside and evaporating. Of course, a completely sealed container will also be under pressure if the temperature changes, so this will be an extra test.
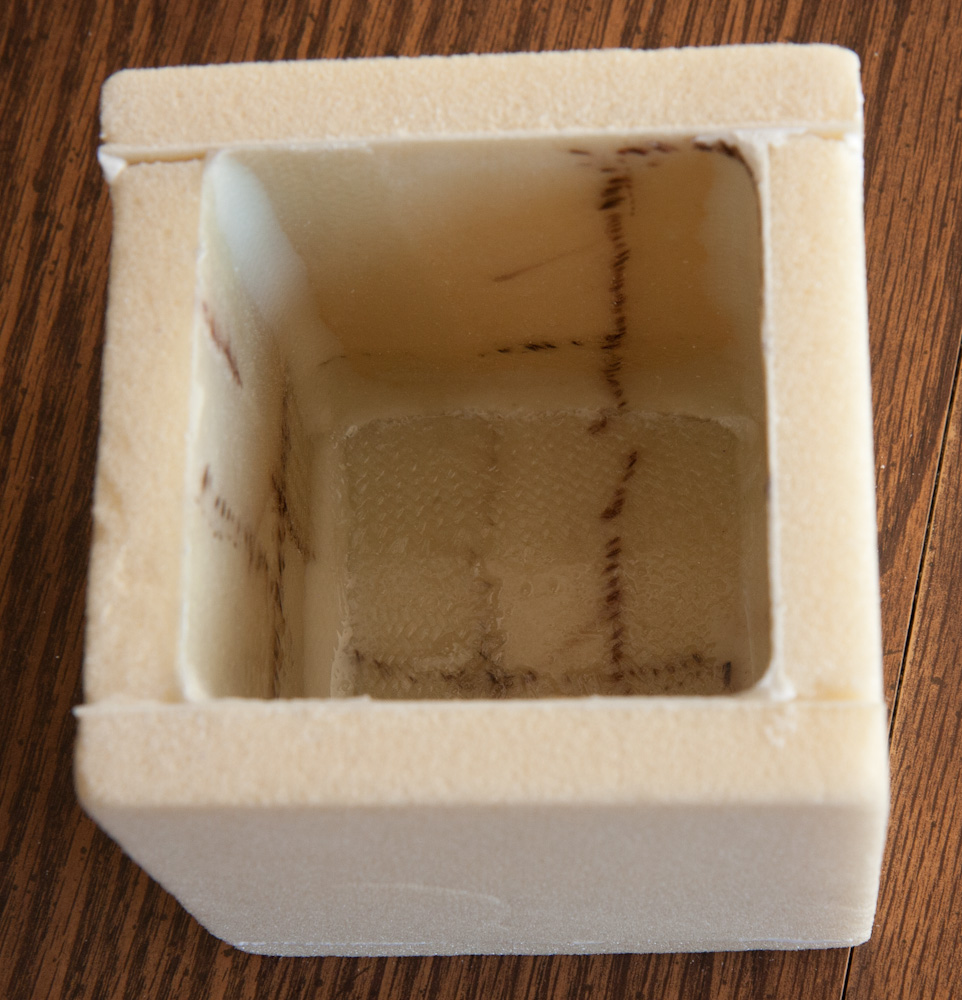
For bonding, flox was added on top of the flanges before putting the lid in place. At this point, the cube is half-filled with gasoline, which is visible through the top hole.
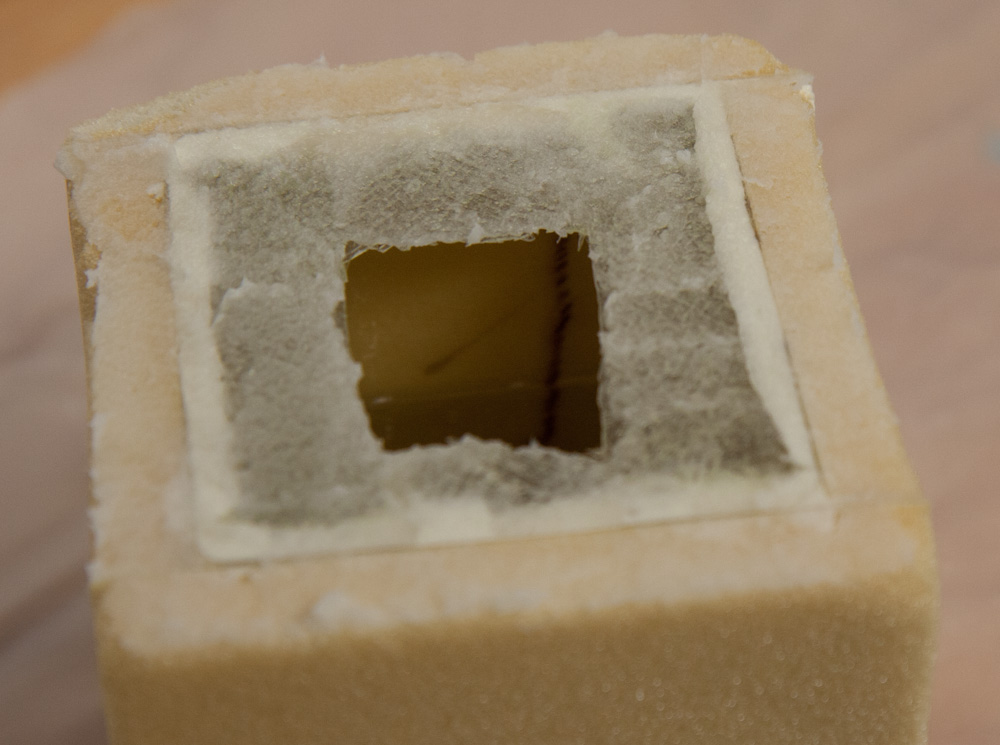
I filled the cube half-full with gasoline, added flox to the flange surfaces, and mounted the lid. The end result looks like this:
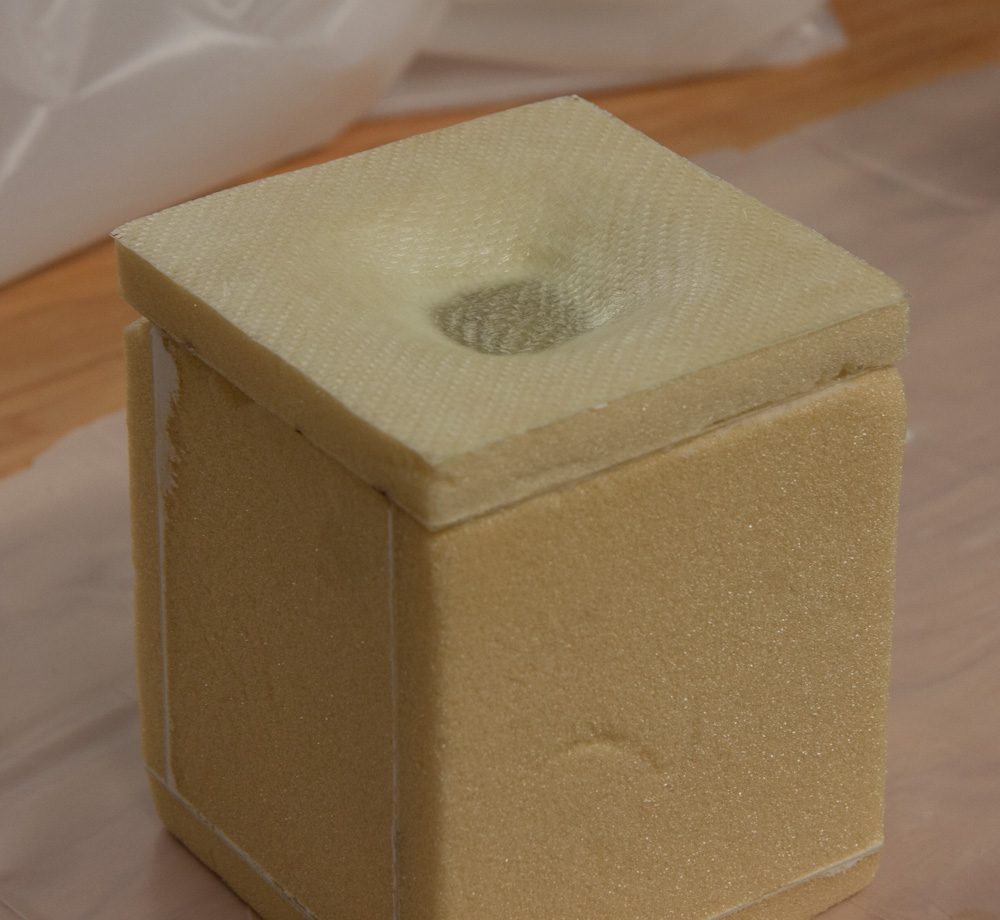
Finally, the lid is put in place
Once this has cured, we’ll see if it’s tight. One problem with the sealed container is that if the temperature changes during the cure, air will be pushed out or sucked in through the not-yet-cured bond, which probably will create a leak. It’s curing inside the epoxy hotbox, which is the most thermally controlled environment around here (plus it’s warm, so it’ll cure fast.) I’ll let you know how it pans out.
Pingback: A Gasoline Experiment, part 2 | Patrik's projects