After the 6-ply flat and confidence layups, the third and final practice layup is the bookend. This is more complicated than the others and is designed to let you practice shaping urethane foam, making corners, and to show you how the fiberglass conforms to complicated shapes.
So the idea is to make a book end out of a thick piece of urethane foam that is shaped to a “pleasing shape” and glassed on all sides. To spice it up a bit, a photo is mounted on the side facing away from the books. The picture below shows how transparent a single ply of fiberglass is when well wet out.
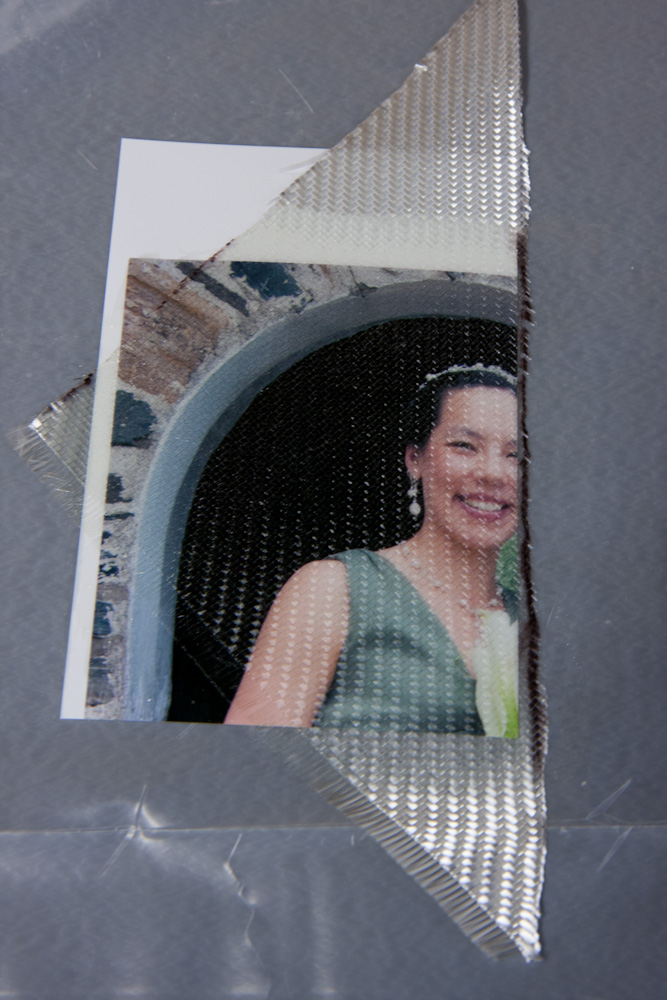
I used this mis-printed picture to make sure the resin wouldn’t dissolve the printer ink. As you can see, a single ply of BID fiberglass is almost completely transparent. The imperfections are from the surface texture of the glass cloth.
The bookend is created by mounting two pieces of urethane foam together at right angles and glassing the “book side” of it with 3 plies BID. The other side of the foam block is then cut at an angle, the corners rounded, and a depression carved in the center where the picture will be mounted. The foam is removed on the edges so you can make a glass-to-glass bond. Three plies of BID is applied to this side, with the picture mounted under the last ply. You get something looking like this:
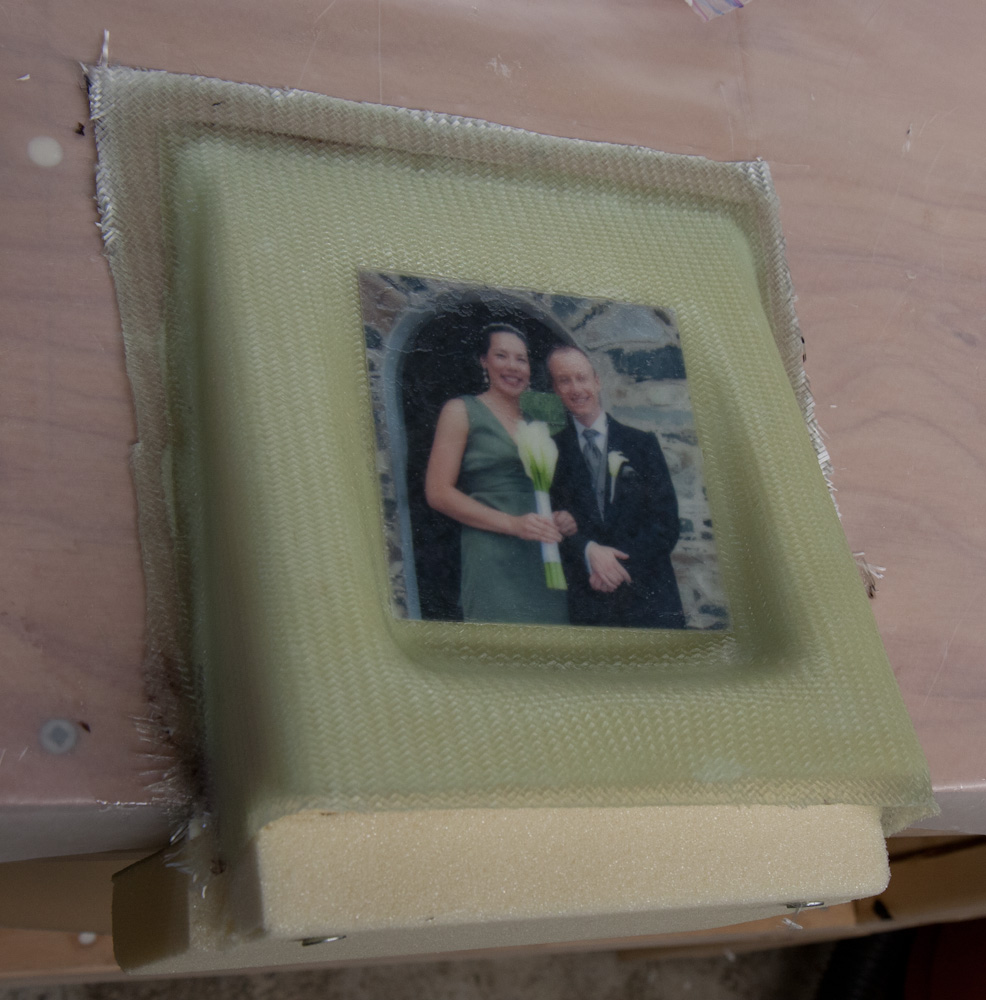
The layup with the photo under the last ply. Note the difficult shape with deep inside corners around the picture and around the edges.
It is quite difficult to get three plies to conform to the deep inside corners around the picture and at the edges. Even with a generous amount of micro, I got a fair number of air bubbles in the corners where the fabric would not conform. It’s also easy to ruin one corner by moving the cloth when trying to squeeze the air out of another. It didn’t end up perfect by any means, but the instructions say that this shape is more difficult than anything on the actual airplane.
To avoid the surface texture of the cloth disturbing the view of the photo, I covered the surface with a plastic sheet and made sure to get all the air out. (Just like I did with the third practice layup.) If you think the picture looks a bit fuzzy above, that’s why.
After trimming the edges of this layup and letting it cure, the bottom foam block is cut away and the surface sanded until the glass is bare. Then four plies of UNI is added to the bottom. However, because a corner where the glass meet at an edge is very weak, you make a “flox corner” around the edges. The foam is removed in the corner and this space is filled with epoxy mixed with flox (flocked cotton, chopped up cotton fibers). Because flox, unlike micro, has fibers in it, it actually has structural strength. This way both edges of the glass are supported in the corner by the flox, which gives it strength. (Unfortunately I don’t have a picture of it being made, I’m trying to keep from getting epoxy on the expensive camera…)
The end result looks like this:
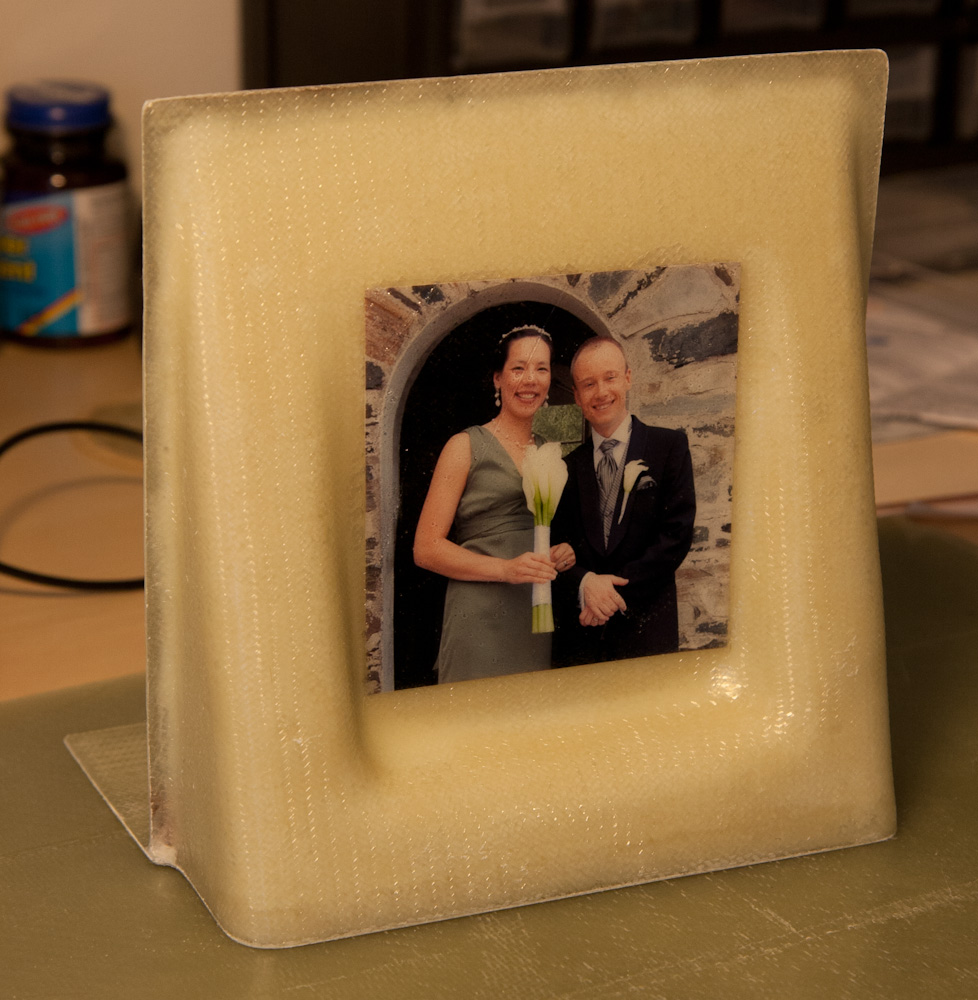
The finished product. The picture looks pretty good, but there’s a few surface imperfections from when I pulled the plastic off. It could probably be sanded and buffed out…
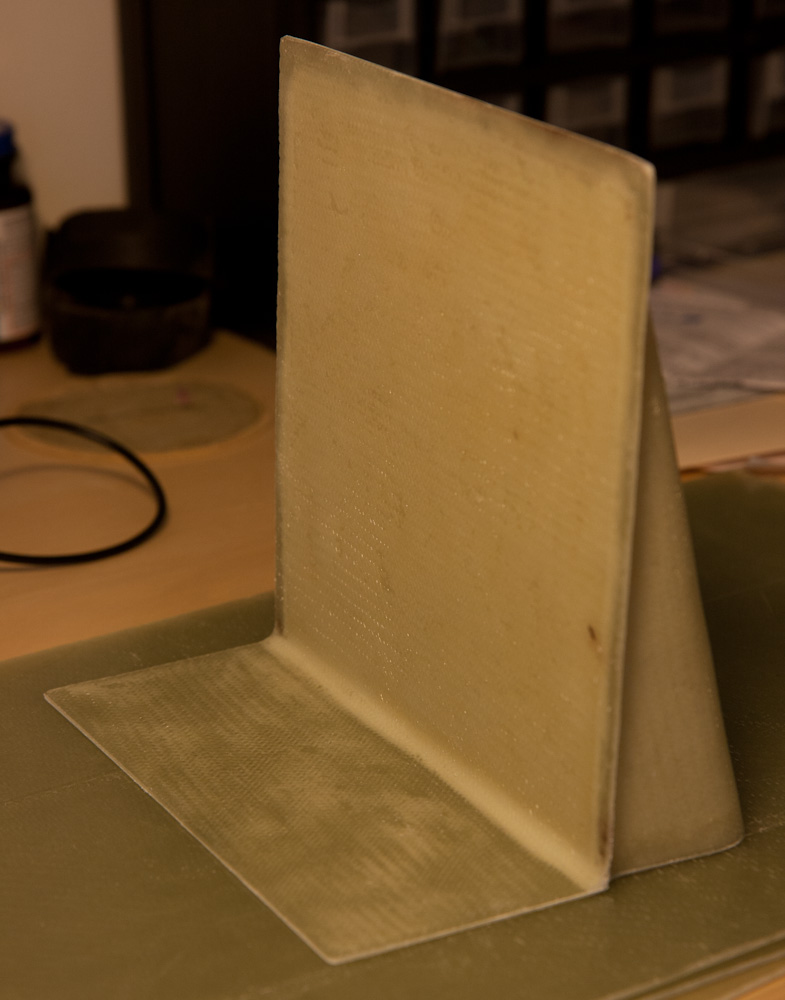
The book side of the bookend. The white areas are where all the micro was not sanded off before glassing the bottom. You’re supposed to remove all the micro, but the surface wasn’t totally flat and I was sanding deep into the actual glass in some parts so I called it good.