It’s been a while since I’ve posted on any progress. Partially because I came down with three back-to-back colds starting on Dec 24 (nice Christmas present…) and partially because I just haven’t shot any pictures.
Over the holidays, I did make what the education chapter refers to as the “confidence layup”, which is a 16-inch long, 2.5-inch wide board made out of a tapered foam core and 4 layers of fiberglass on each side. This was my first opportunity to work with “UNI”, unidirectional fiberglass cloth where almost all fibers go in one direction. These are used where all the strength needs to be in one dimension like on this piece.
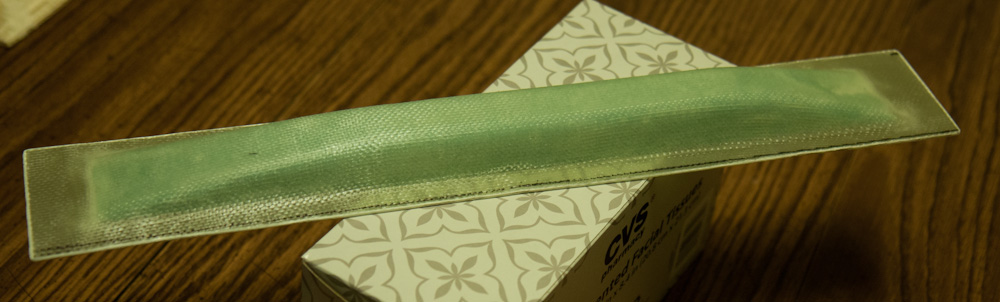
This is the 16-inch long education layup done to show the strength of a foam/fiberglass sandwich.
You start out by cutting out the piece of foam, tapering the ends, and rounding the top edges so the cloth will conform. Then you lay the bottom 4 layers, first 2 BID and then 2 UNI, on a plastic sheet. The foam core is painted with micro slurry to fill the small holes in the surface and then plunked down on top of the glass.
The plans don’t say to add dry micro to fill out a radius on the internal corners on the bottom, but this seems like it would be necessary to not get an air gap in the layup. I went half way and did it on one side and left the other bare so I could see the difference. The micro can be seen as the white area around the edges. When making these corners, you plop down micro and then make a radius with the tongue depressor. I found it difficult to do this without scraping micro out onto the glass which is a big no-no. Micro between the glass layers significantly weakens the bond. However, I don’t know what the benchmark is, is a tiny amount of white left over after you’ve scraped the micro off OK or does it have to be absolutely pristine?
After adding the micro, I laid the same 4 layers of cloth up on top, 2 UNI followed by 2 BID. The cloth conformed well to the curve, but as expected it was impossible to get an entirely air-free corner where I hadn’t radiused with micro.
After cure, I trimmed the piece to the requisite dimensions with the multitool. The instructions say to cure for at least 4 days before putting it to the test. This piece, which ended up weighing 112g (or 3.95oz) should be able to take a 200-pound bending load when supported in the middle. We put the piece over a broom handle and tried standing on each end. It easily took my ~160 lbs and even managed to handle my friend Greg which “put it significantly past design load”, in his words…
Some things learned here was:
- UND is kind of hard to handle and deforms much easier than BID.
- When radiusing inside corners using micro, need to work on the technique to avoid getting it out on the glass.
- It’s hard to squeegee very non-flat pieces without disturbing the cloth. You tend to get all the contact in a small area and it snags the fibers.
- This piece also looks like it’s slightly incompletely wetted, just like the previous ones. However, it’s much harder to tell when there’s foam with micro underneath.
I just did this practice beam layup and wow, its difficult to get no air bubbles like you say. I did not use micro on the corners. Kept going back and forth on the sides trying to get rid of any possible air bubbles but couldn’t get em all. And when stippling with brush on one side it’d pull the fabric from other side causing air on that side again. ahh, frustrating a little bit, hope I can figure this out if I’m going to build an airplane.