After working on insulating the shed and building the hotbox, I got back to the practice layups over the holidays. If you read the first layup post, you know the first try of the 6-ply 10×16″ practice layup was too dry with many white parts. I was hoping that a warm workshop and properly heated epoxy would make the difference.
In laying up the 6 plies, I took care to squeegee the epoxy out over each ply and make several light passes to get the air out. It’s cool, when you pull the squeegee over the freshly wet out fabric you clearly hear a faint sound, almost like fabric ripping, from the tiny air bubbles being forced out. Unlike the previous try, now I added a layer of peel ply over the layup. This helps prevent getting air into the top ply and also makes it easier to squeegee without fear of disturbing the fibers. Unlike the first try, I basically didn’t stipple with the brush at all this time. The result is clearly better than before.
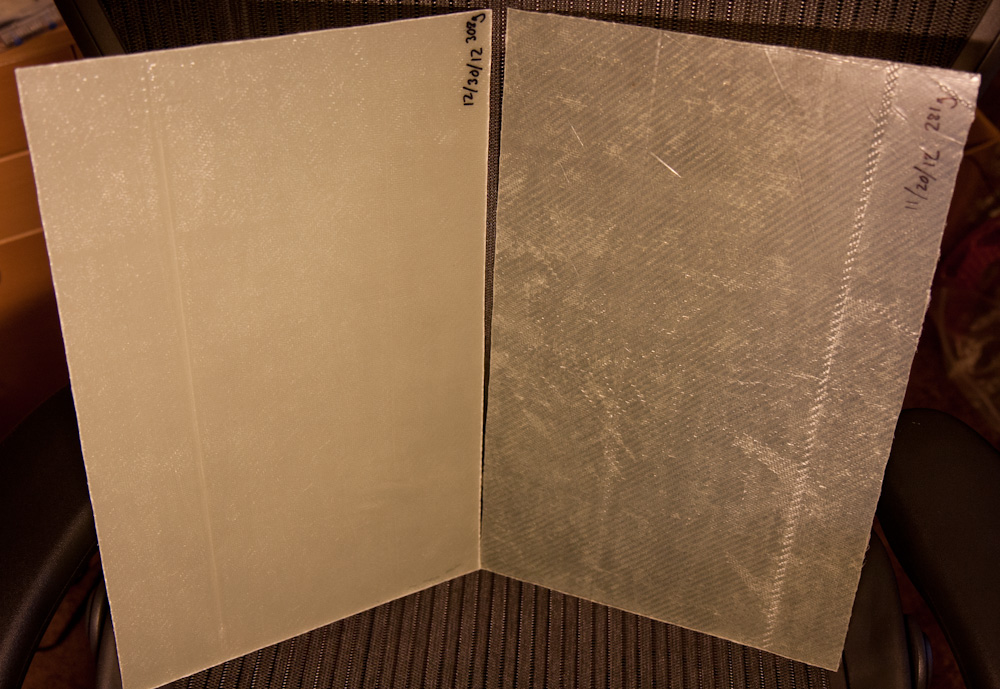
The new layup on the left looks a lot better than the old one on the right. There are many fewer white, dry spots. The weight is 10.9 oz, close to the ideal 11.0oz, but there’s clearly still air in this one too. (The new one looks more opaque because I used peel ply on the back side, so the textured surface makes it less transparent.)
While the first try weighed 9.9oz, this one came out to 10.9, which is very close to the ideal weight of 11.0oz described in the Long-EZ plans. Visually, it looks a lot better than the old one, even if the peel ply changed the surface texture so it’s less transparent than the first one. However, there’s clearly still air trapped within the layup. Holding it up to the light, it’s easier to see.
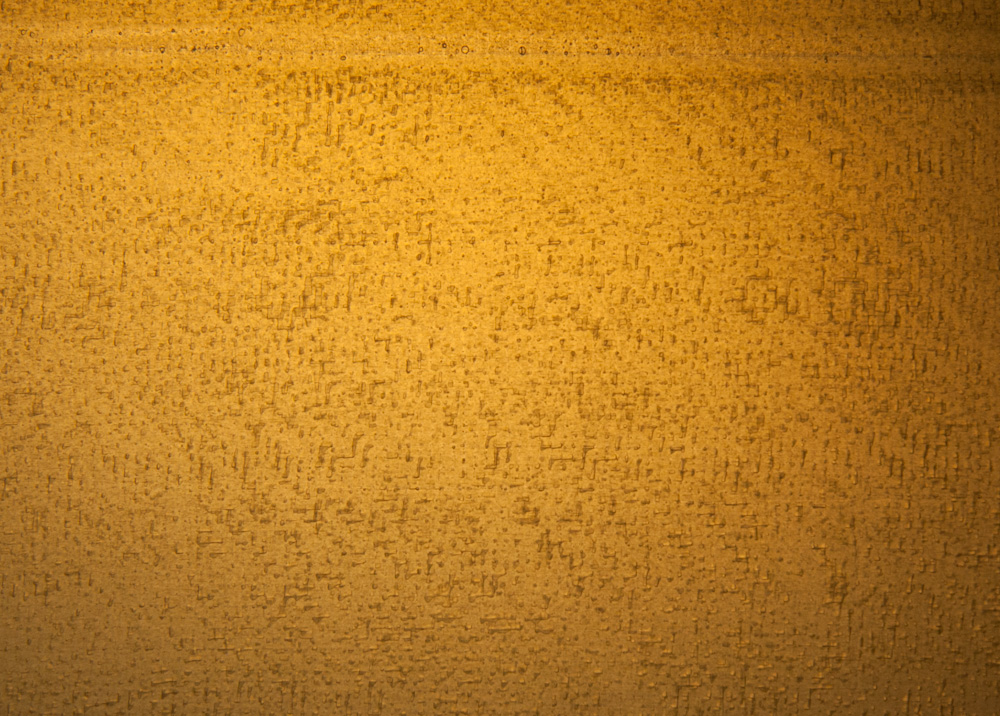
This is a section of the 6-ply layup in transmission. There are clearly air bubbles trapped in the fibers, visible as the zig-zagging darker features.
The 6-ply layup is a bit large for quick experimentation, so I used some scrap 5×5″ BID pieces to make another, smaller, 3-ply layup. This time I was very meticulous in squeegeeing out the resin until it no longer made popping sounds, and then I started stippling with the brush while heating the layup with the hot air gun. When stippling, the epoxy on top clearly picks up a lot of air, it almost becomes foamy. I don’t know whether this is air driven out of the fibers or if the air gets entrained in the resin when stabbing the brush into the layup. I read somewhere that when stippling one shouldn’t really lift the brush all the way off the surface but rather just lighten the pressure and then push down again. This more careful use seemed to work better, I still ended up with air bubbles in the surface but a couple of quick passes with the hot air gun would pop them. After adding 3 plies like this, I ended up with a layup that looked quite good:
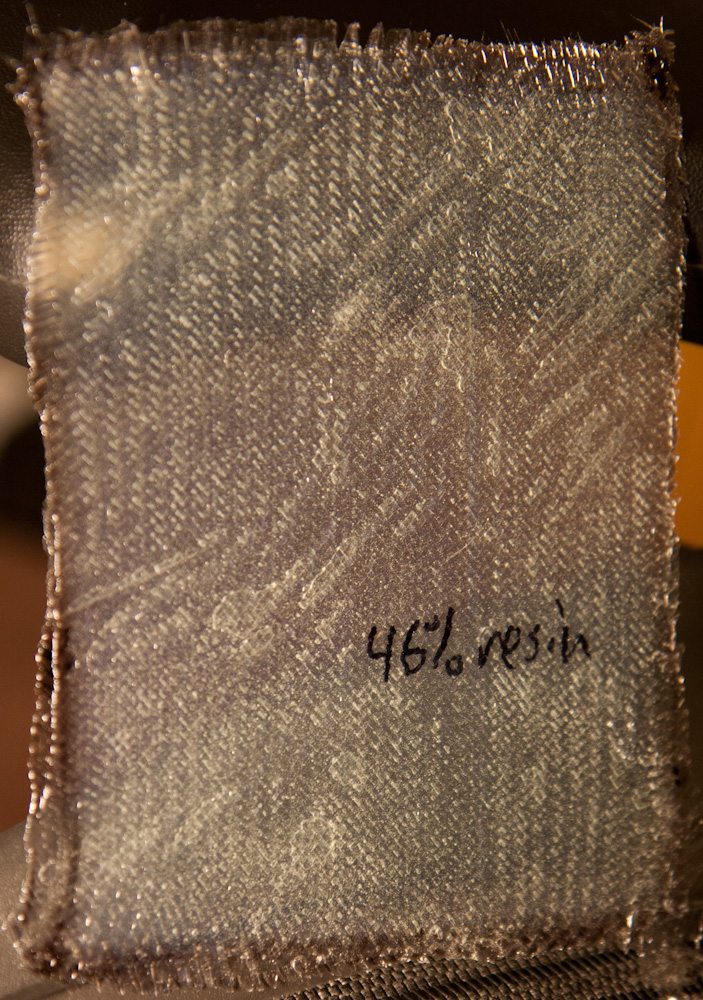
To experiment further, I used 3 scrap 5×5″ BID plies and extremely meticulously stippled it while heating with the hot air gun. This layup has practically no trapped air.
This layup ended up with a resin/total weight ratio of 46%, which would be the equivalent of a total weight of 12.0oz for the large 6-ply layup. This means it’s on the rich side but within the range of acceptability. I could have squeegeed out some resin, but the purpose of this test wasn’t so much to get the right overall ratio as to try to get rid of air within the layup. This was pretty successful. The white features in the picture aren’t from bubbles, it’s the fabric texture on the surface scattering the light, and the large bubble-looking areas are edges on the back side marking areas where air was trapped under the layup, not within it.
Shining the light through the 3-ply 5×5″ layup, one can see many tiny air bubbles. (The large bubble-looking things are where air was trapped between the plastic and the layup. It’s not air inside the layup.
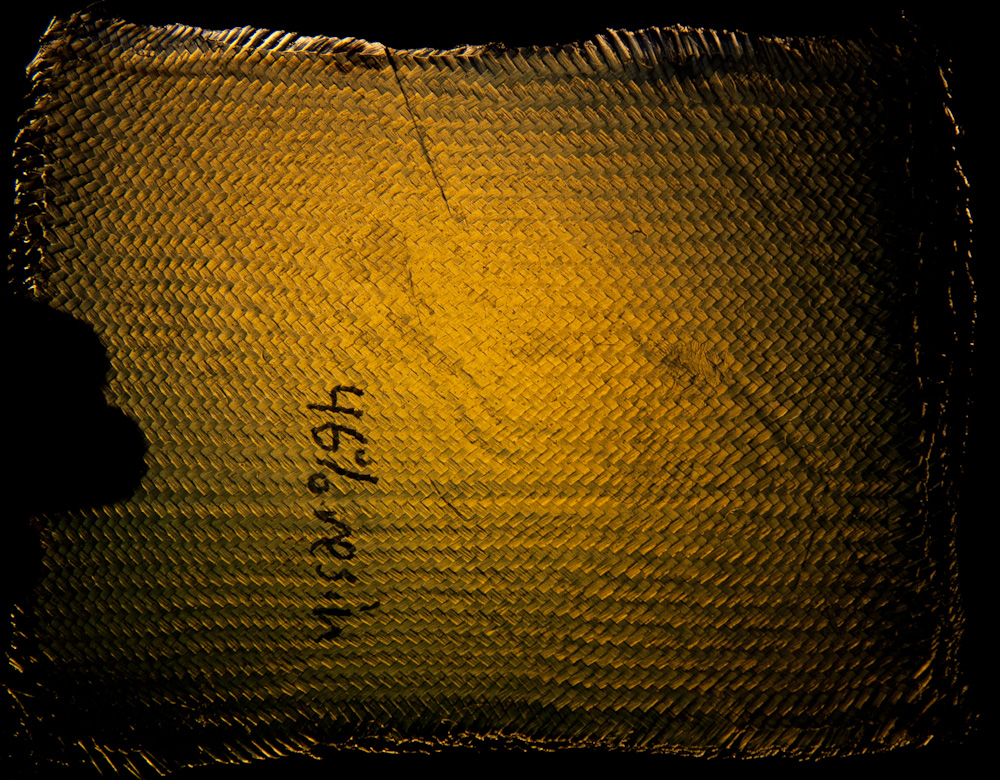
Seen in transmission (that’s a pretty cool picture, IMHO) one can still see a few tiny air bubbles, but they are vastly fewer than on the large layup. If it all looked like this, I’d be pretty darn pleased.
So maybe the solution is nothing more complicated than to apply heat and stipple, in addition to numerous squeegee passes? However, stippling is very slow, and the Long-EZ instructions admit as much. I read somewhere that laying up the glass should take no more than 2 minutes per square foot! That is unbelievably fast. At this speed, the entire 6-ply layup should be done in 19 minutes! I probably spent 2.5 times as long. To be fair, some of that was mixing epoxy, and I find that getting resin out in the corners without smearing it all over the table is much, much slower than wetting out the majority of the surface, so it would probably be quite a bit faster if I was just doing a huge surface. However, it seems hard to believe that one could get all the air out and do half a square foot per minute. What kind of layup speeds are people achieving in real work?
Pingback: Third practice layup | Patrik's Projects