After moving back to CA, I decided to get a motorcycle again. (I actually got two!) They are both 1990-era 400cc “grey bikes” that were never officially imported into the US, so quite hard to find. One is a 1988 Honda CBR400RR NC23 and the other a 1992 Honda VFR400R NC30. Owning a 20+ year-old motorcycle means there’s a fair amount of restoration work needed, which I’ll describe separately. This post focuses on the first upgrade I decided to do to the NC23: a HID headlight retrofit.
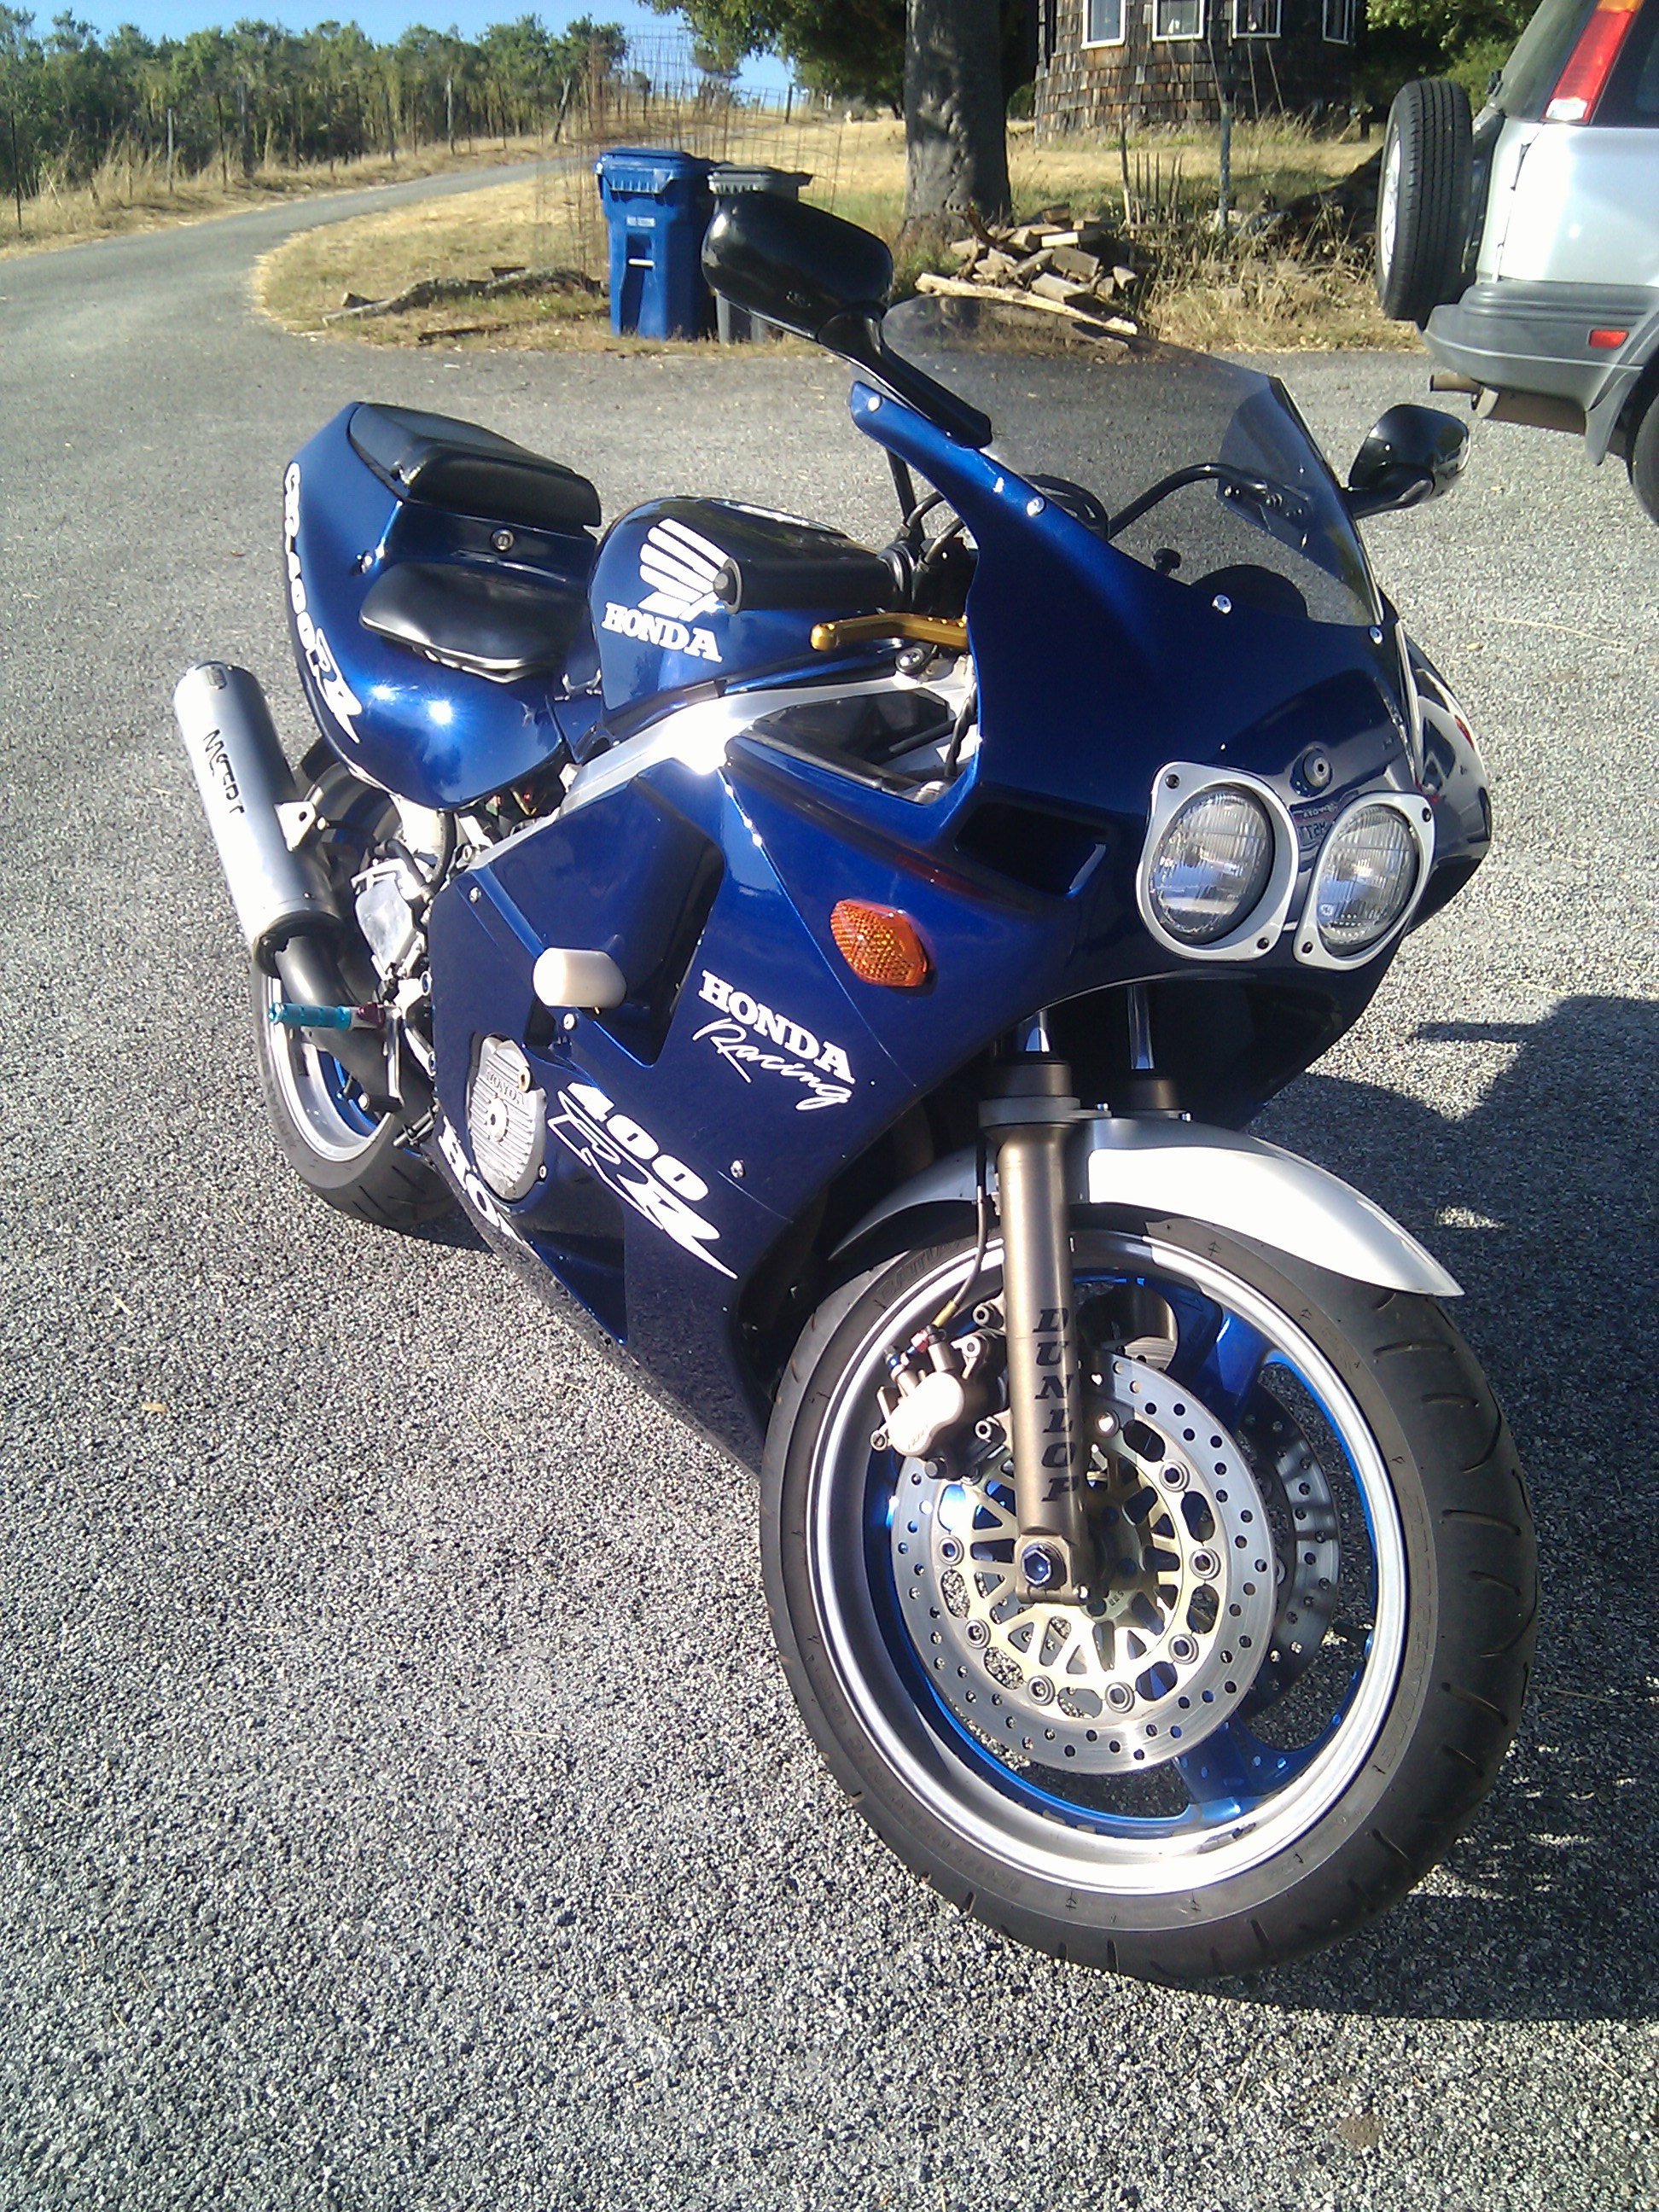
If you’ve seen my the description of my Passat headlight retrofit, you know that I care about having good lights when driving. The standard headlights on the NC23 are, as typical for that era, two small, round lamps, as can be seen in this picture below, taken just after buying the bike. The lamps uses a “H4-like” japanese special bulb that has a 35W low beam and a 60W high beam. So not only are the bulbs 20W less than a normal “H4” bulb, they are mounted in these tiny reflectors that are not very efficient. The result is pretty anemic lights, particularly the low beams.
This certainly doesn’t seem good enough to ride around at dark, not in rural areas and neither in LA traffic. Something had to be done.
The headlights are extremely small. They are 10cm in diameter and only about 6cm deep, so there’s no way a HID projector will fit inside them. But if you’re willing to do some work and accept that the projector will poke out the back quite a bit (this is fine, there’s sufficient space behind the lamps) it might work. I found the tiny Morimoto Matchbox bi-xenon projectors at TheRetrofitSource.com. They don’t recommend them for main headlight retrofits, being so small they don’t have the same amount of light as a full-sized projector, but surely they couldn’t be worse than the standard headlights! I ordered a set of projectors, 4300K HID bulbs, ballasts, and an extra long bulb extension cable so the ballasts could go in the tail, where there’s plenty of space.
I took apart one headlight, and after liberal use of Dremel and JB Weld, I could fit the projector in it. The picture below shows a bare projector and one mounted in the headlight. Just so you can appreciate how small these projectors are, I included the standard headlight bulb in the picture as well.
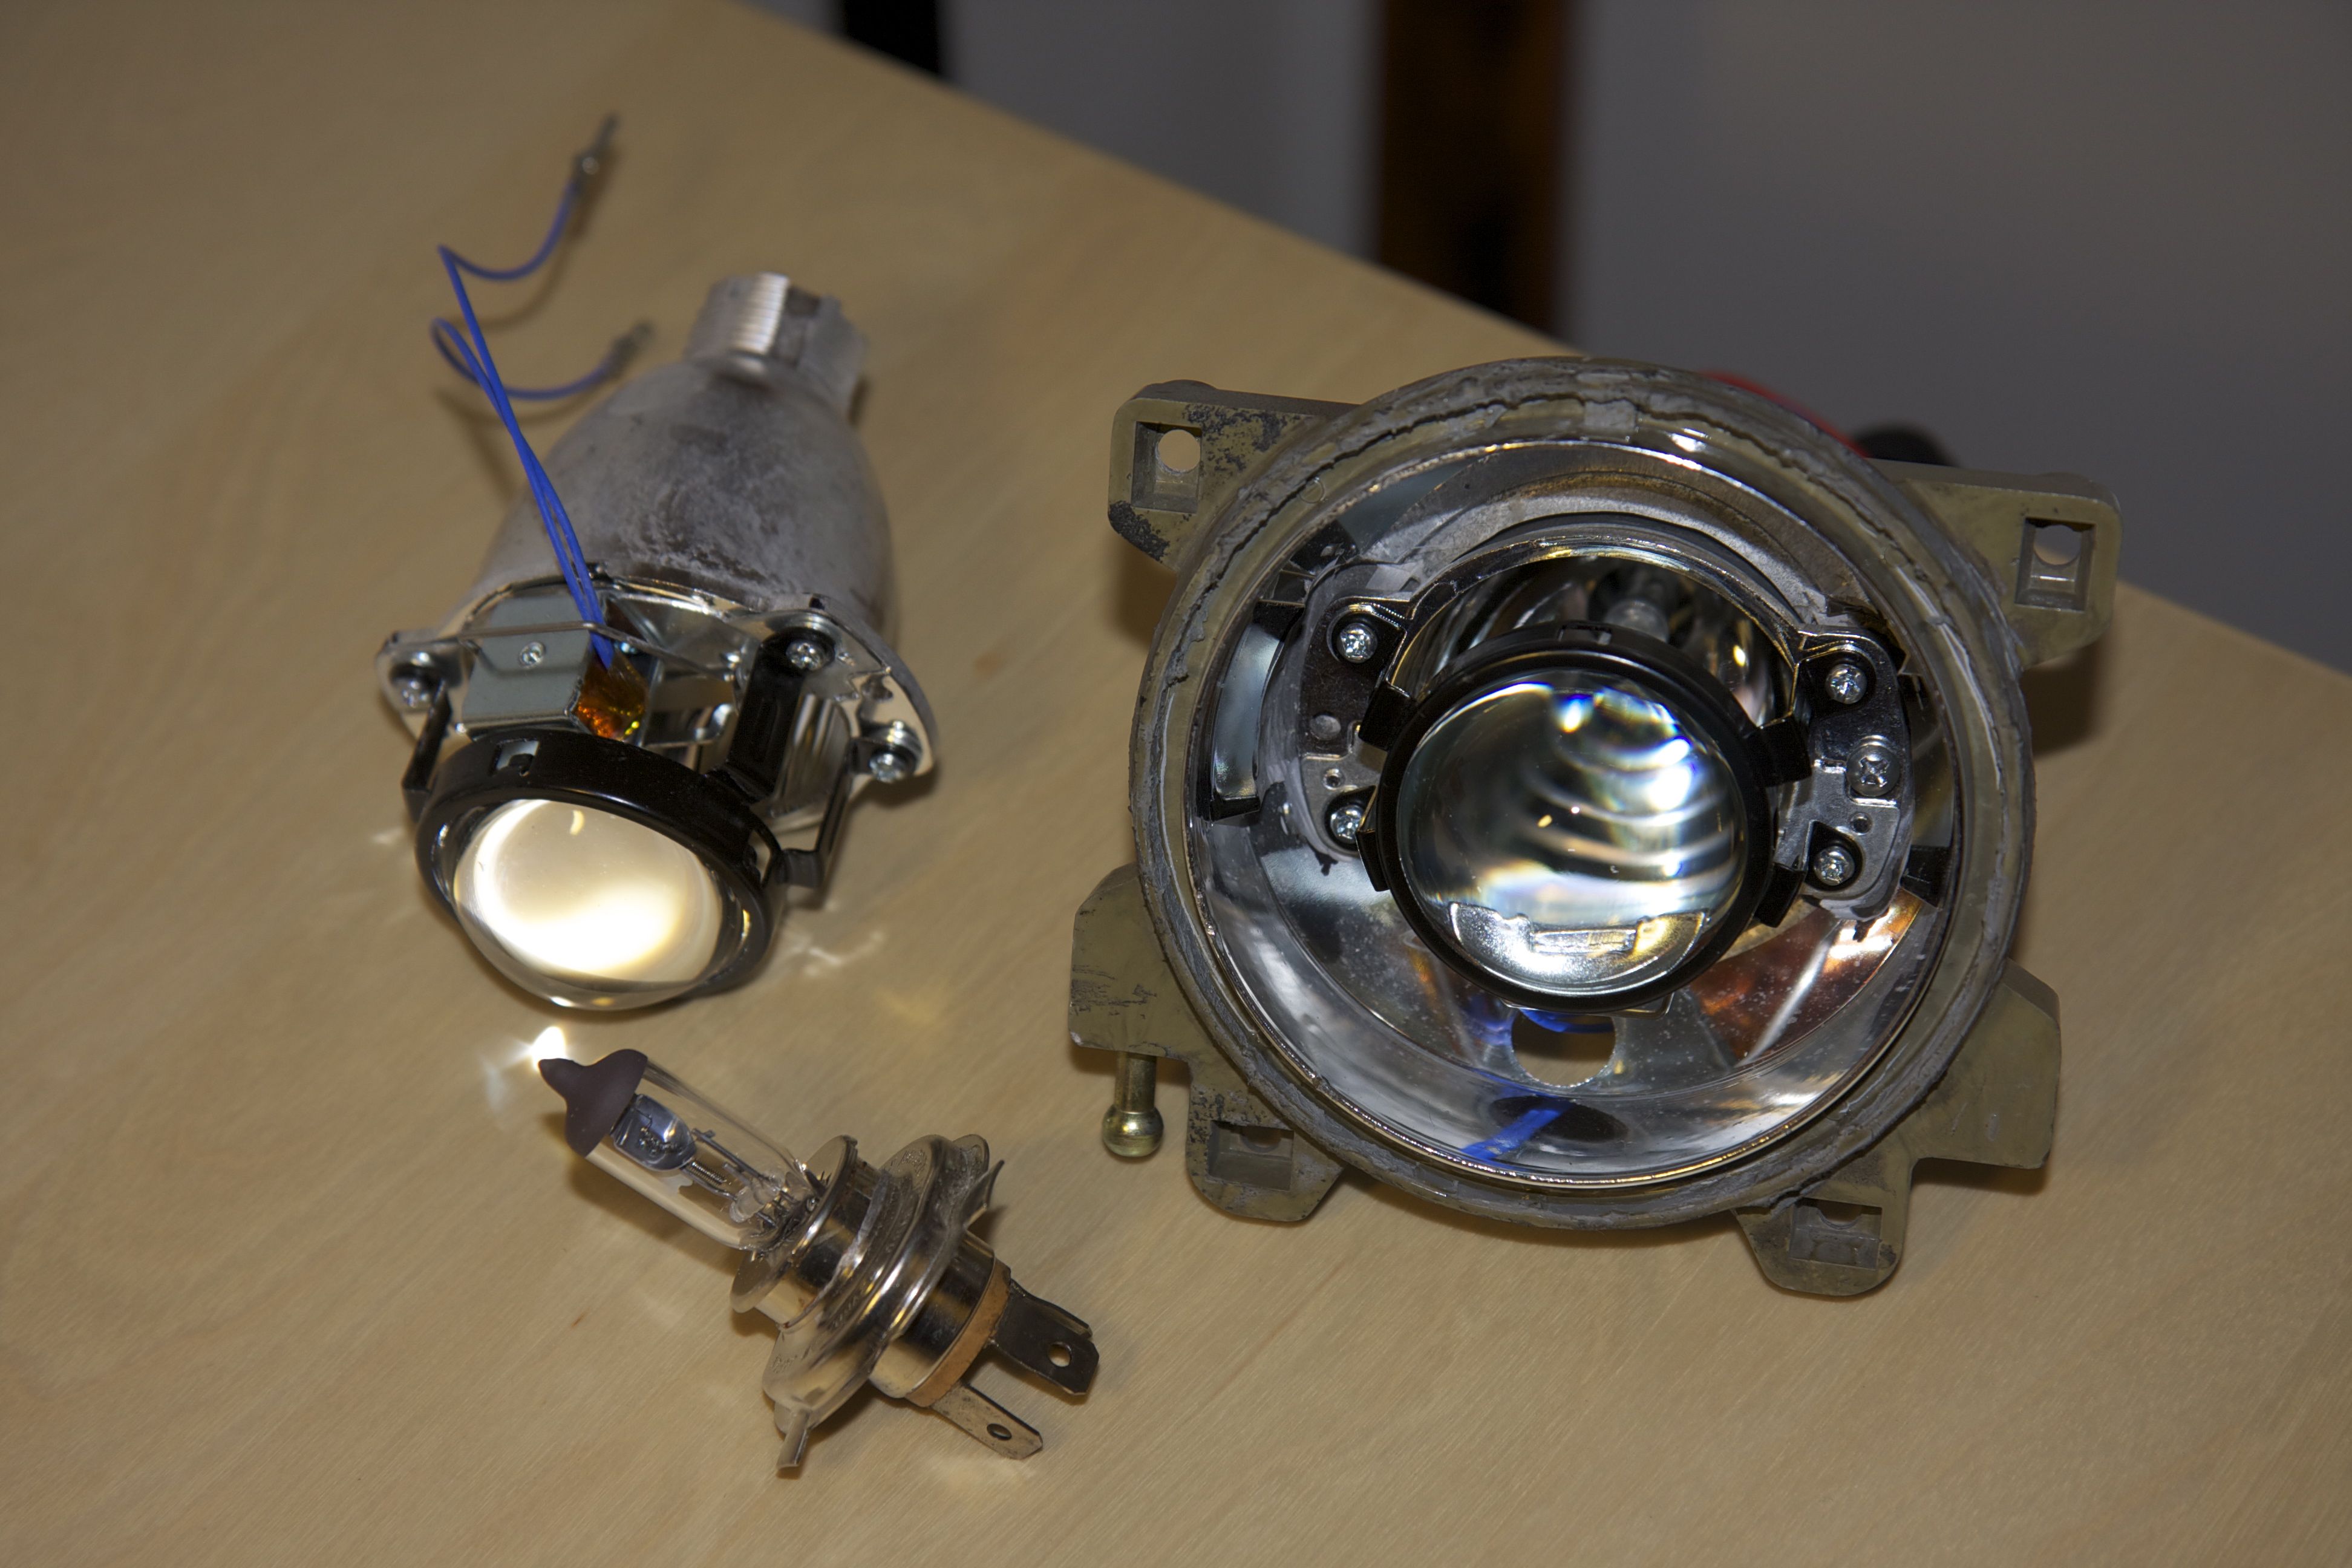
These are the Morimoto Matchbox projectors, one of them mounted in the disassembled headlight. The standard halogen bulb is included for scale.
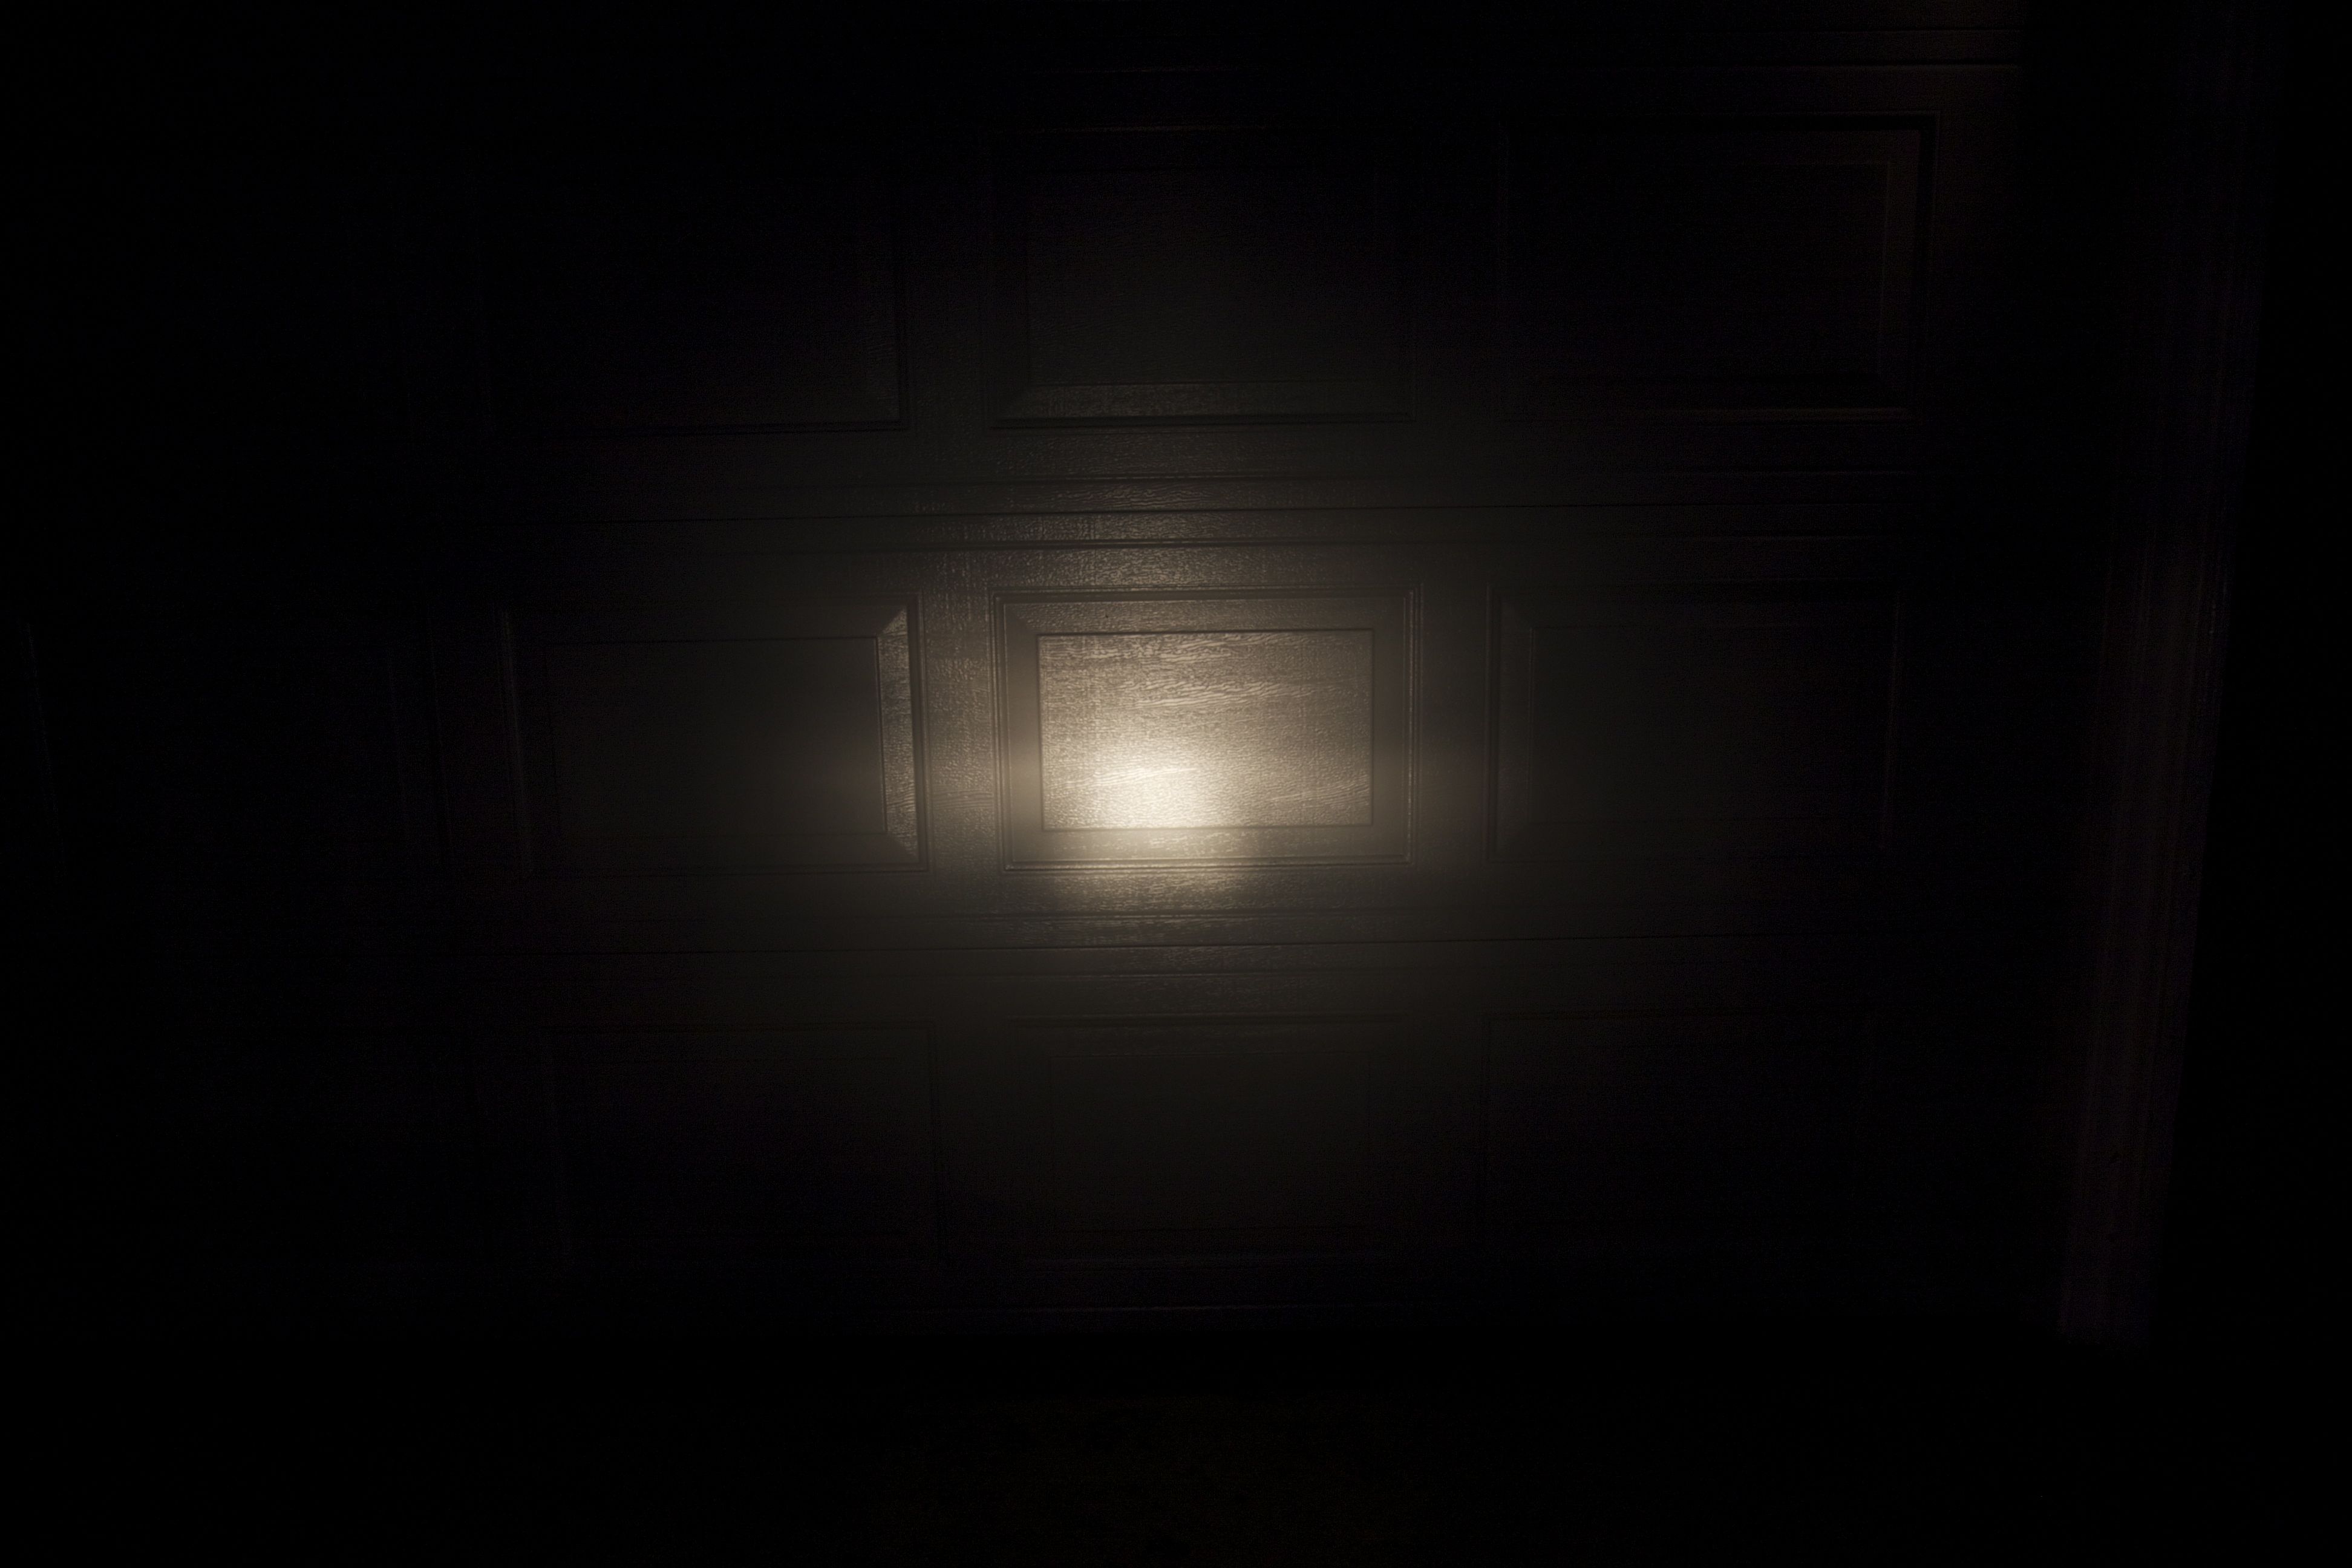
So how does the beam from the Matchbox projectors compare to the remaining standard headlight? The pictures below were taken with identical exposure settings, set to avoid saturating any of the pictures. Judge for yourself:
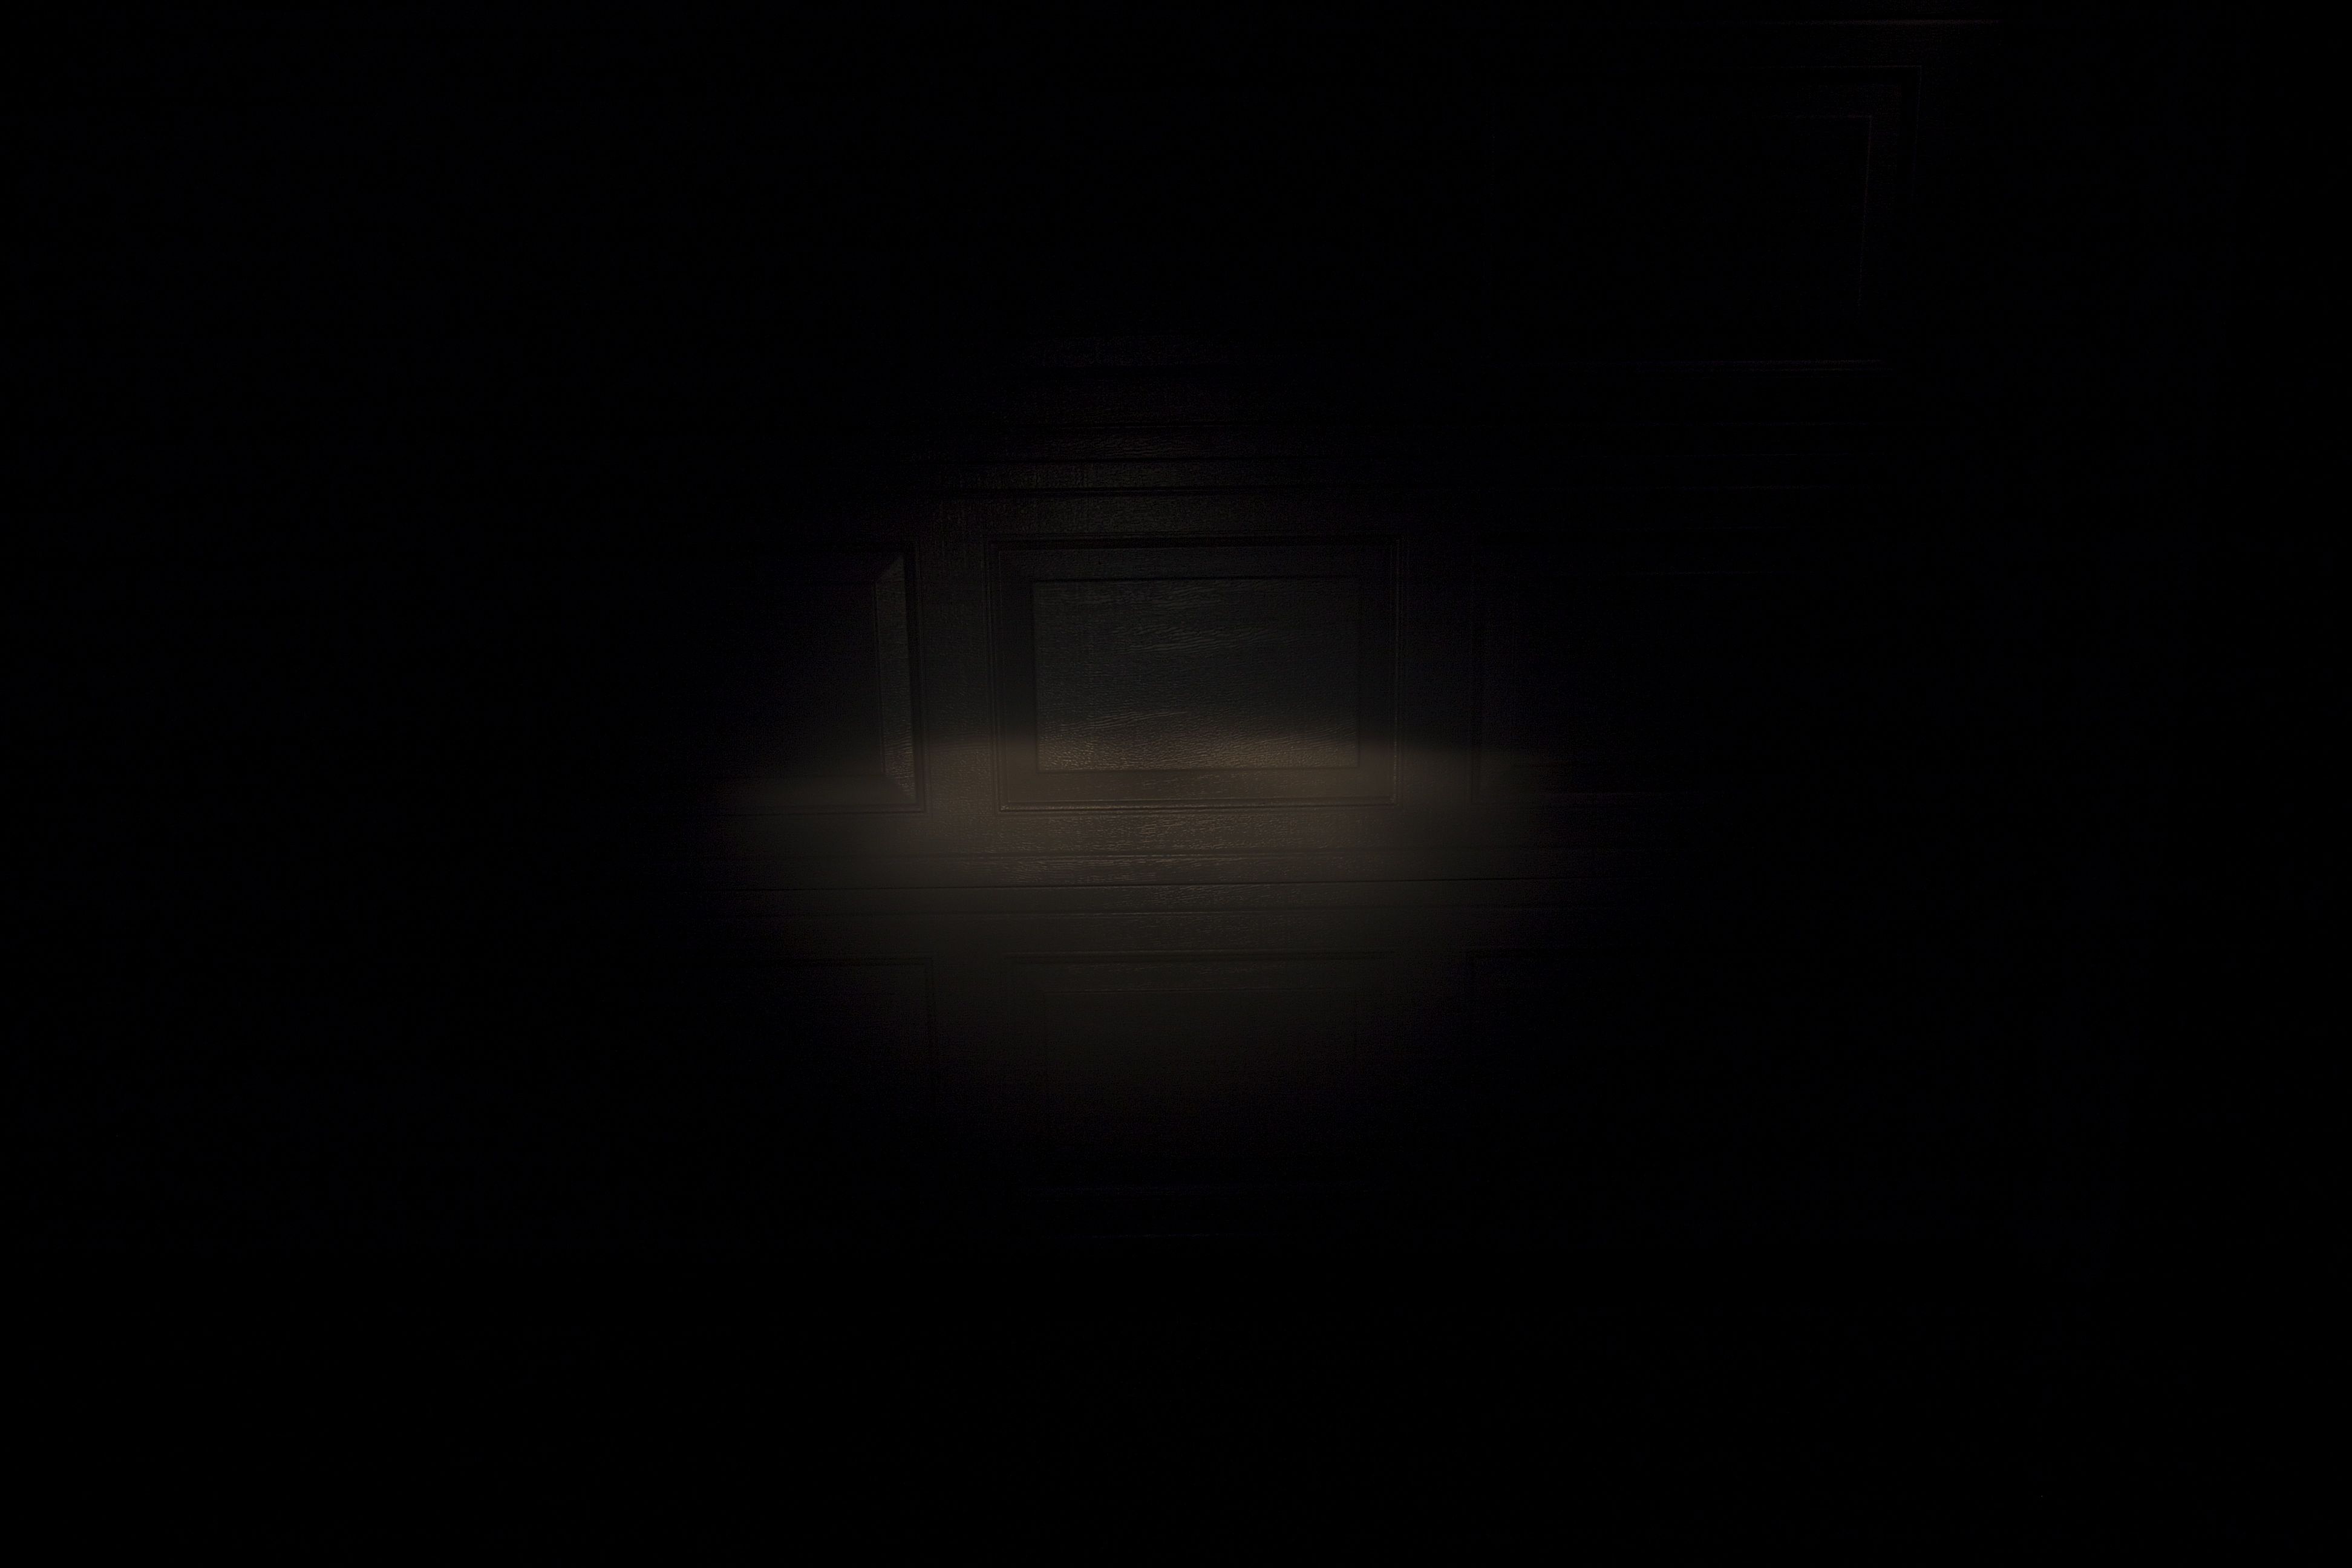
The standard low beam. The exposure was set to not overexpose any of the shots, which were taken with identical exposures. It really is this dim, in comparison.
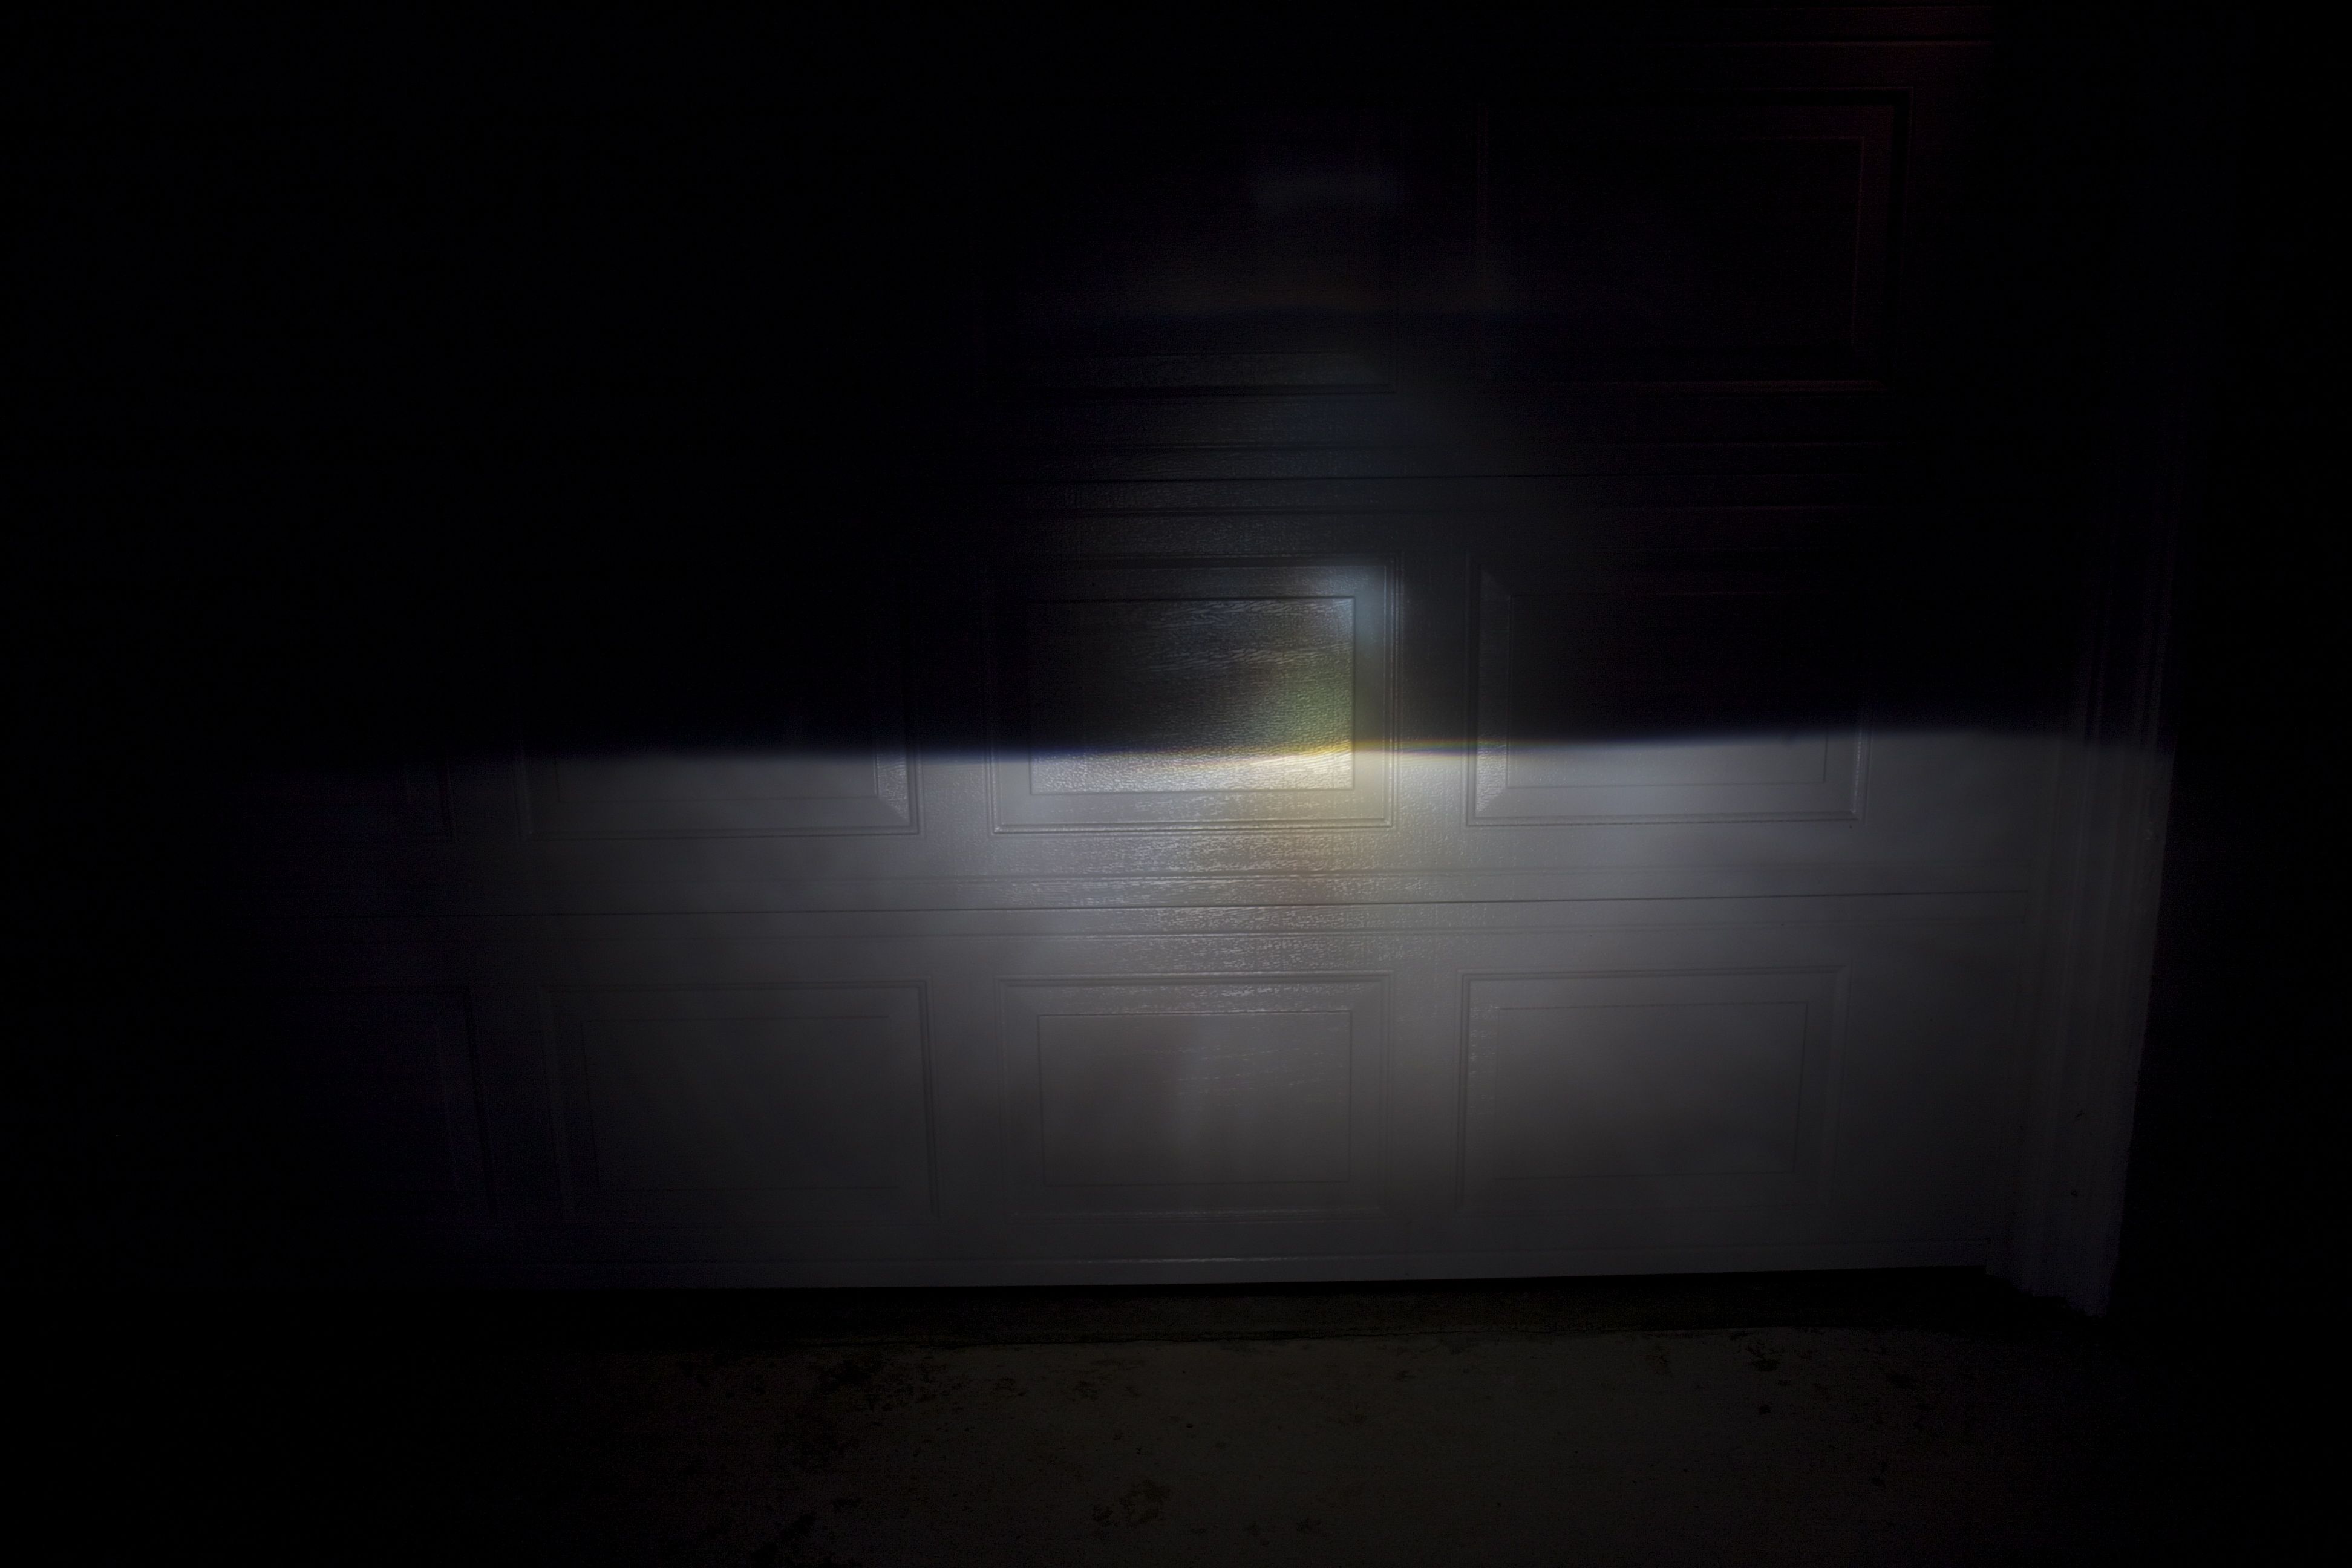
The low beam from the Matchbox projectors. Not only is it dramatically brighter than the standard low beam, it also is much wider. The beam pattern is not bad, but there’s some kind of reflection above the cutoff.
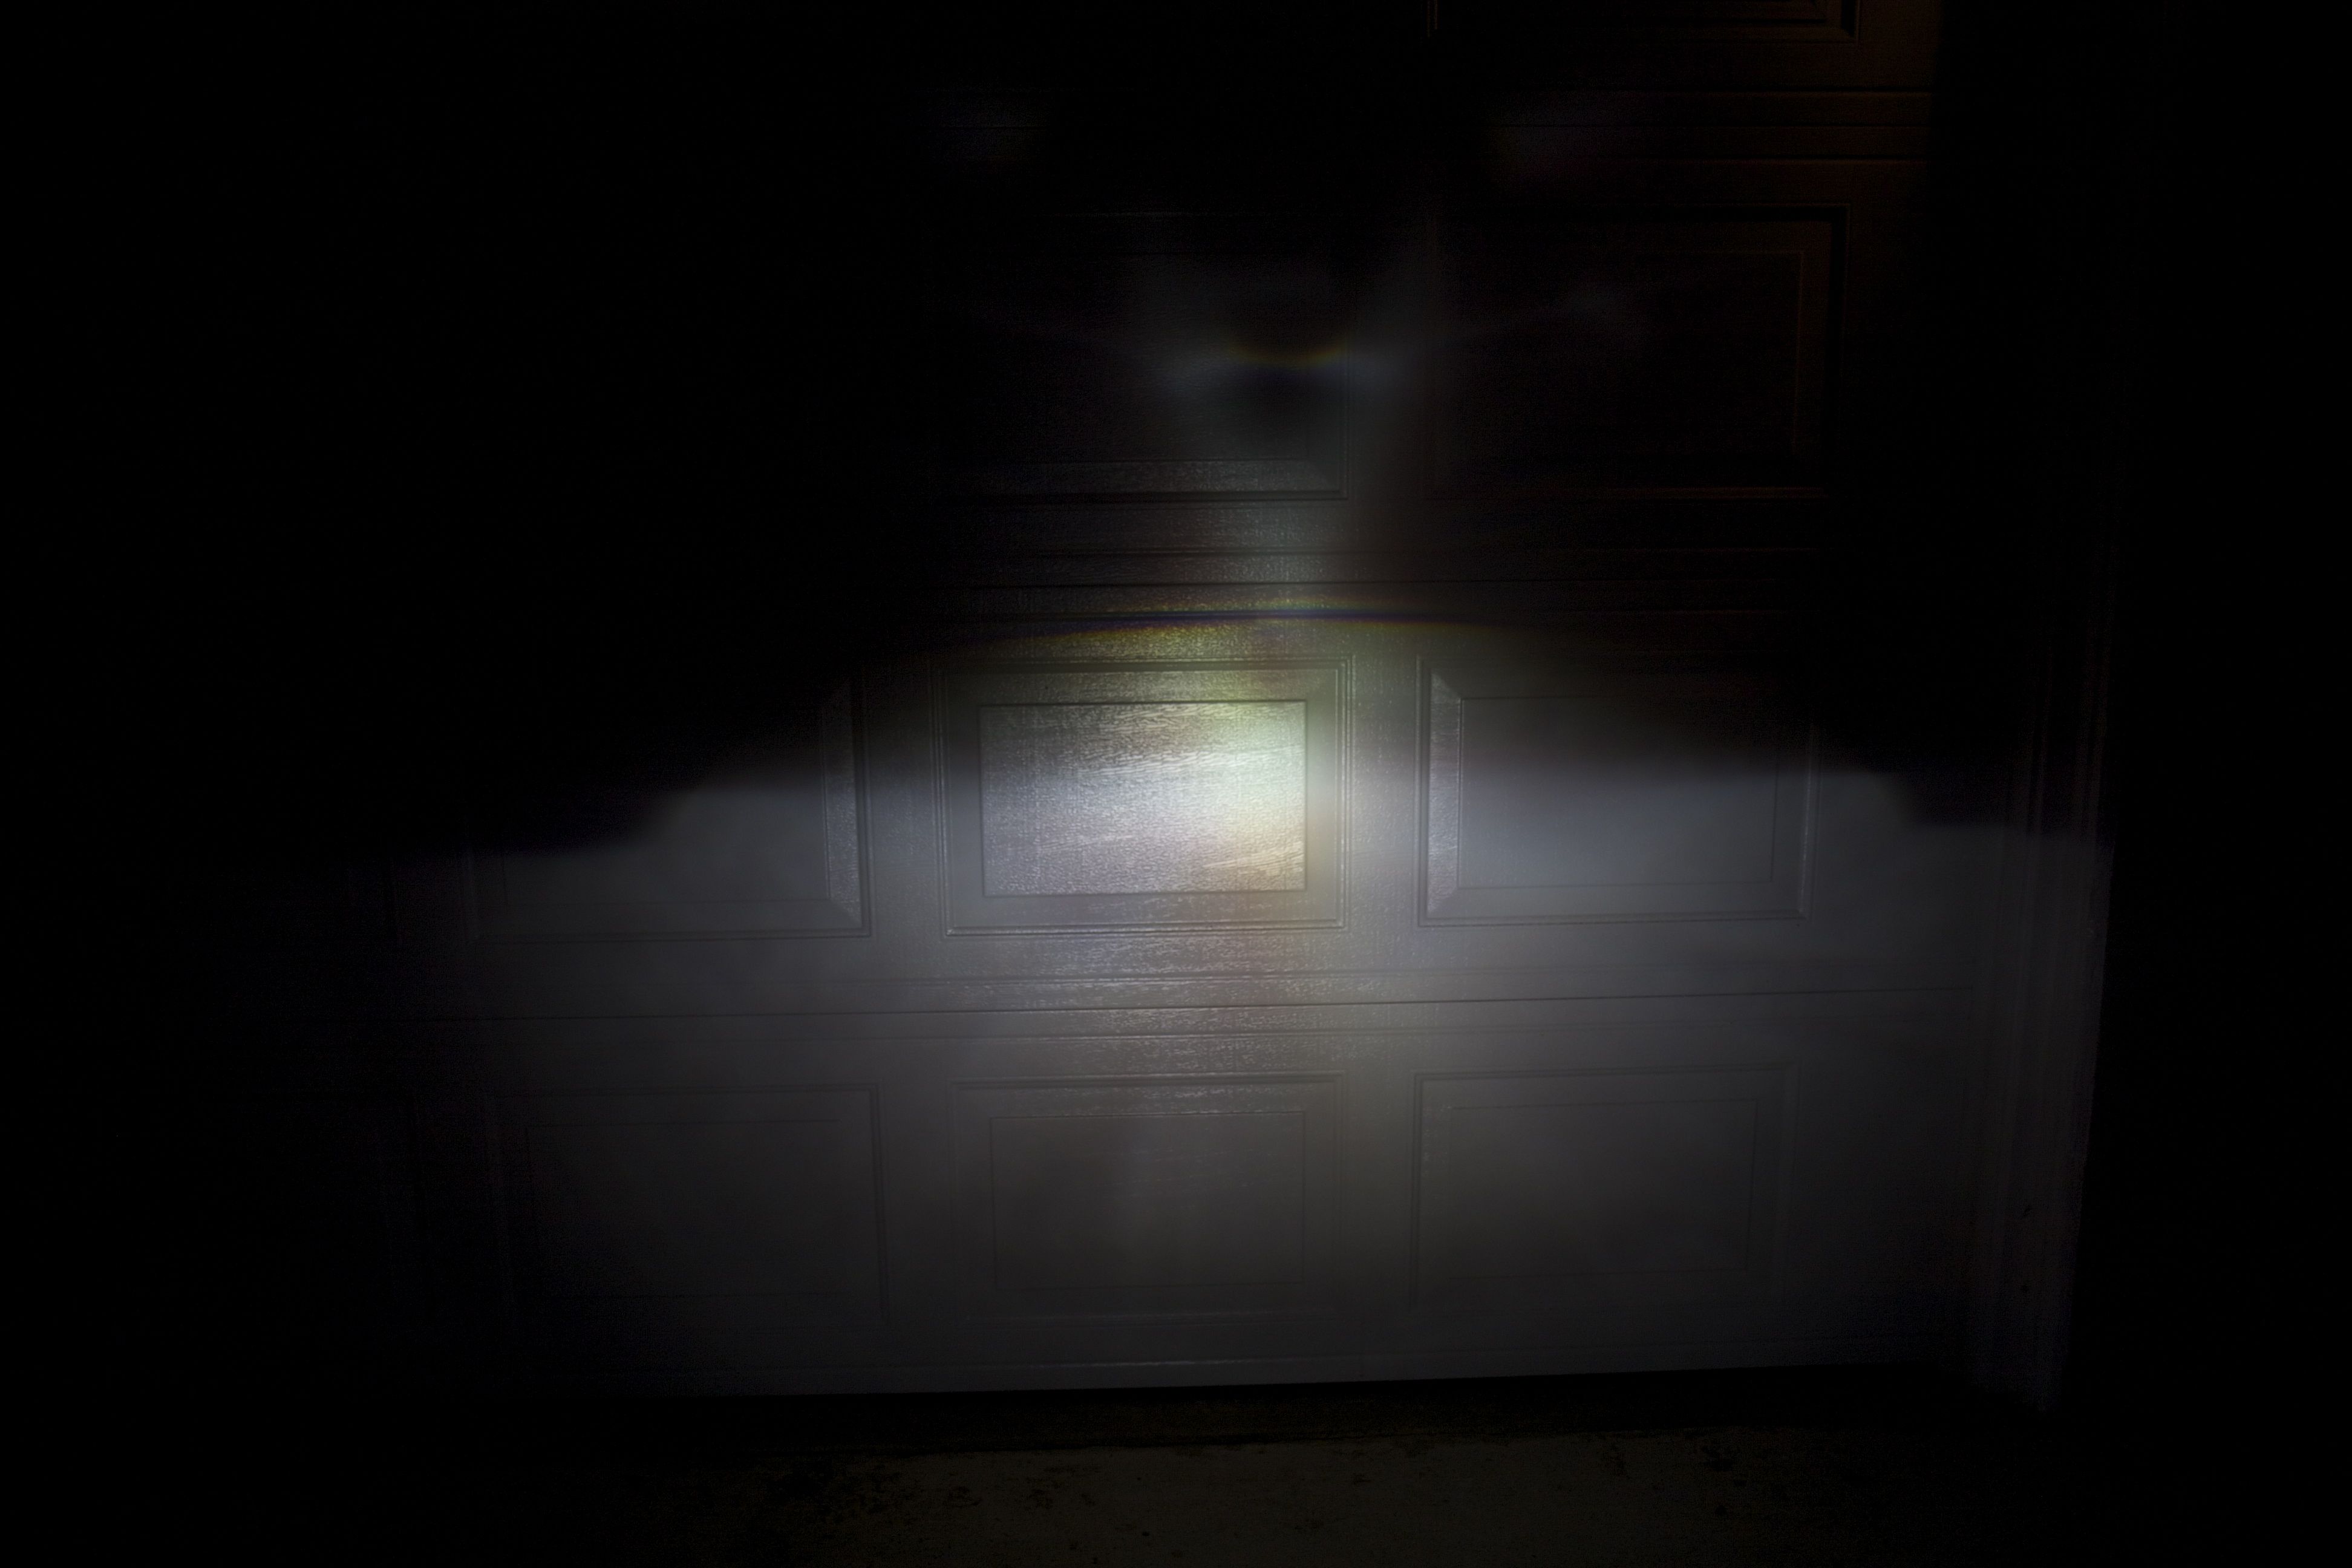
The high beams from the Matchbox projectors. If you compare the garage door pattern on the low and high beam shots you can see how much higher the beam is.
Clearly this will be a dramatic improvement. Remaining to do is to paint the inside of the old reflector housing black, secure the projector in the housing, mount the shroud, and then wire it up. Shouldn’t be a big deal.
Pingback: NC23 Headlight Retrofit #2 « Patrik's Projects