This is post #7 describing the wine storage unit upgrade. See the introduction post for the background.
If you’ve followed the story so far, you know that it’s kind of been a bumpy road, especially once the ICs started burning out… But at this point we have a basically functioning unit. Now the question is how well it works.
The inside temperature is measured in 3 places: two temperature probes that enter through the back of the cabinet and were supposed to be mounted in the back wall and one on the circuit board for the lamp under a cover in the cabinet ceiling. Once the cooler was functioning reliably and I started testing how well the control loop worked, a few things were apparent. First, the temperature indicated by the probes when they were flush against the back wall was several C higher than if they extended into the inside. Perhaps this should have been expected, but I figured that the inside of the cabinet would be in thermal equilibrium with the air inside. It turns out that’s not the case, the walls are a lot warmer. The wine bottles, however, lie on wire racks and are basically insulated from the walls. The end result was that when the box had reached an equilibrium and the temperature probes showed 13C, the actual bottles inside were much colder, more like 9C. So much for exact temperature control… I glued little aluminum plates to the top of the probes in the hope that this would give them better heat transfer to the inside air, but it didn’t really help. A better solution was called for.
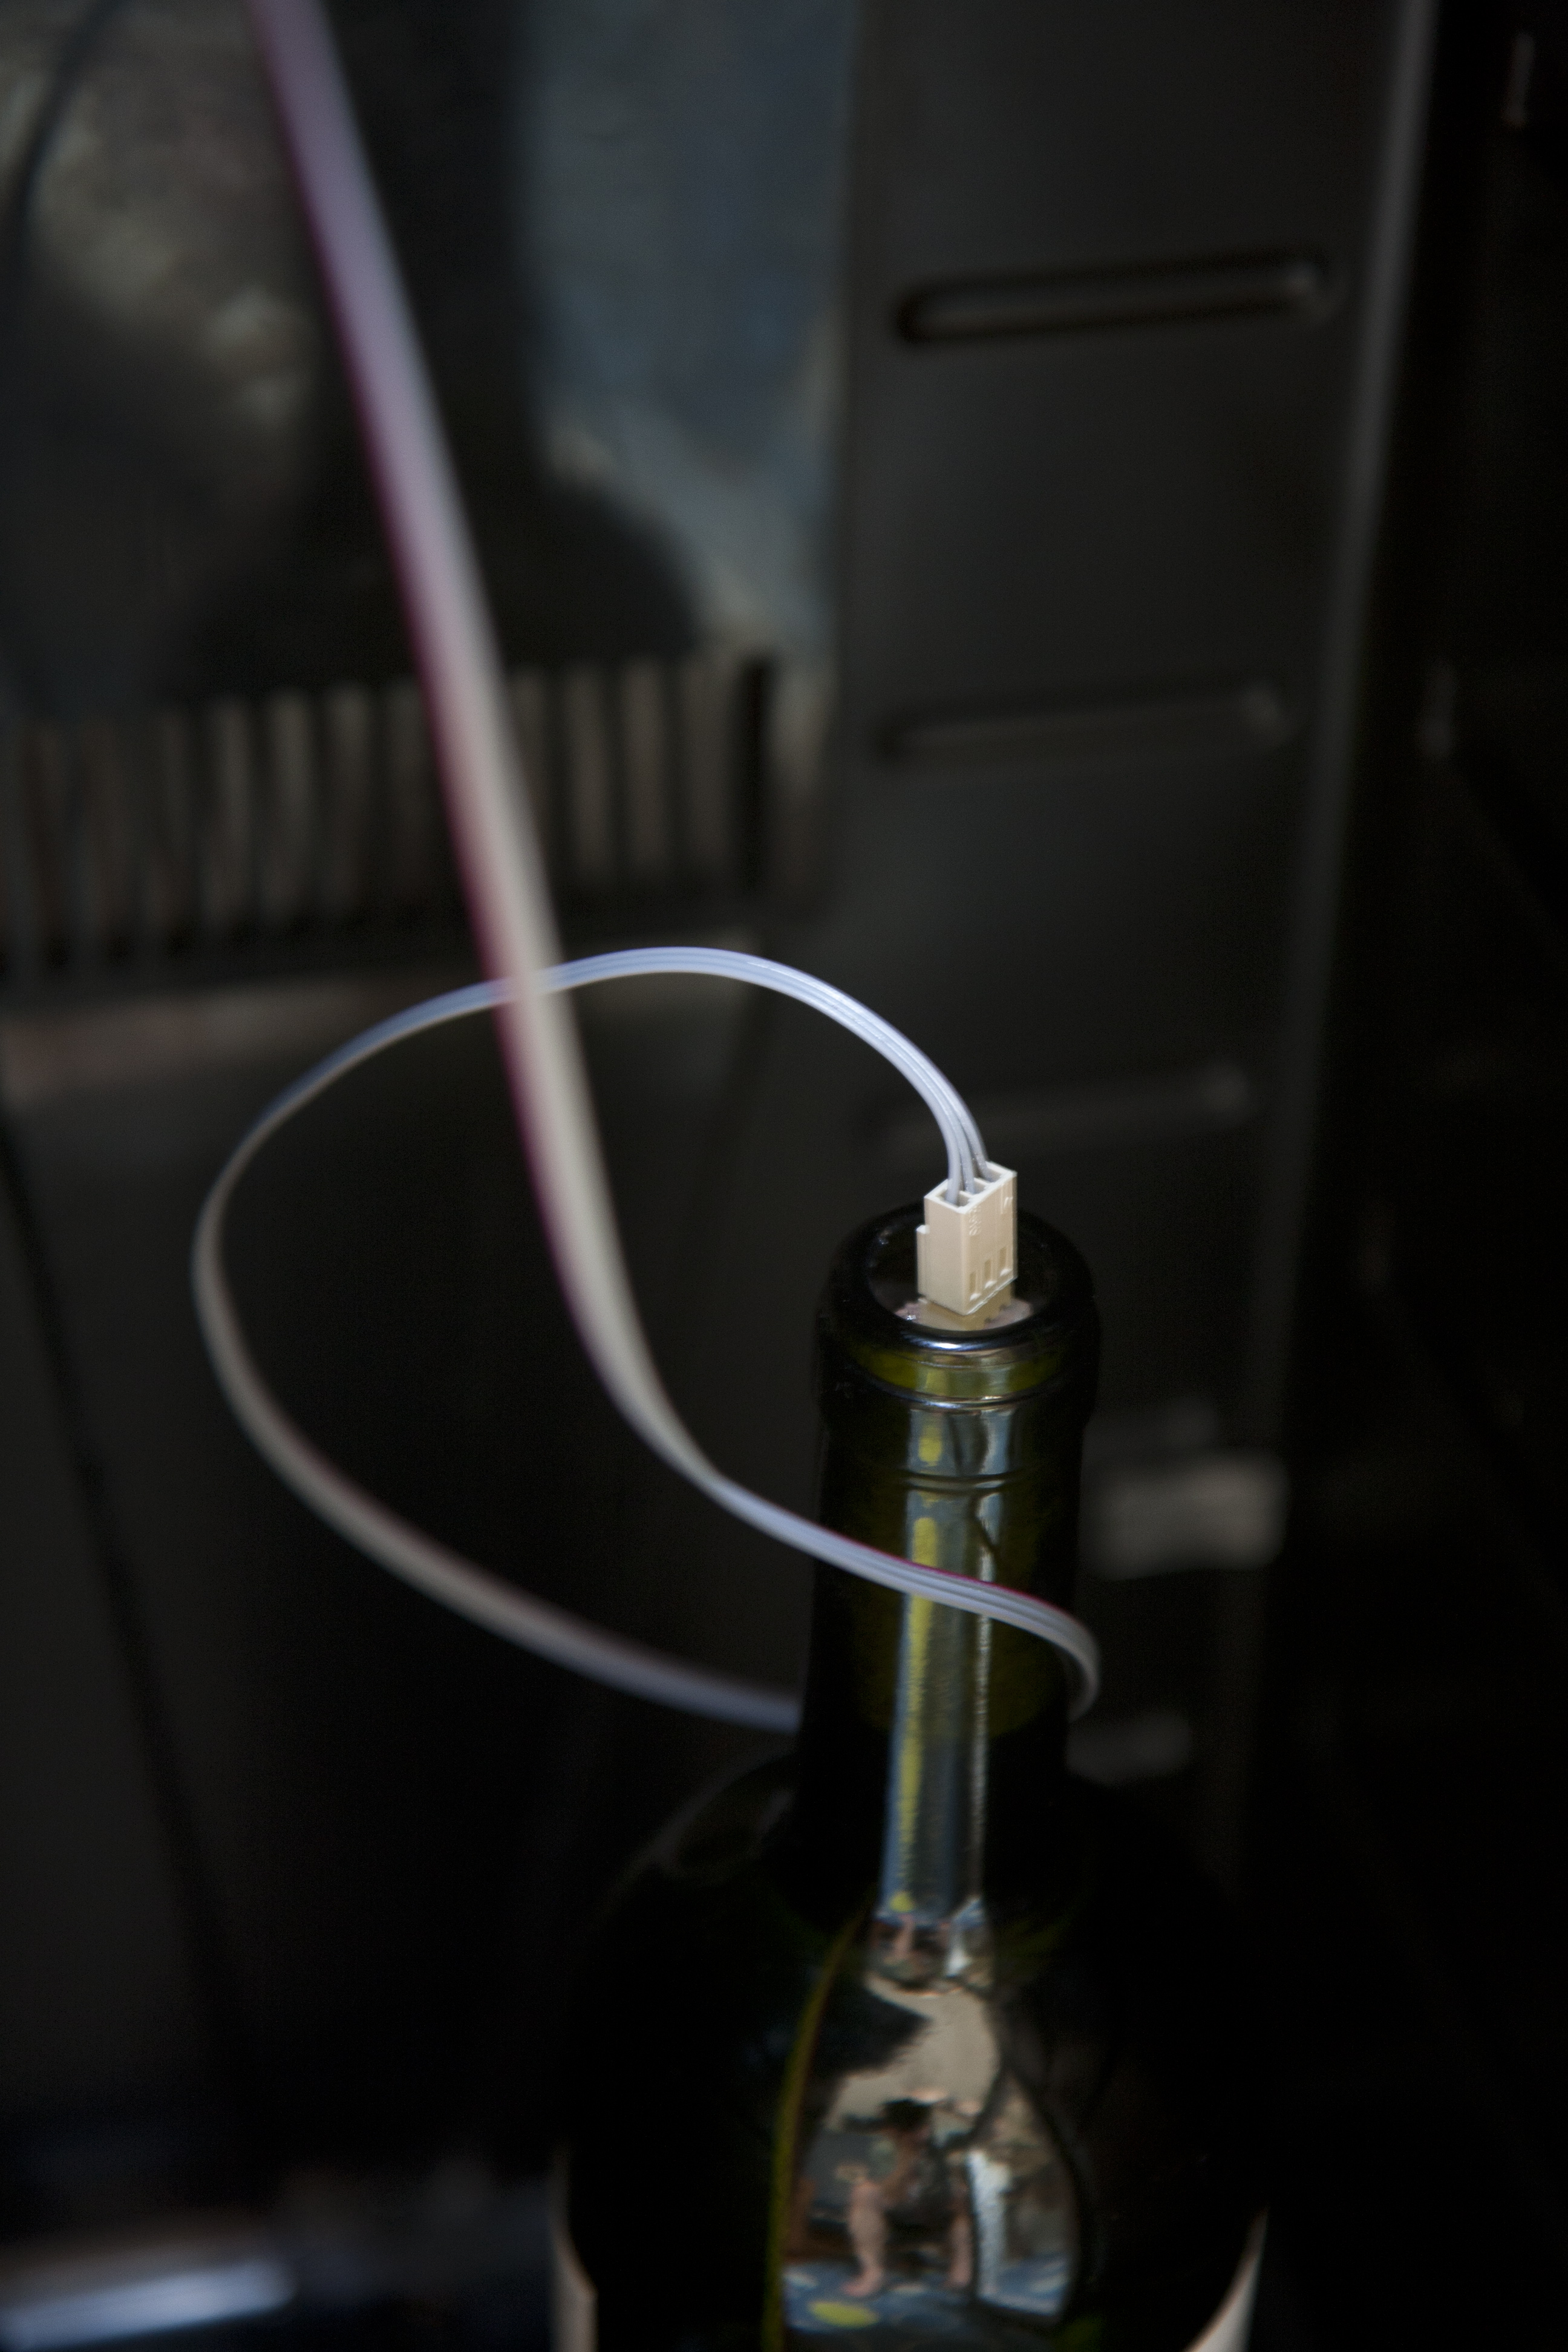
The best way to measure the temperature is, of course, to measure the temperature of the liquid inside the bottles. That’s a bit of a problem for the wine, but to make as unbiased a measurement as possible, I sealed up a DS18B20 temperature probe in silicone sealant, put it in an empty wine bottle, filled it with distilled water, and sealed the cork! This does of course give the probe a huge thermal inertia, but at least it should be an accurate temperature reading. I just hope the seal works so it doesn’t stop working after a while…

The connector to the temperature probe that was sealed into a wine bottle full of (distilled) water to give as accurate a temperature for the actual wine as possible.
I figured it would be hard to control the cooler directly from this probe since the response time is so slow, so I set up 2 nested control loops. The outer loop reads the bottle probe and steers the desired cabinet air temperature to keep the bottle at the desired temperature, while the cooler is controlled by an inner loop which maintains the air temperature as requested by the outer loop.
Another problem is that because the cold air exits in the bottom of the cabinet, there is an overall temperature gradient inside. I’ve tried to minimize this by basically always running the interior fan at full speed, but I’ll have to run the system with the bottle probe in different locations inside the cabinet to see how severe this is once the temperatures equilibrate. It’s possible that this is just a problem when the cooler runs on full power trying to cool things down and not when it’s just maintaining temperature.
The front panel display now shows the current wine temperature (from the bottle probe), the cabinet air temperature, the outside temperature, the humidity, and the current cooler output. For some reason, everything works fine except the humidity display. Whenever it gets to the humidity, I get 1-wire errors to the DS2408 and the display gets corrupted. Every other screen works fine. It’s really weird.
Here’s a short video clip showing how the display works:
http://www.youtube.com/watch?v=3yKfAtbmECI
At this point, the cooler is pretty much operational. I have to say this turned out to be quite a bit more work than I anticipated, but it’s also been very educational. I’ll probably keep tweaking the display and control loops, but now it can at least be used. We’ll probably wait to buy any expensive wines until after we move to LA though, there’s not much point in doing that now.
I’ll upload the Eagle files for the circuit boards in case anyone wants to retrofit their coolers, but somehow I doubt it…