The drainage project is getting to the point that I’m now putting stuff into the ground as opposed to taking it out. It’s like we’ve crested and started going downhill…
After making sure that the trench has sufficient slope, I started burying the pipe, starting from the lower end. If you start at the bottom you know you can maintain slope by adding fill, so this should be safe. At the end, the pipe is almost on top of the ground, so there’s not much to do there.
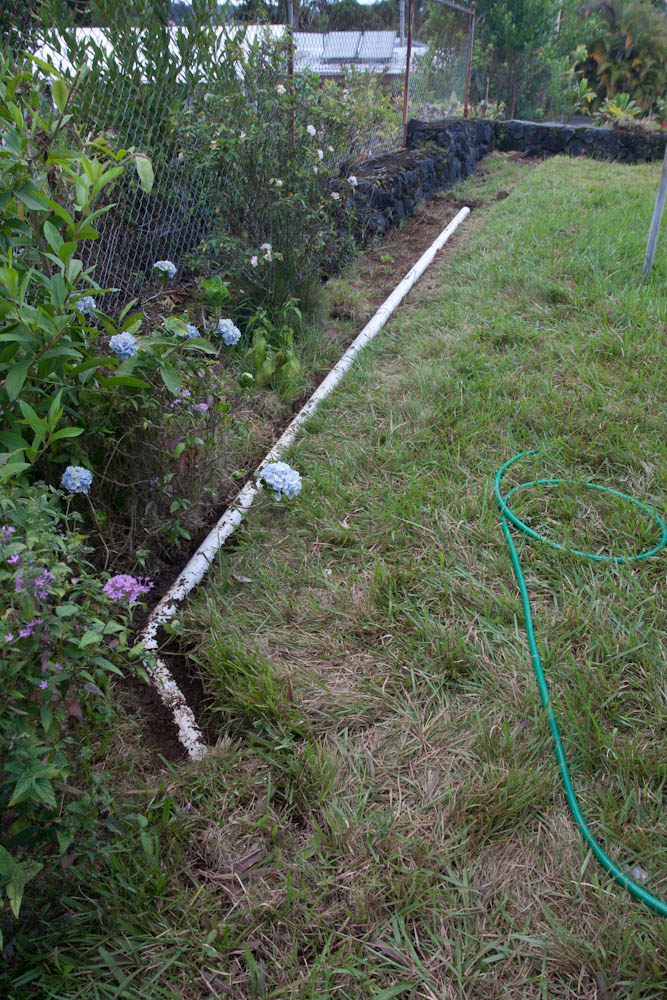
The bottom outlet pipe, going almost down to the edge of the lawn, is half-visible at the end.
Where it crosses the lawn, I filled with packed dirt and replaced the cut out grass tufts that I dug up. It’s not invisible, but hopefully the grass will re-grow and cover it.
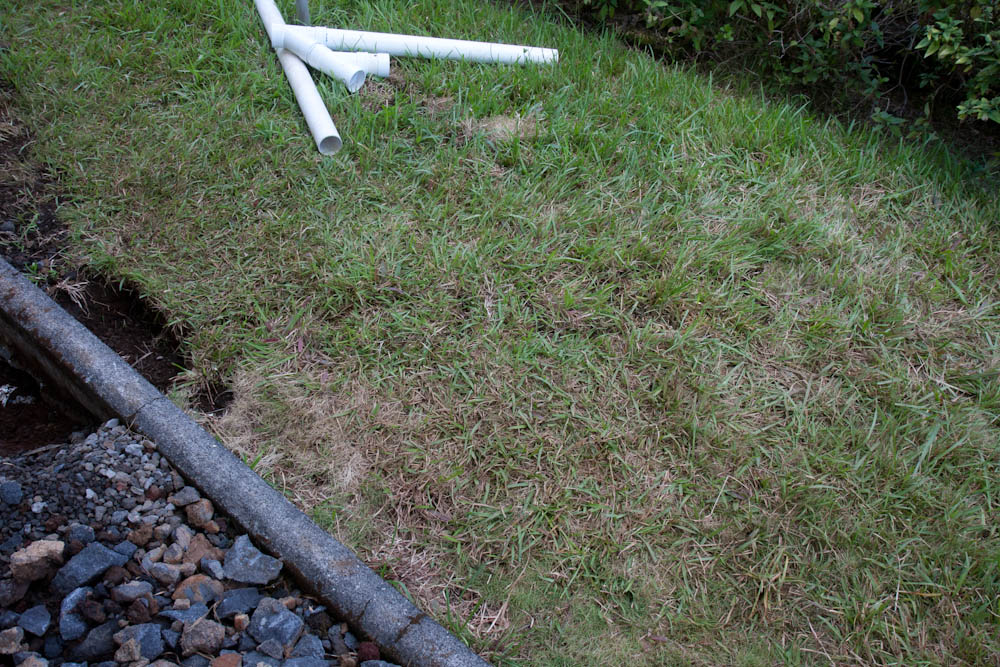
Where the pipe crosses the lawn, the saved tufts of grass have been replaced.
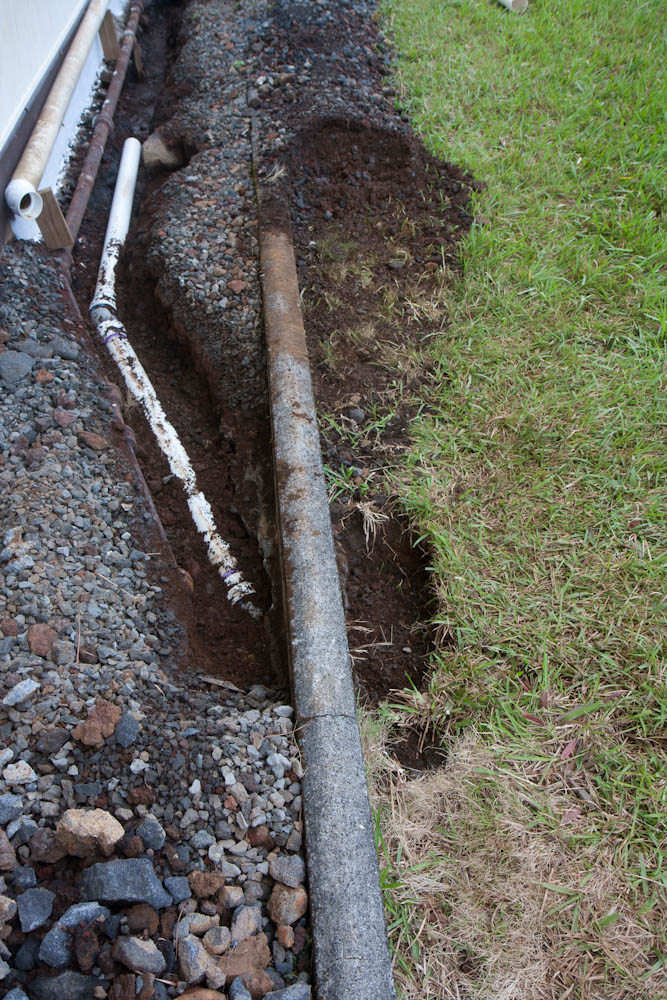
The pipe is glued together all the way up until where the Y will go, and the trench has been partially filled back so the pipe has support.
The PVC pipes are “welded” together with cement that must be something very similar to what you use to build model airplanes. You smear it onto both parts and quickly push the pipe into the fitting, and seconds later they are a solid piece. It’s almost too fast, I’m worried I won’t have time to put them into the correct position before the glue freezes, but so far it’s worked OK.
I also painted the foundation with “Drylok”, a masonry waterproofer. This should prevent the concrete from absorbing moisture from the dirt around it, but the real problem is down at the bottom of the trench. There are holes between the rocks that are part of the foundation, and during the last big rainfall, I saw water coming out of these holes when I pumped the trench dry, so that means water is presumably coming in the same way and collecting under the house. If the water is flowing in under the house, it won’t rise enough to go into the drainage pipe, so this seems like a suboptimal situation.
My attempt at a solution is to use Water-stop Cement, which is a rapid-setting cement mix meant for plugging water. When mixed with water, this makes a putty that can be pressed into cracks and that hardens in a few minutes. This way, at least the most obvious cracks can be plugged. The picture shows the white Drylok and the cement plugs are visible around the rocks at the bottom.
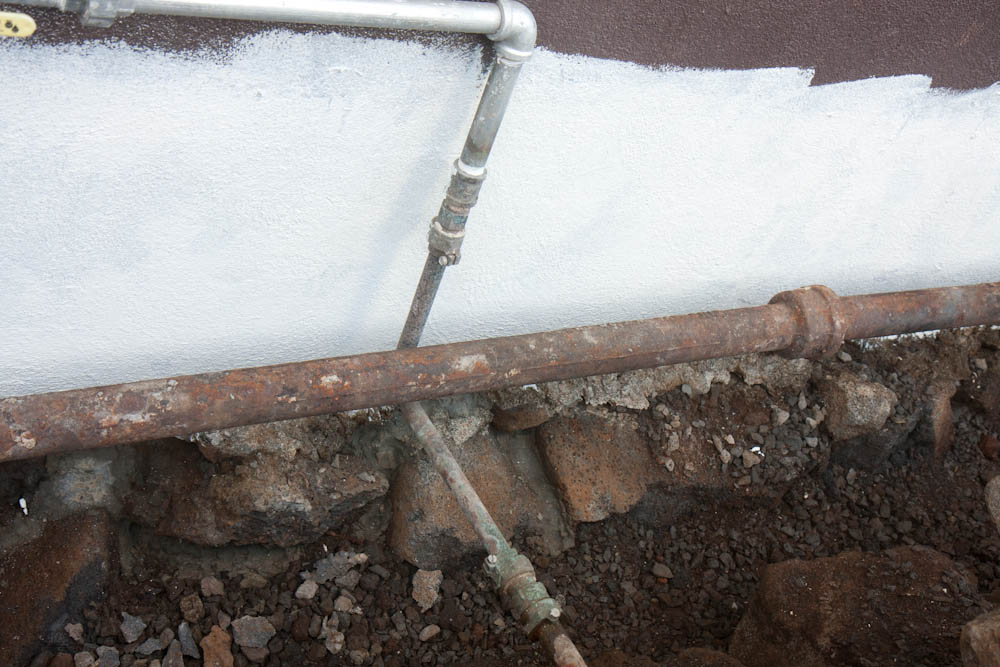
This is the foundation wall treated with the white Drylok, and the gray water-stop cement used to plug the cracks around the rocks at the bottom of the trench is visible at the bottom.
Finally, we also now have gravel, 9 tons of 1.5″ washed drain rock (though these “tons” are 2000lbs, so that’s actually only 8.2 “real” (metric) tons.) 9 tons sounds like a lot, but it’s not as much as it sounds… This means we now have everything we need to finish this project on site, so now it’s only up to us!

9 tons of 1.5″ drain rock, ready to break some backs…