As I mentioned in the previous post, we are getting solar. There is a substantial amount of paperwork associated with this.
Net metering agreement
First you need to be approved by HELCO, the utility, for net metering. As I mentioned in the first post, this can be a bit iffy since, depending on where you live, there may already be so much solar on the circuit that installing more could lead to more generation than consumption on the local circuit. Since all the solar inverters are adjusting their voltage to push their current onto the grid, if all of them try to do this and there’s not enough consumption, the voltage on the circuit could rise to levels outside the nominal range. I’m not sure there’s any empirical evidence that this actually happens, but for this reason HELCO considers it essential to install some unspecified equipment to handle these situations once the PV penetration goes above some point, like 75% of minimum daytime load.
People are arguing that this is very conservative, because of several reasons. First, they measure the “capacity” of a PV installation by the minimum of the rated output of the PV panels and the inverters. Since PV panels will give rated output only at full insolation at 25 degrees Celsius, in practice the installation will never output anything near this amount. You’d need an absolutely clear sky with the sun shining at the exact normal to the panels and, in the unlikely event that this would happen, the temperature of a roof-mounted photovoltaic panel would be more like 50C, substantially lowering its output. Since every installation is angled differently, it’s not even physically possible for them all to receive maximum light input simultaneously and, finally, this magic day would have to coincide with minimum load. Typically, very sunny days are warm, with associated use of air conditioning, and will not be minimum load days.
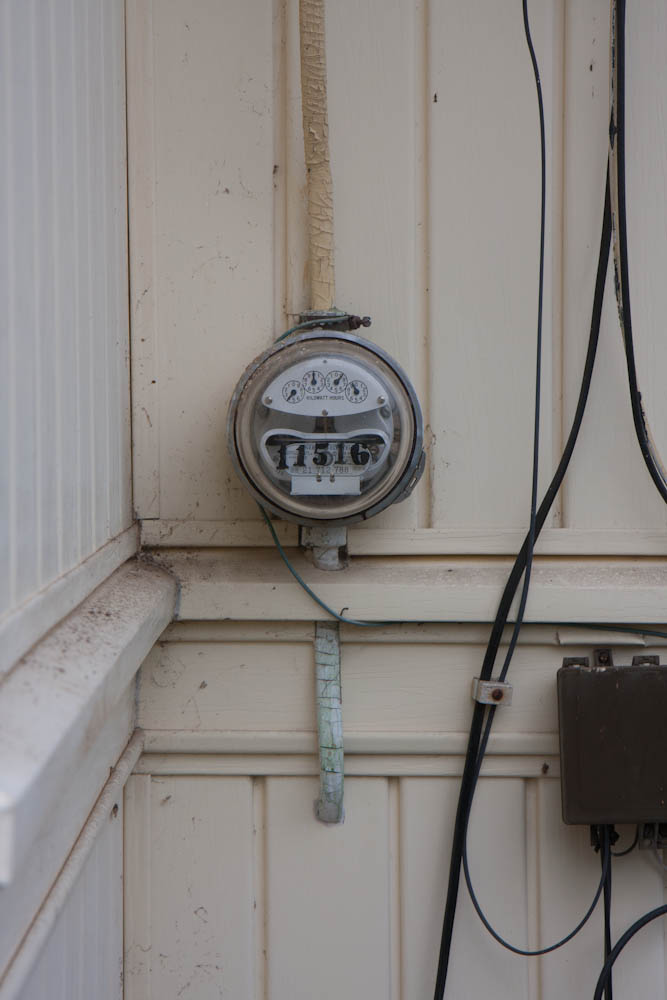
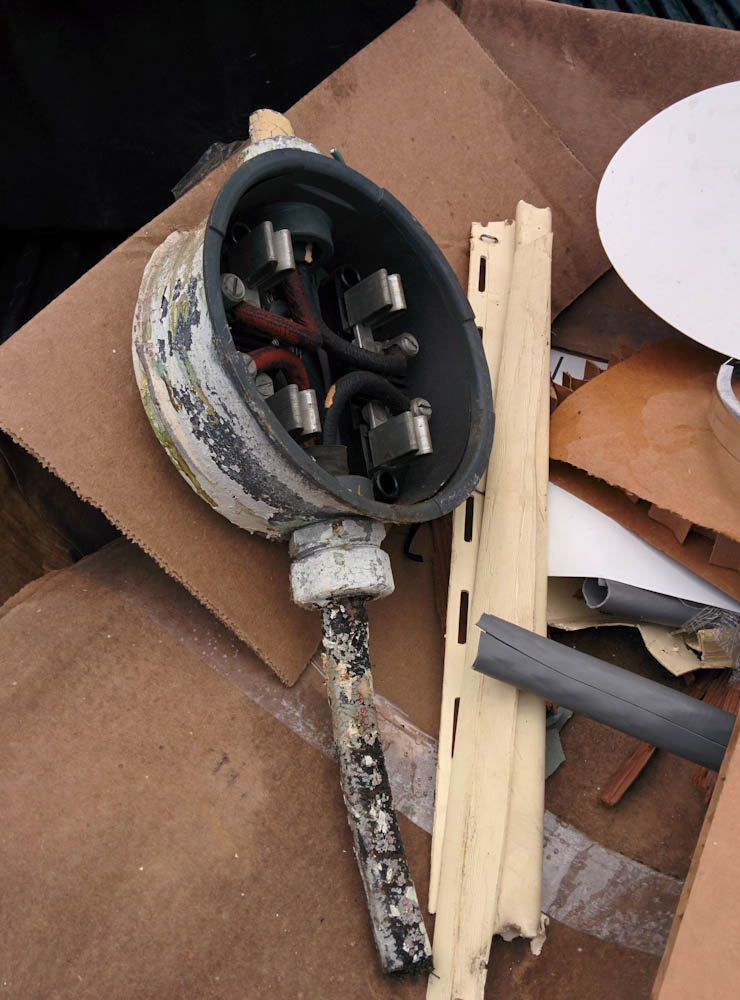
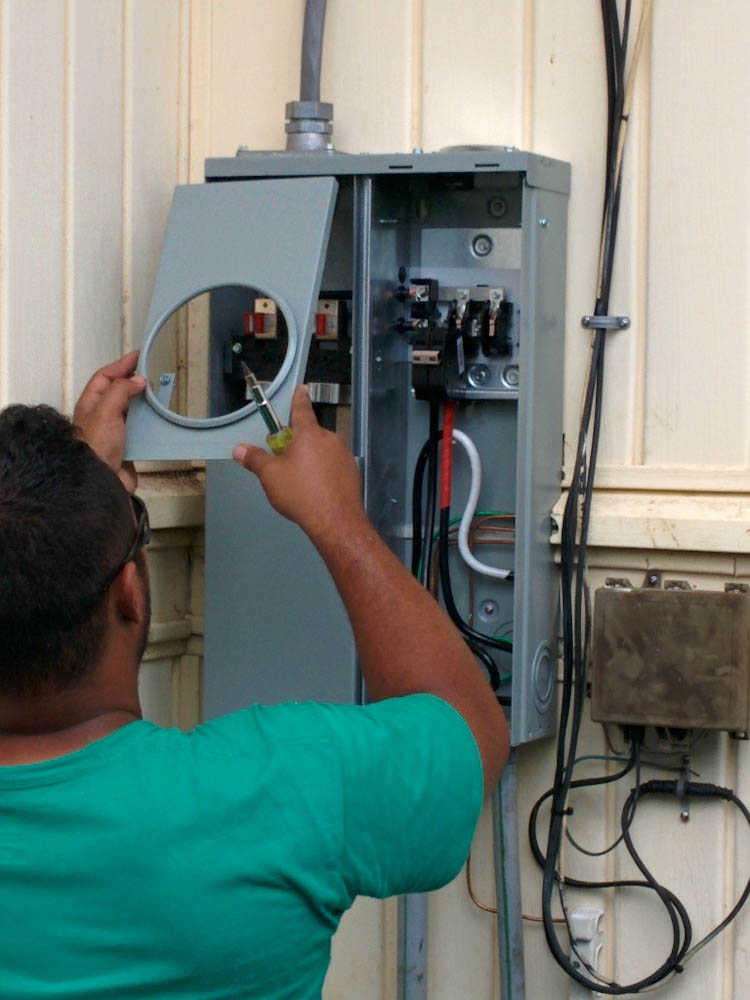
All in all, the 75% limit is conservative. (HELCO has just recently started approving systems up to 120% of daytime minimum load, for this reason, but they still require these equipment upgrades.) The hitch is that these unspecified equipment “upgrades” that are necessary are paid by the net metering applicants, so after waiting for a total of 6 weeks for HELCO to process our application, we received a letter stating that their study had concluded that in order to go forward, we’d need to pay them about $900.
Apparently this “fee”, because that is what it is, was approved by the utilities commission to offset the increased costs to the utility from all these people installing PV, a concept known as “cost shifting”. This concept has been promoted by the utilities to claim that it’s the people who can’t afford to install solar that bear the cost of PV installations, since the “freeloaders” with solar don’t have to pay for energy any more. On the one hand, this sounds reasonable — the utility still has to have a grid to supply us with energy, but PV owners don’t pay them more than the fixed cost for the connection. The trouble is that it doesn’t seem to be true, because PV also benefits the utility in several ways. First, in places with hot climates, PV tends to scale with peak load because it comes from air conditioning. This means the utility may be able to avoid installing expensive “peaker plants” to deal with spikes in demand. Another factor is in states with a renewable energy portfolio requirement, PV generation counts toward the required installation of renewable energy, and hence the utility may be able to avoid installing other types of renewable energy generation because of customer-owned PV. One study on behalf of the state of Nevada found that there was no net cost shift onto non-solar customers and if anything, a net benefit to everyone.
Whatever. We paid the $900 extortion money. I would have been more positively inclined if HELCO had actually enclosed the “study” they claimed to have done and the costs of the equipment they claimed they had to buy. As it was, they provided no evidence whatsoever, just a letter that said “we’ve decided you should pay us $900”. Finally, on July 24, we received our notice that our system has been approved for net metering and we may proceed with installation. We sent in our initial application on May 20…
County permits
Beside the net metering agreement, you also need building and electrical permits from the County. This was all handled by ProVision, but they had to document the roof structure and how the panels were to be mounted. Here’s the roof plan from their architect:

This is the roof plan drawn up by ProVision for the PV install. 12 modules are going on the southeast-facing side of the garage roof, the remaining 5 on the southwest-facing side of the roof of the addition.
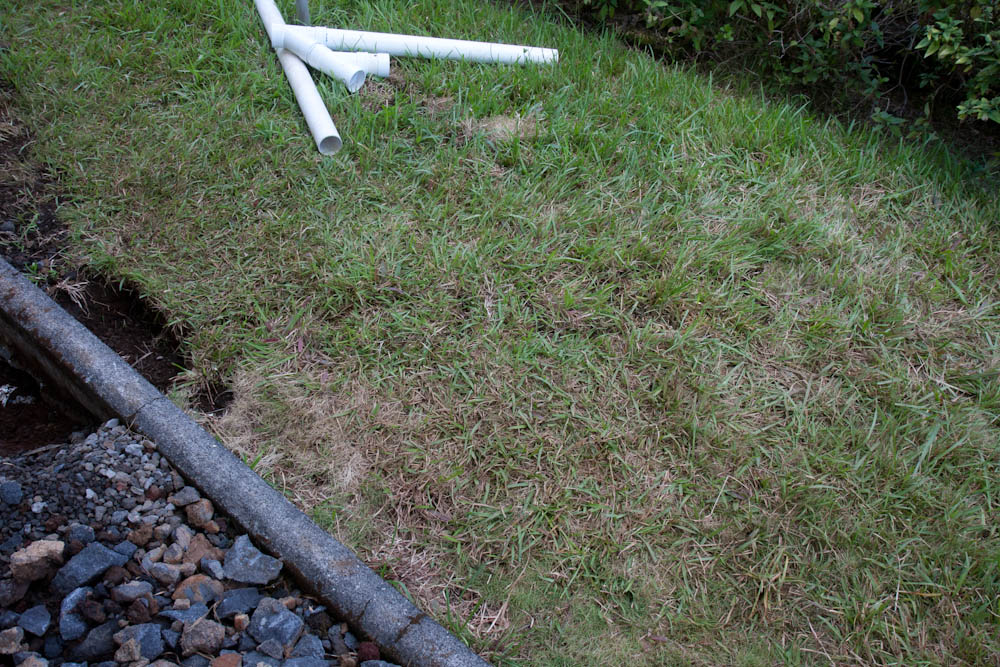
Apparently the County has been tightening up their rules lately. There didn’t use to be a building permit required for a PV install, but after some incident where a roof collapsed after an installation, ProVision said that they now have to give details on the mounting. In fact, the garage roof is pretty weak. It only has these tiny 2×3 purlins at 40″ spacing, connected to 2×4 rafters at 48″ spacing. The architect decided this was not strong enough and at the same time they upgraded our meter, ProVision also put in reinforced purlins.

The new, stronger purlins that the PV panels will be mounted to. The preexisting ones are the tiny, painted ones.
Instead of the old 2×3’s, we now have 2×6’s and, in some places, 4×4’s. This seems a bit funny, since the trusses are still only 2×4’s, but that’s apparently not a problem.
There was an initial scare when ProVision went to the county to file the building permit, as they initially said the garage was an “unpermitted structure”. This would be more than a little strange, since the County’s own property tax website shows a garage for this property, and it apparently was just a misunderstanding. We finally got word on Friday that the permits were approved, and they will be installing the PV system this next week! Look forward to more pictures!