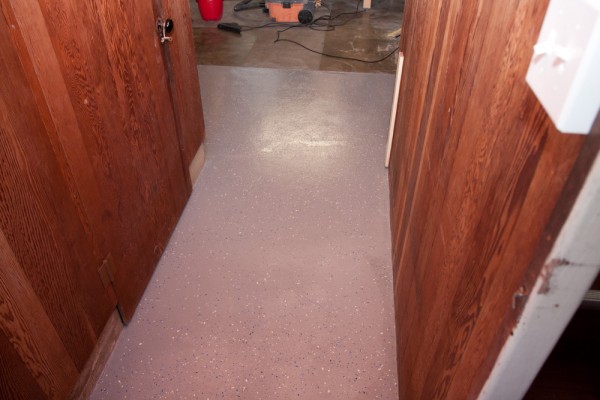
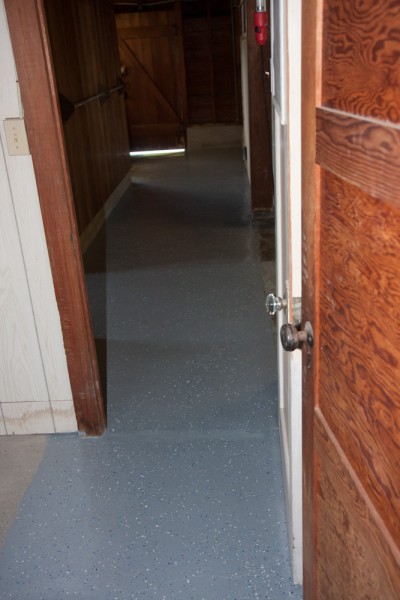
Finally, we got to the final step in our basement floor recoating project: actually applying the top coat. We used EpoxyShield garage floor coating, a two-component epoxy that hopefully will be pretty durable. As usual when it comes to painting, the actual painting takes a small fraction of the time compared to the sanding, patching, and cleaning.
Unfortunately we had a fair amount of rain over the last week (in Hilo, “a fair amount” is something like 10 inches or 250mm) and there is clear moisture in the west room where the carpet had been. It looks like we’re going to need to put in some sort of drainage around the perimeter of the building after all. (I can’t believe that in a place where it rains 200″ per year, you’d build a basement and not put in a French drain around the slab. Of course, this would have been easily avoided by not having a basement at all, per customary “post-and-pier” construction.
In any case, we did the rest of the basement, which is dry, so we can put that back in use. Using one gallon of the EpoxyShield turned out to be a perfect amount, it took us a few feet into the west room. And it looks pretty good.
You can still see the areas that I patched, because the top coat doesn’t soak into it like it does on the bare concrete. I don’t know whether it will still be visible after it’s cured.
The paint chips actually look pretty good. Kathy was very skeptical about the concept, but she came around once we started throwing them on. I hope the coat is thick enough that it sticks properly. I definitely saw some chips kind of lying on edge.
So hopefully that’s the end of the story for the back end of the basement. And I guess the next step for the front is to dig a trench around the front of the house and put down some perforated pipe.


Pingback: Basement “un-finishing” #4 – one down, two to go | Patrik's projects