One of the remaining (massive) projects is to refinish the kitchen. It has built-in, what must be hand-made, cabinets, which really needed a makeover. However, after moving in, we realized that the kitchen (actually most of the old parts of the house) have lead paint. The top layer is lead-free, but the primer has lead. This includes the paint used on the kitchen shelves and cabinets. Not so awesome.
The advice regarding lead paint mostly seems to be “if you don’t have to touch it, don’t”. That might work on the walls in the rest of the house, but the paint in the kitchen is not in such good shape, and bumping into the shelves results in little chips of lead paint. So rather than paint it over and then worry every time we have paint damage for the rest of our lives, we decided it was better to get rid of it once and for all and then not have to worry again.

This is an example of the kind of shape the kitchen cabinets are in.
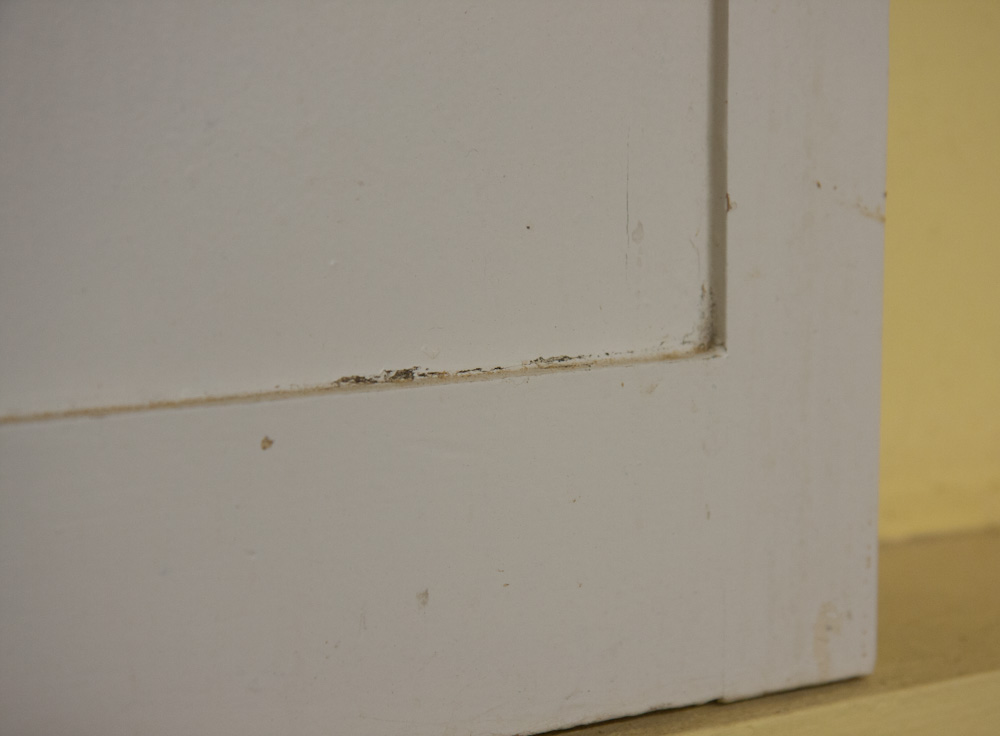
A closeup of the questionable condition of the paint on the cabinets.
Now, the first order of business is to safely strip the paint without contaminating the entire property with lead. This is worthy of a post itself, so here I’m just going to say it’s a bitch. Once the cabinets are stripped, they look like this:
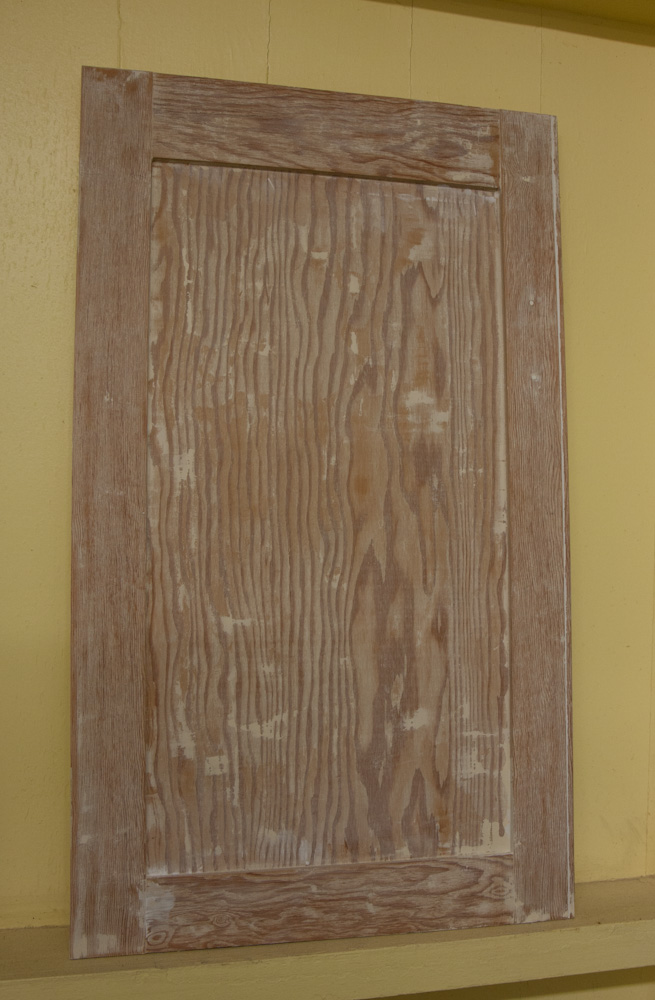
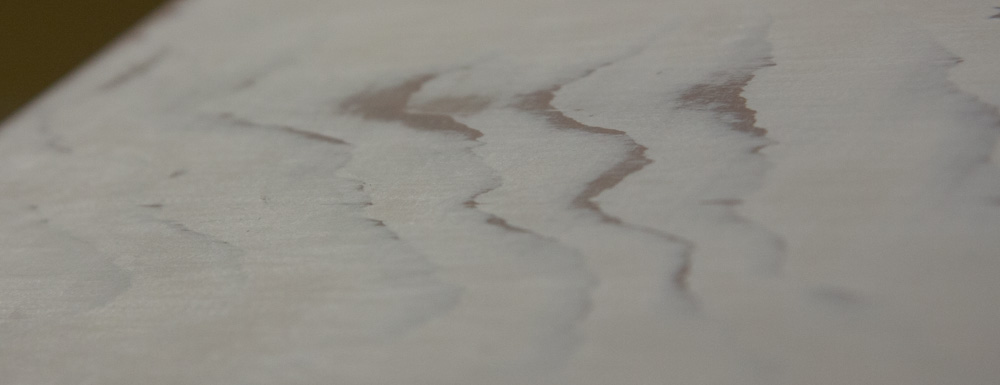
Here’s a cabinet after stripping. I’m not sure what the wood is, but it has quite a noticeable grain pattern.
Kathy took charge of the color selection, and we looked at different paints. Since we’re going through such a pain prepping the cabinets, it doesn’t make sense to use anything less than the best paint available. We’re going with Fine Paints of Europe, which imports Dutch paints to the US. (They also have a bunch of movies on their web page talking about how cheap and poor quality most American paint is, which of course appealed to my Europe-is-superior sensibilities… 😉
The walls of the kitchen will be green, and the trim an off-white. The center panels of the cabinet doors will also be green. The trim paint is ECO Brilliant, an oil paint that has a very shiny and durable surface. The wall paint is Eurolux Matte, a water-based, matte paint that still is easy to clean, with their Oil Primer/Undercoat as primer. To get an idea of what it would look like, I went ahead and painted up a test specimen.

I went ahead and painted one door all the way through to see what it would look like and make sure we liked the color.
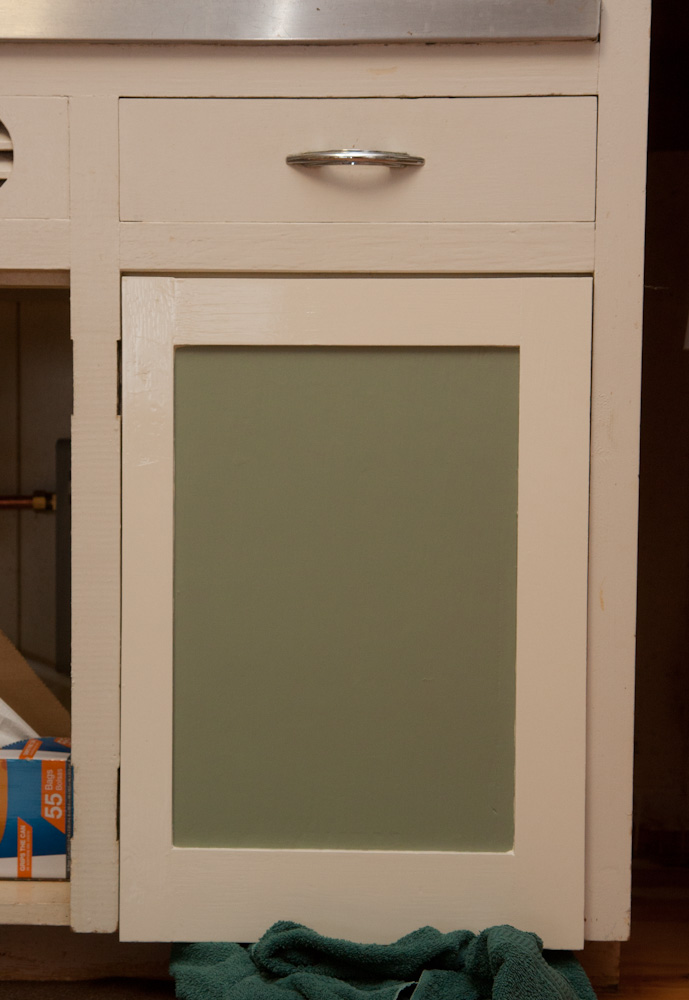
The test door put into its place. The new white has a slightly warmer tone than the old one. This was intentional, because it makes the yellowing with age that happens to oil paints less noticeable.
We liked the color. However, the surface quality leaves much to be desired. There are dings and scratch marks from the scraper used to get the paint off, and the grain pattern of the wood comes through very prominently. Given the amount of work that’s going into this, such an outcome was not satisfactory.
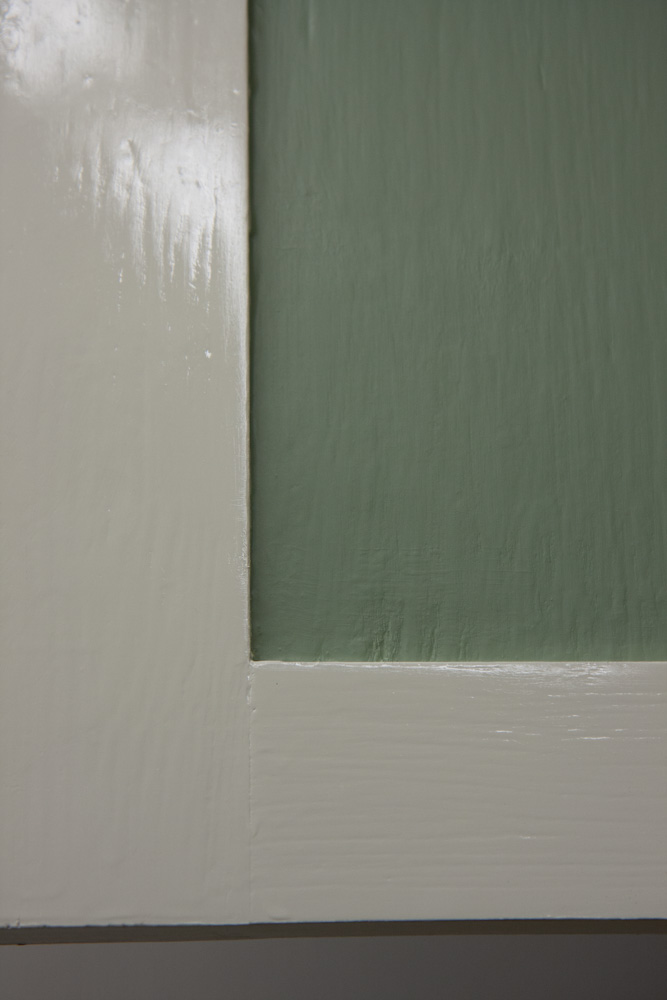
This closeup shows how visible the scrape marks and surface imperfections are in the new paint.
So, the surface has to be “fixed”. In principle, we could sand the cabinets, but there are still lead remnants in the wood, so sanding would send clouds of lead-contaminated dust. A better solution is to build up the surface with someting that can then be sanded down. (The same principle as using a skim coat or high-build primer when painting the motorcycles.) While spackling paste can be used to fill in the deep gouges, it’s not very good as a skim coat. Fine Paints comes to the rescue again with a product called Brushing Putty. This is essentially an oil-based very-high-build primer that is painted on with a brush and then sanded down to a smooth surface.

Brushing putty comes to the rescue.
After painting the cabinets with it, they look like this:

After being painted with Brushing Putty, the cabinets look like this.
Then the sanding begins. The product is pretty impressive, as it sands down to a glass-smooth surface. However, it takes a fair amount of work, and while the big flat areas can be done with a palm sander, in the corners you have to do it by hand. It’s going to take a lot of work, but I think the end product will be awesome. I’m currently working on sanding a batch of cabinets, and when that’s done I’ll paint another test subject. Stay tuned.
A shelf with sanded Brushing Putty. Note how the grain pattern of the wood has been filled in. It’s hard to appreciate the quality of the surface in this picture. To get the best surface, you should not sand down to bare wood. However, these shelves are in such bad shape and aren’t really visible anyway so I’m not going all-out here.
Pingback: Back to the Kitchen – Patrik's projects
Pingback: Back to the Kitchen Again – Cabinets – Patrik's projects
Pingback: More home improvement: Windows – Patrik's projects