The work on the filament storage box has lately focused on what to do with the filament tubes when they’re not used.
The box will fit up to 8 1kg rolls of filament (or 4 3.5kg rolls), and those filaments will exit the box in PTFE tubing through the bottom of the box so they can be routed to the 3D printer. The question then was what to do with the filaments that aren’t being used.
Since we are trying to keep humidity out of the box, leaving those tubes open is a non-starter. One could imagine just capping them with a plastic cap, but that would push the filament back into the tubing so you couldn’t get it out without opening the box and feeding it out again — which would also defeat the purpose of not introducing humid air.
Instead, I decided to make 8 “holding tubes” on the side of the box. These will be short aluminum tubes with the same push fittings that are used to hold the tubing at the exit end. The filaments that aren’t being used are then just pushed into these fittings. Because there is space for the filament past the fitting, the filament can continue to poke out of the tubing so you can get to it when you want to use it.
The fittings I’ve bought have a 1/8″ NPT thread, which is about 9mm diameter. I ordered some foot-long pieces of 10mm ID, 12mm OD, aluminum tubing and cut these into 8 roughly 75mm long pieces. Since the ID of the tubing is larger than the thread, there will be no interference, so all I had to do was machine 8 holes into a piece of 1/4″ thick 6061 bar stock. (Except before I could do that, I had to resurrect the CNC mill which hadn’t been reassembled since I moved it from the garage to the basement.)
I was also a bit rusty on the CNC side (and Fusion360 has now decided to nerf the “Personal Edition” that is free for hobbyists to use so you can no longer export jobs that use several tools. I mean, come on…) so it took me some time to get up to speed, but I got it done.
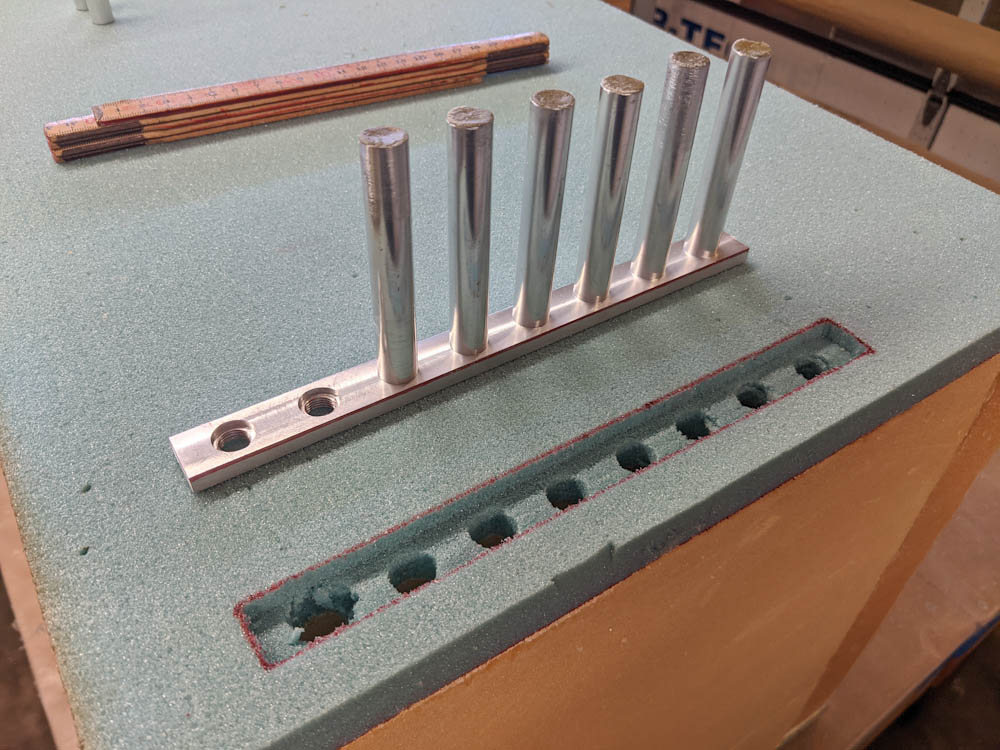
The tubes have been capped with JB Weld and are test-fit in the bracket, to make sure they are nice and snug.
After cutting the 8 tubing pieces, I capped one side of them with JB Weld. This ensures that when they’re epoxied into the foam, the inside won’t fill with epoxy. I also had to fill the threads in the bar stock with sealant, since it will be glassed over when mounted into the box. The sealant will be cut away along with the glass covering the holes after cure, and the pipe thread cleaned up with the tap again, but this way no epoxy will get into the threads and the tubes when glassing it.
The blue foam was milled out to fit the 1/4″ bracket and then had the 8 holes drilled into it so the tubes would fit. When mounting, I’ll fill these holes with slurry and any excess slurry should be squeezed out.
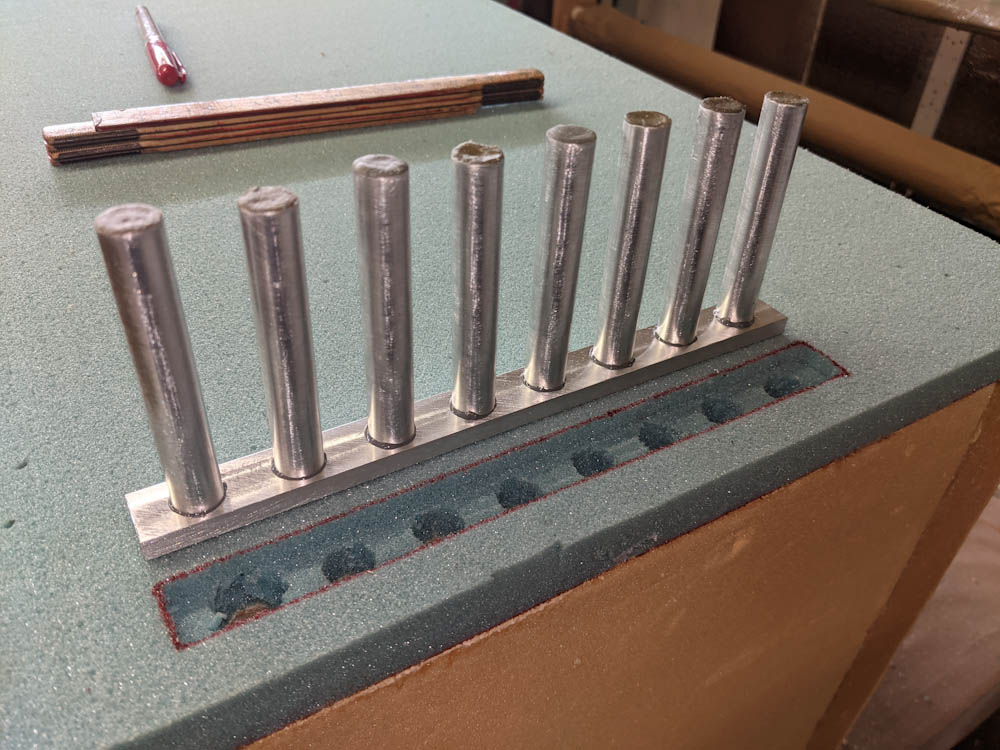
The tubes have been epoxied in place.
Finally, the tubes were glued in place with 5-min epoxy so they won’t pop out during assembly. The whole thing is a bit of a tight fit pushing into the foam, but it does fit.
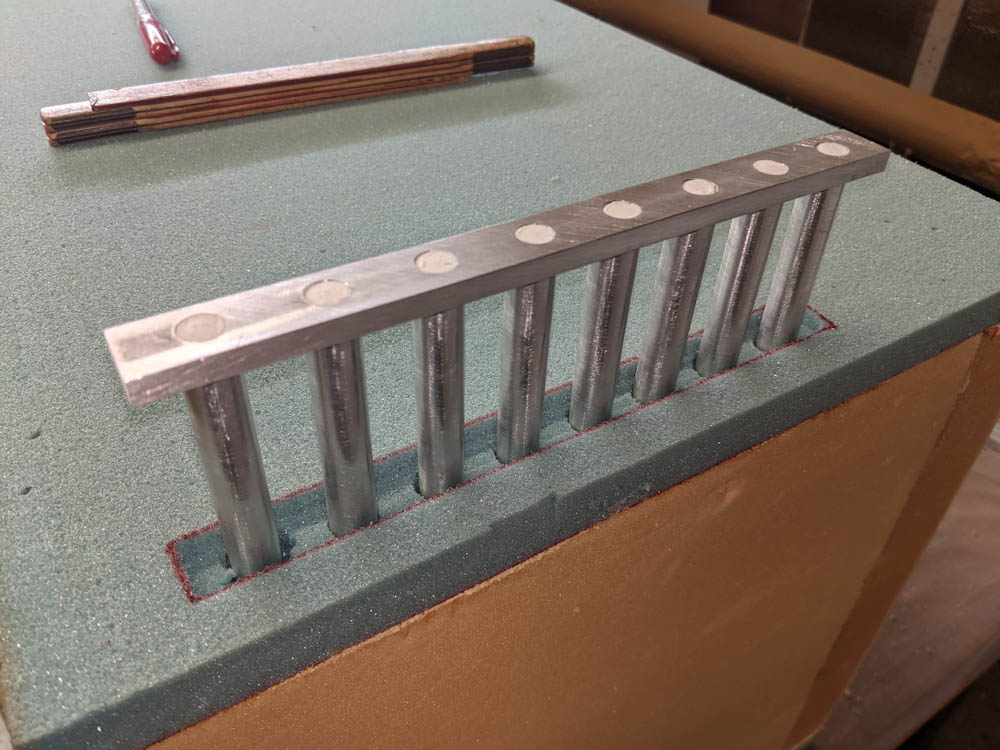
This is how the tube assembly will fit into the bottom of the box. The sealant used to plug the pipe threads on top is also visible.
I’m still debating whether to mount this in place ahead of time or do it while glassing the bottom. Doing it ahead of time is a bit less stressful but having cured slurry on the foam is a bit harder to deal with when laying the glass over since it’s difficult to ensure it’s perfectly even. I think people deal with this by masking the foam around the area with duct tape so you don’t get any in the foam, which sounds like a good method.