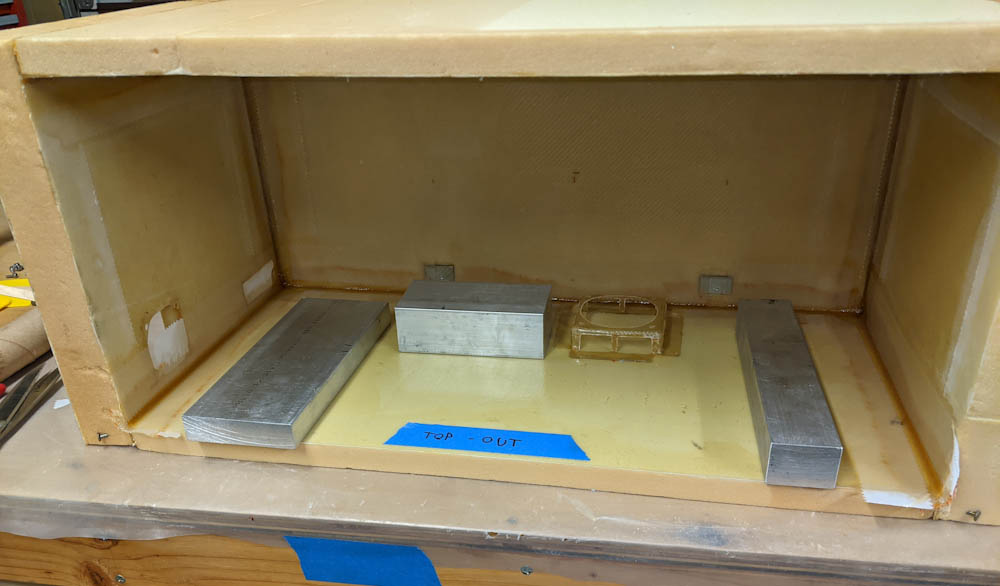
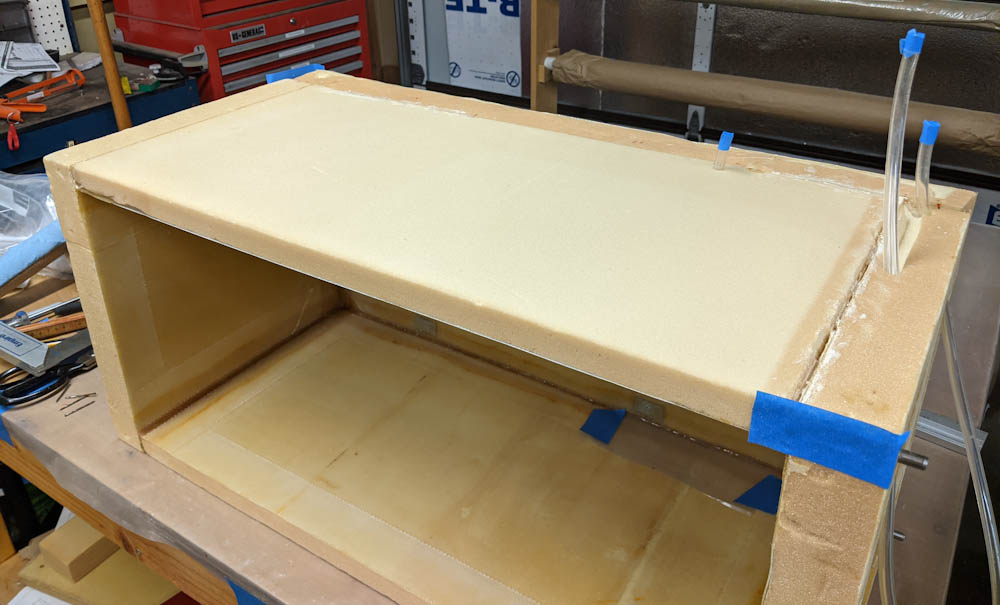
After 4 sides of the box were assembled, it was just the top left. This should have been quick but was delayed by the need to first bond the bracket that will hold the circulation fan to the inside surface.
Had I designed the box today, with the intent to use the bed heater, I would have made it 10mm taller, since now there is basically no space between the heater bed and the top and bottom of the box. The circulation fan must be mounted quite far back in the box to not obstruct the filament spools (it will still prevent that section from fitting a 3.5kg spool, but 1kg spools and smaller will be fine) and this means even the single ply of its mounting flange had to be cut down to not protrude into the tiny space between the heater bed and the box ceiling.
Once the fan mount had cured in place, I smeared micro on the edges of the box top, slid it in place, and weighted it down with some aluminum stock. Before adding the corner tapes, which would preclude me from weighting down the edges, I wanted the micro to cure and hold it in place.
Adding the corner tapes was a bit more unwieldy now that only one side is open, but not a big deal.
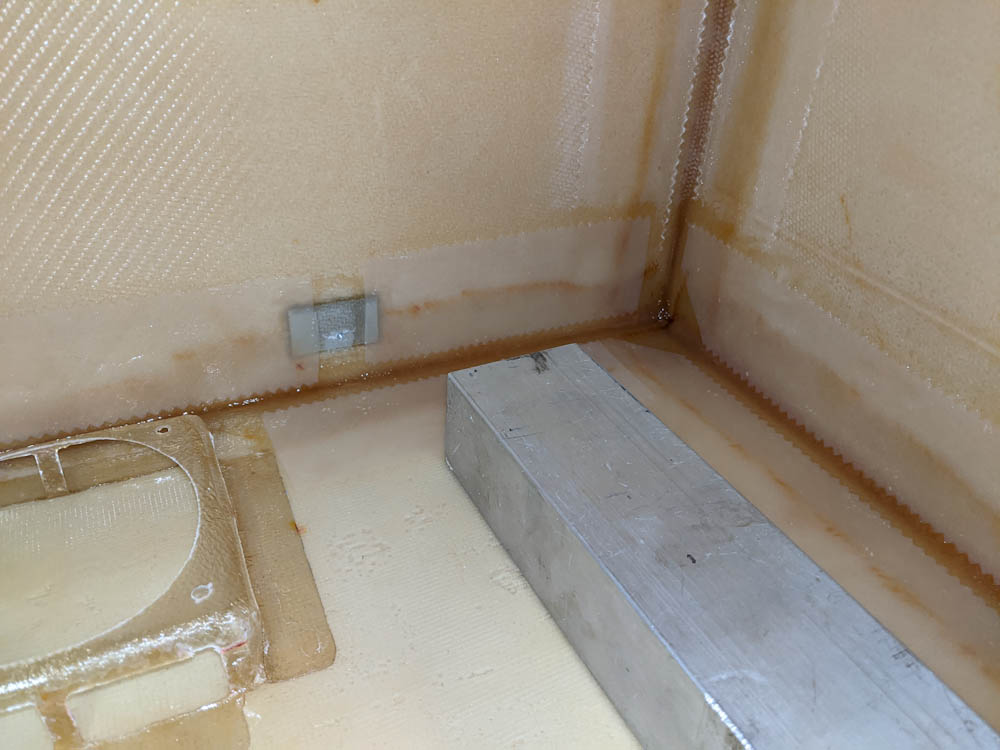
A closeup of the corner tapes for the box top. As with the bottom, I had to take care to not get epoxy in the threads for the heater bed mounting screws.
I had initially cut 1″ thick foam pieces for the top and bottom. Since then I realized that it’s pointless to skimp on foam thickness since it’s just going to lead to unnecessary heat loss and more power use, so I’ve been planning to add an extra foam layer to the tops and bottom.
I don’t have enough of the tan urethane foam left, so I had to start using some of the much stronger (and more expensive) PVC foam that is meant for the Long-Ez structural parts. They come in 3/4″ and 1-3/4″ thickness so by adding a 3/4″ layer to the tops and bottoms those will end up 1-3/4″, which seems reasonable.
The way the sides overlap, these foam pieces will also cover the edges of the 2″ vertical sides. These edges were quite uneven (it’s hard to cut the 2″ foam precisely at a right angle) so it would also cover those imperfections.
But before adding that, I also needed to figure out how to get the wires from the controller into the box. There are three penetrations needed: One into the main compartment, for the heater, the heater bed thermistor, and the circulation fan. Another into the dehumidifier loop before the thermoelectric cooler, for the dehumidifier fan and one of the SPI temperature/humidity sensors. And finally one for the second temperature/humidity sensor after the cooler.
One possibility would be to glass in some sort of tubing, maybe PTFE, so that the wires can then run in those. Trouble with that idea is that PTFE tubing is kind of stiff, doesn’t stick to the epoxy, and in any case I don’t have any in the size needed to fit all the wires.
I decided to try another method. Instead of embedding tubing, I could use tubing just to make a channel in the micro, and then remove it. I have some 3/8″ tygon tubing left over from water cooling the computer. This has an OD that’s about what I need for the wiring, is really flexible, and is also not a material the epoxy will adhere to. Worth a shot.
Two of the penetrations are simple, straight shots through the wall. The one to the dehumidifier fan, though, has to pass inside the wall for a while to get to the location where the entrance hole in the enclosure will be located. I drilled a hole up to the top of the side foam, and then removed foam along the top so the tubing would fit under the new foam block once it was added.
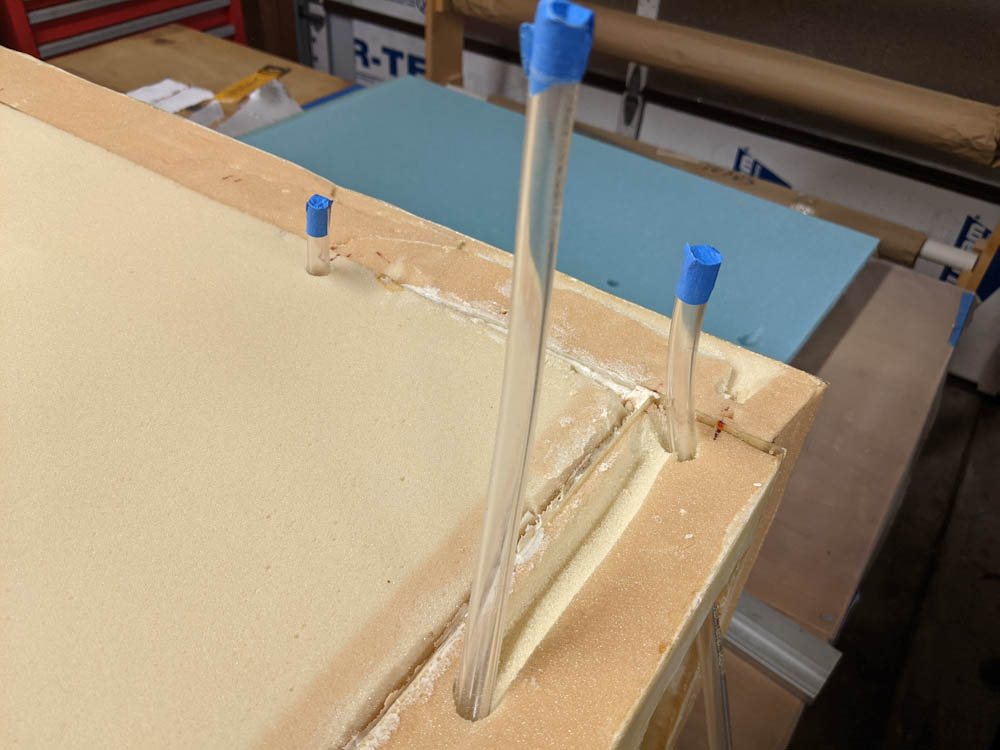
Closeup of the three sections of tubing that will create the holes for the wiring once the space around them is filled in with micro.
Actually bonding the foam block in place turned out to be quite a job because of the very uneven top that required a lot of filling. (In fact, there was so much filling that I’m now out of micro.)
I started the process by pouring micro slurry down the wire holes to give it maximal time to sink all the way down and get into all the places around the tubing. But it turned out I was mixing micro and filling for pretty close to 2 hours so there wasn’t much concern for that.
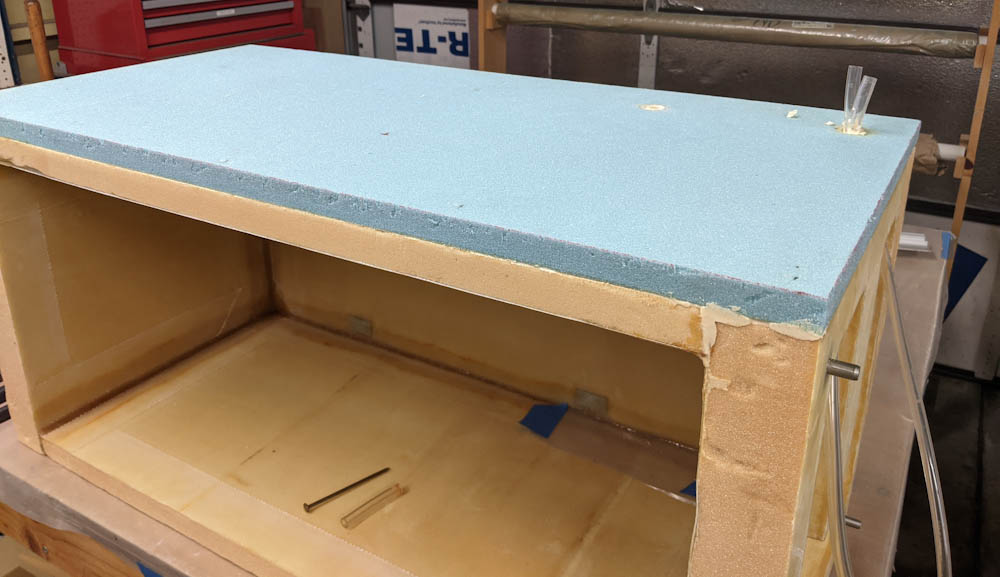
The extra layer of foam microed in place on top of the box. This is after all the weights and clamps holding it in place were removed.
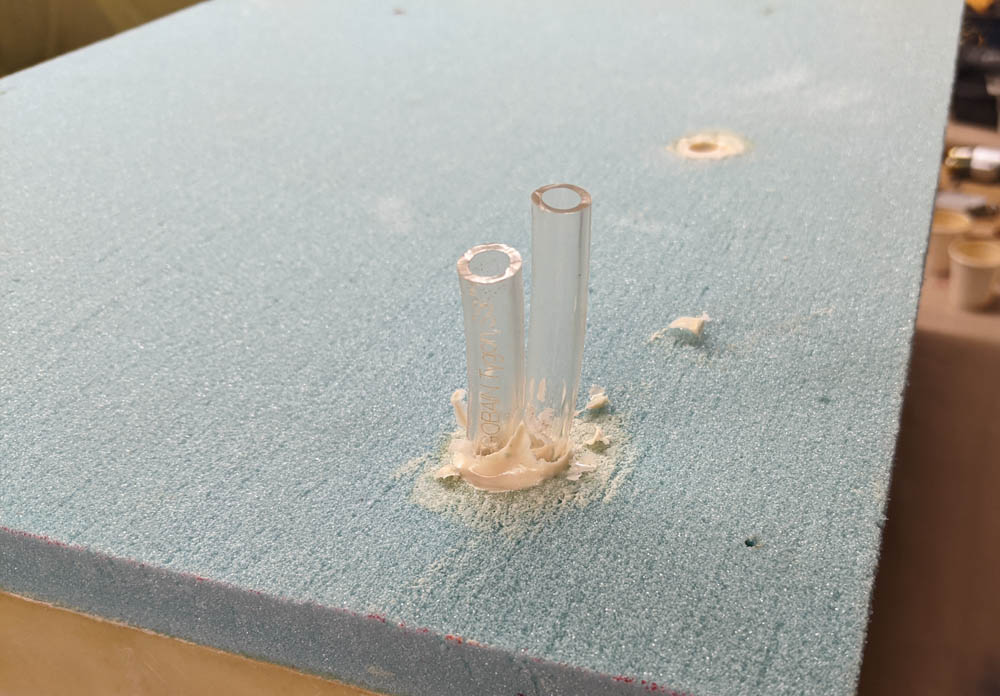
The sections of tubing poking out of the foam block. The lone piece at the back has already been removed.
Once everything had cured it was time to see of that tubing would actually come out like I hoped. It turned out to not be a big deal getting the two straight sections out, I basically just pulled and twisted a bit and the popped out.
The long run, though, was a bit trickier. Since it runs in an “S” shape, there’s no way to get good leverage on the middle section, and even some quite violent pulling and twisting didn’t seem to do anything. I got the idea to spray a little bit of WD-40 in between the tubing and the micro, and that did the trick and it popped loose quite easily.
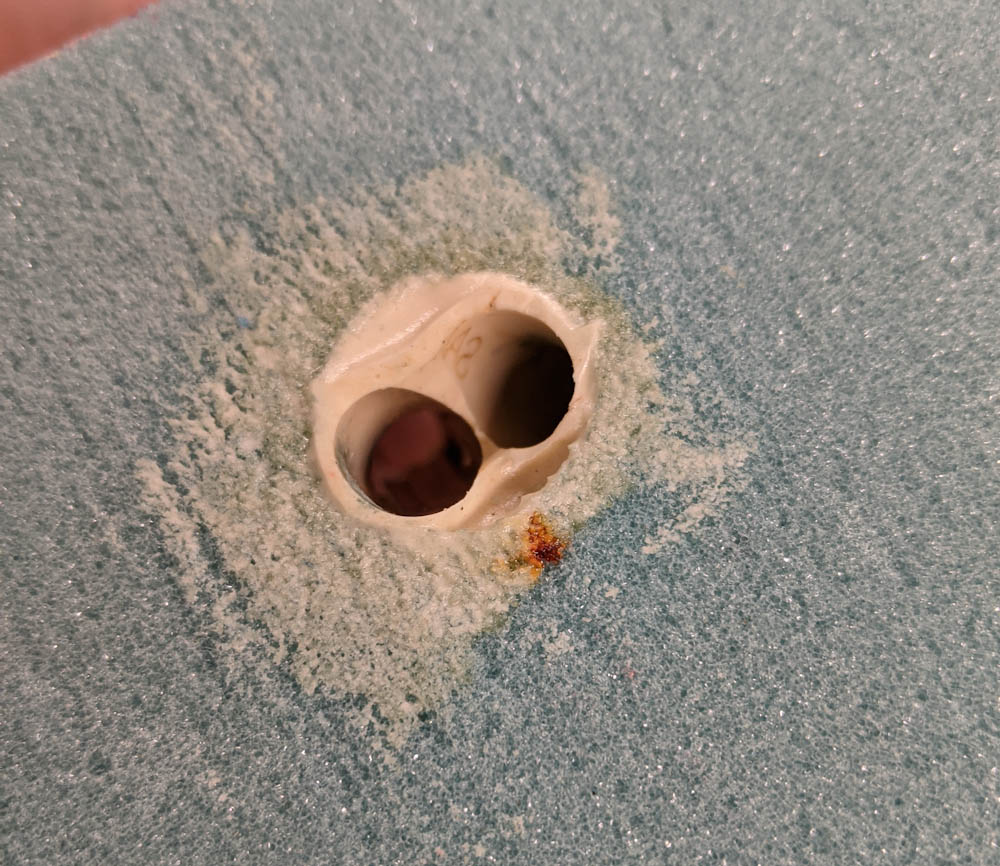
The two wire penetrations to the dehumidifier. You can actually see my fingers through the left hole.
Now I just have to avoid getting epoxy into those holes when I glass over the foam. I think people have successfully used a slug of silicone sealant that can be popped out once the hole is cut in the glass.
Next step is to add the extra foam layer to the bottom side. There are no complications on that side, I think, but I can’t do it until my shipment of micro arrives from Aircraft Spruce.
