After glassing the cover for the dehumidification channel, I needed to mount the thermoelectric cooler. Small tasks are best now….
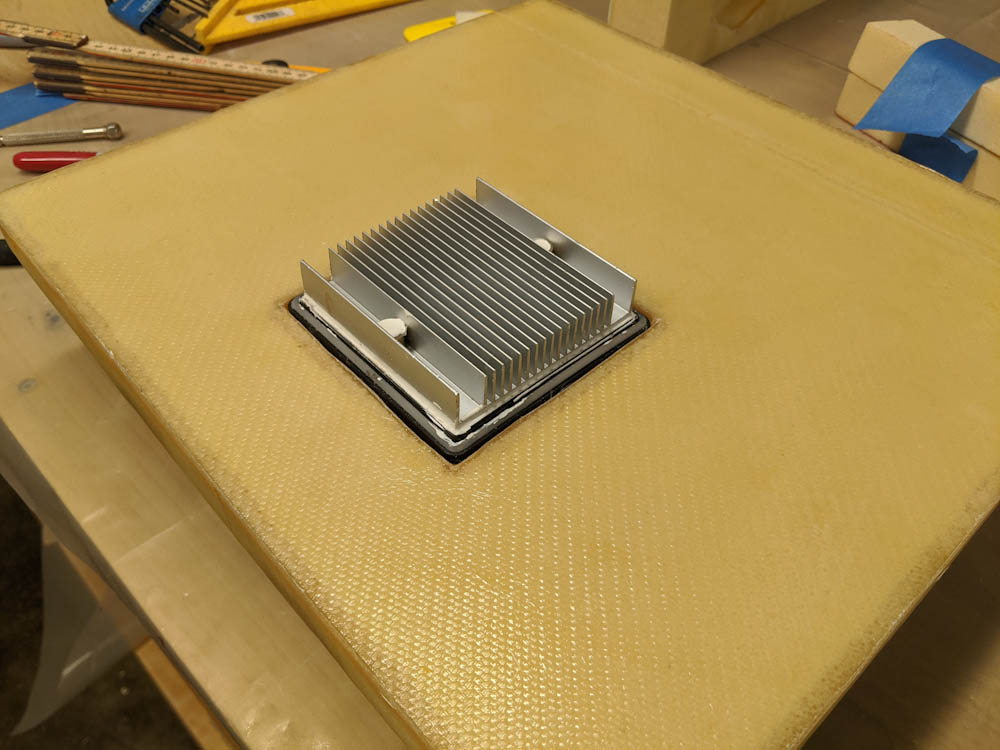
This is the cold side of the thermoelectric cooler. This cold sink protrudes into the channel in the opposing part, forcing the air over it.
The hole fit pretty well, there’s a bit of clearance but I’ll seal this up with some silicone when mounting the cooler for real.
On the outside, I had to drill and tap the holes in the hardpoints.
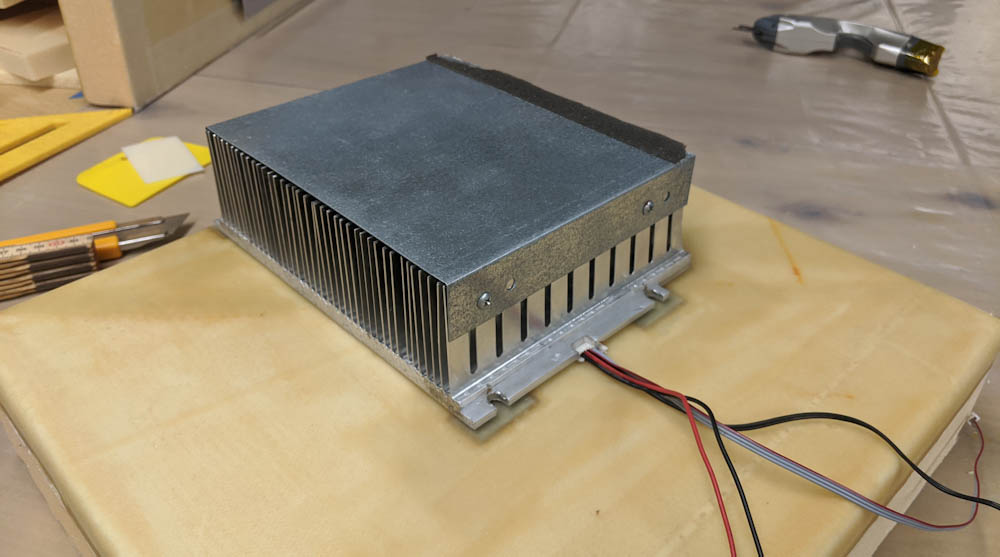
This is the hot side of the thermoelectric cooler. This will also need a fan. The wine cooler I stole it from has a slanted fan mounted under it, I’ll have to do something similar.
I marked the locations of the holes by trial fitting the thermoelectric element and managed to drill and tap pretty accurately.
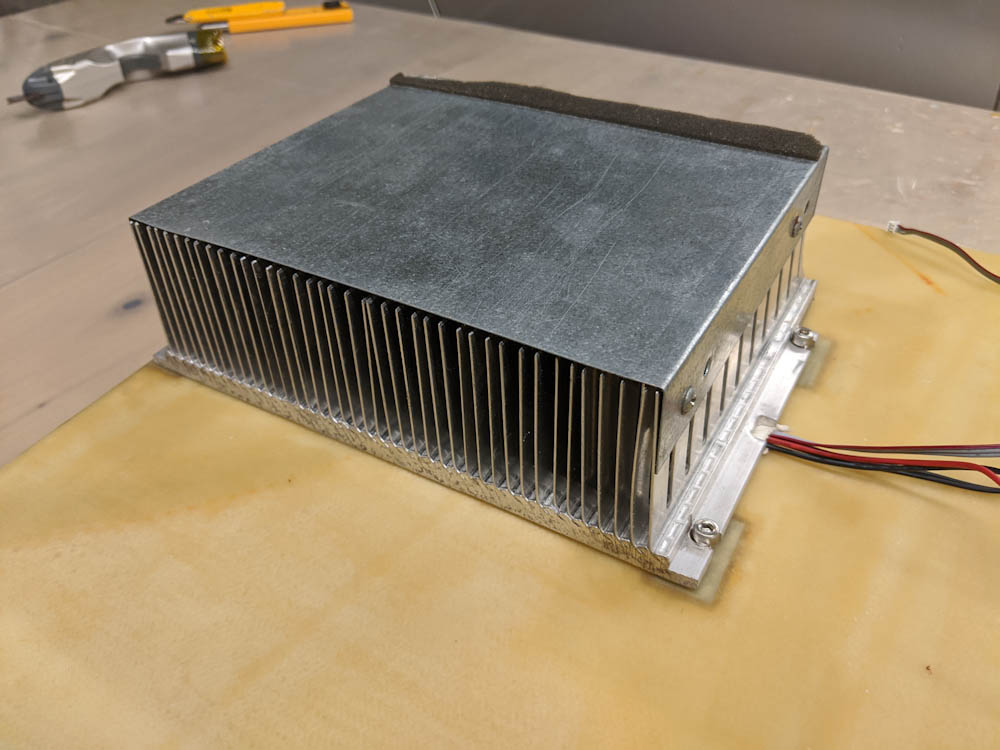
The thermoelectric cooler, now mounted with screws.
I’ll also need some sort of guide so the cover can be positively located in the correct position, and then some latch or something to hold it in place. I have some 8mm guide pins that are left over from the EFI project (I was going to use them for the throttle linkage) that I’m going to use. That’ll be next post.
Pingback: Filament storage part 6 – Patrik's projects