I’ve been distracted by things like trying to find toilet paper (seriously, people) but I’ve been trying to make a little progress on the filament storage box.
Since the last post, I mounted the fan that will push air over the cold plate for dehumidification. It fit pretty well in the hole I made, but when glassing the sides I did get some crap on the fiberglass flanges so I had to pull out the Dremel to get it to lie flat.
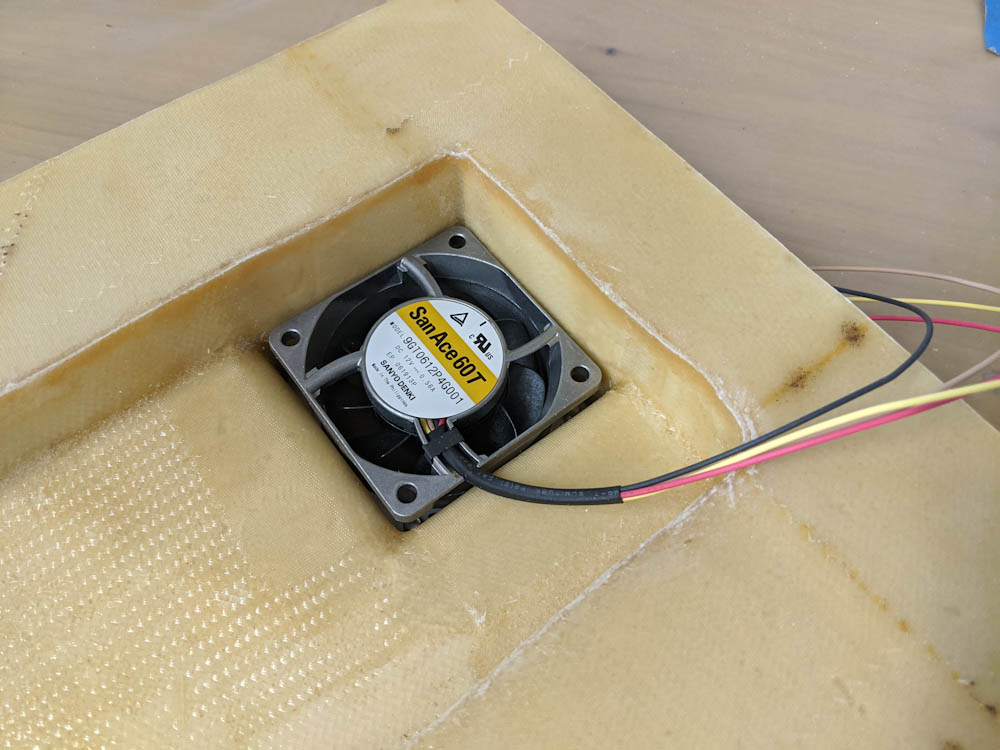
The dehumidifier fan in its slot. I still need to make a passthrough for the wires. (Not just for the fan but also for the temperature/humidity sensors that will be mounted before and after the cold plate.)
I also discovered that, when I trimmed the fiberglass flange, I unfortunately cut it a bit tight. Two of the fan mounting holes only make a half hole in the fiberglass. I’m sure it’ll be fine, but note to self is that it’s better to leave too much and have to grind it down than to knife trim too close…
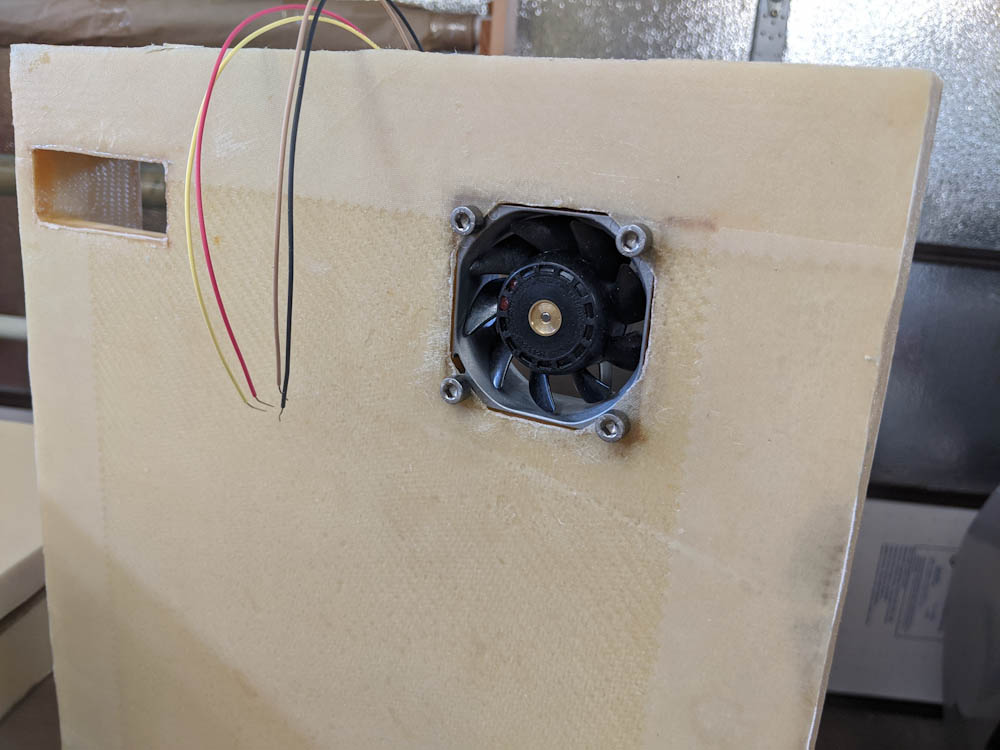
The fan for the dehumidification circuit. This is just a temporary mounting, it won’t get screwed in place until the box sides have been joined.
I was going to join the sides of the box together, but that seemed like a big job that will need a lot of free time, so instead I prepared the cover for the dehumidification circuit for glassing on the outer side. I’d already done the inner side, which is a simple flat layup. The outer side, however, needed hardpoints for the fairly large and heavy heatsink for the thermoelectric cooler.
To avoid having to glass the edges separately, I also rounded the corners on the outer side so I could just let the fiberglass cloth flow onto the edges and make a corner with the inner side. This did make the layup itself more complicated since now the cloth had to be cut and overlapped in the outer corners as well as in the inner corners of the hole for the thermoelectric element.
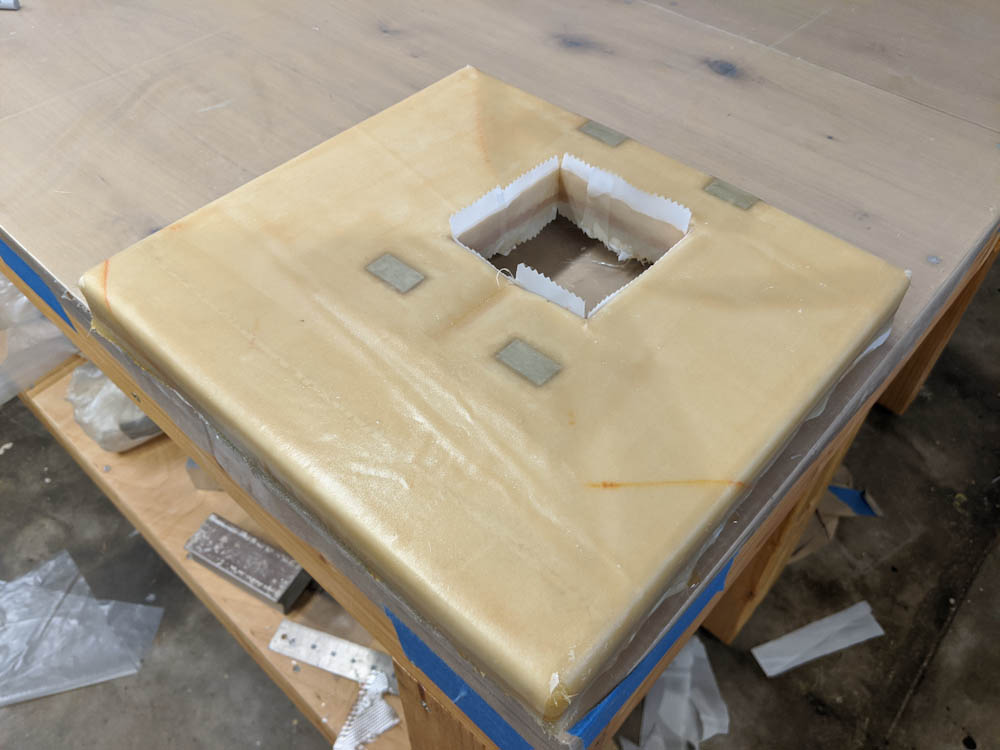
The outer side of the cover for the dehumidification circuit. The hole is for the thermoelectric cooler, and the shallow depression on the lower left side of the hole is for the wire bundle coming out of it. The entire part is covered with peel ply on all sides since I used many scrap pieces of BID cloth leaving many joints.
It took a while but turned out OK. I got the glass to lie down pretty well around the corners but there are so many joins since I used scrap pieces that I thought it best to peel ply the entire face so the joints don’t have sharp glass edges. There may still be some in the corners where I had to cut the cloth, but that’s easily taken down once it’s cure.
This was the first time I unpacked my full roll of peel ply cloth (as opposed to the 2″ wide tape I’ve been using before. It was a bit wrinkly, which might be reflected in the surface once I pull it off. If it’s too bad I guess I can sand it.
Next task on the list is probably to assemble the box, but separately I’ve started thinking about the circuit diagram. It’s cool that Eagle, the circuit diagram editor that I’ve been using since 2012, now is integrated into Fusion 360, so not only can you design your circuit board in Fusion, you also then get a 3D model of the board so you can fit it into the rest of the design.
Pingback: Filament storage part 5 – Patrik's projects