More progress on the filament storage box. All 5 sides of the box have been glassed on at least one side, and the dehumidifier circuit side was completed.
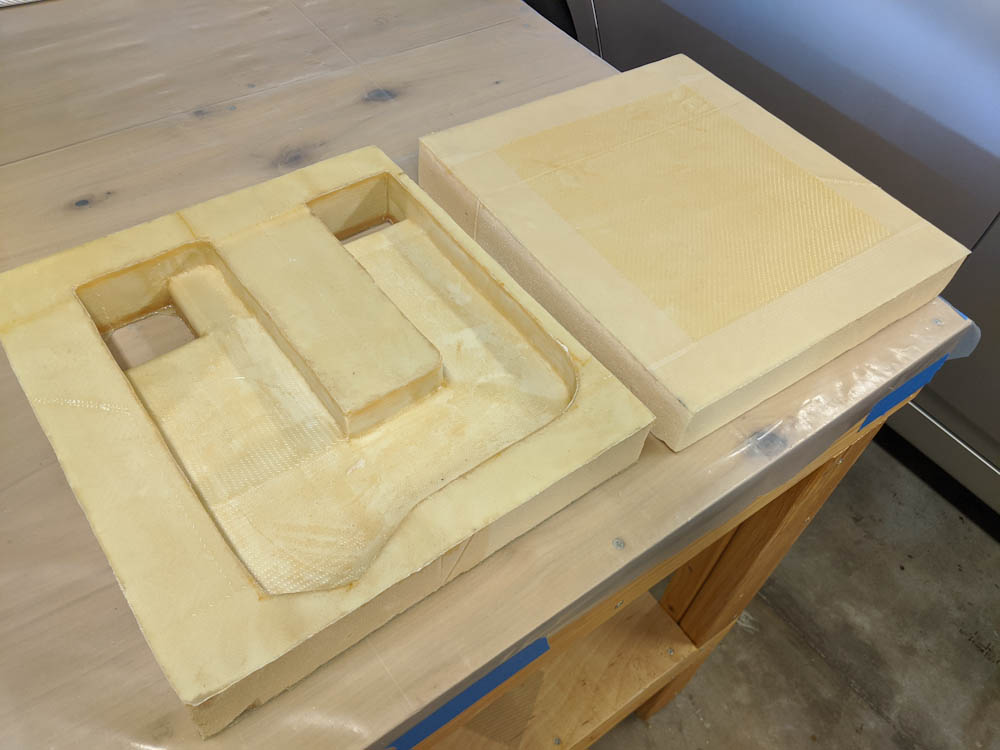
The left and right sides of the box have been glassed. The left side has the channels for the air to blow over the cold plate, which made a bit more complicated glasswork than the flat sides I’ve done so far.
The layups for the air channel were a bit tricky compared to the flat sides I’ve done so far. Instead of just wetting out rectangular pieces of cloth, this has numerous corners and edges. The inside of the channel only has a single ply of bidirectional cloth, which is very flexible. When you lay it down so the fibers run at 45-degree angles to the corners, it takes a very small radius, especially on these inside corners where the adhesion to the sides hold it in. I used random scrap cloth pieces and cut them as I went, and amazingly it did not turn out terrible. I’ve verified that both the fan and the cold plate for the thermoelectric element fits.
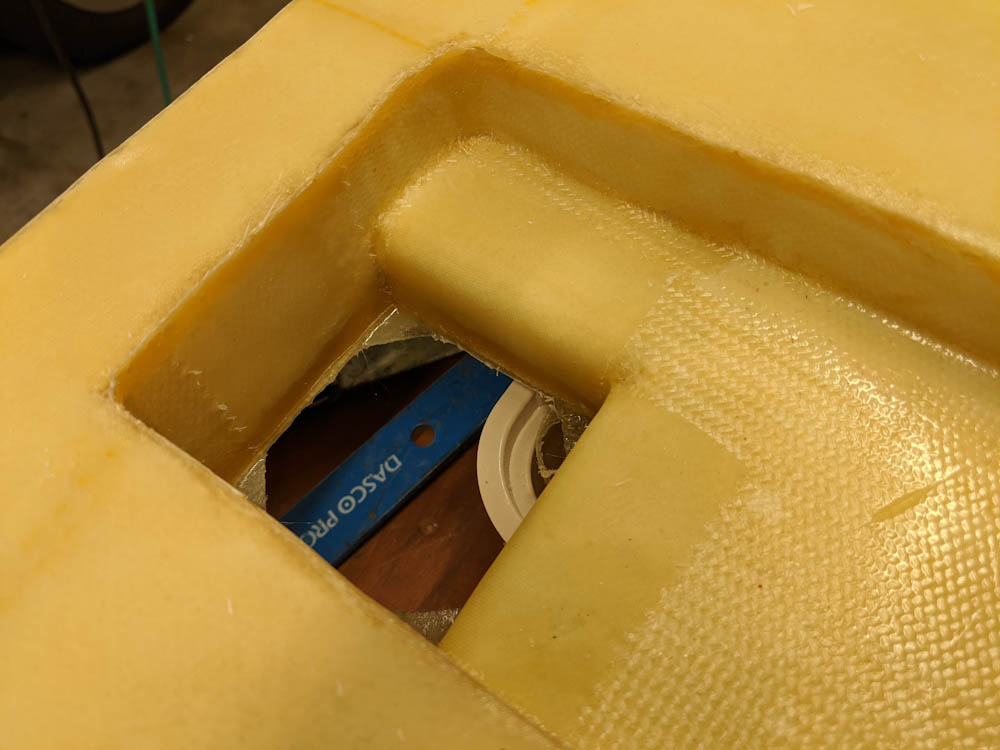
Closeup of the hole in the side of the box where the 60mm fan will be mounted that blows air over the cold plate to condense water out of the air.
The next step will be to attach the sides of the box, but before doing that I wanted to mount the large aluminum plate to which the old silicone 3d printer heater was going to be fixed. On the TAZ6 this is affixed to the back of the glass printer bed, so I got some sheets of the same adhesive (3M 468MP) and stuck it to a 1/8″ thick aluminum plate I cut out. The aluminum plate is mounted with M3 screws to threads cut into the aluminum hardpoints I mounted into the foam before glassing the back of the box, see the last post.
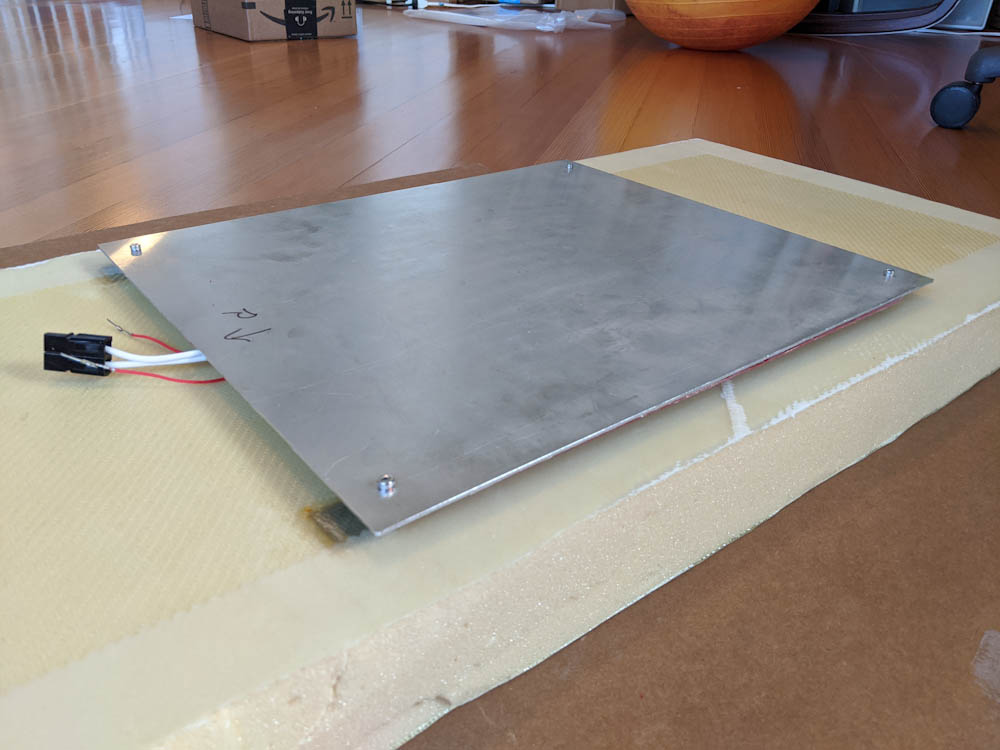
1/8″ 6061 plate with the old TAZ6 print bed silicone heater attached to the back side.
Enjoying this build, it takes attention-to-detail of 3D printing medium to an all time high point.
Thanks! Given how things are turning out maybe I’ll at least have time to finish it…
Pingback: Filament storage part 4 – Patrik's projects