Wow, posting’s really dropped off this year. Hard to get the time to do stuff, even harder to then actually write something about it.
When we ended the last post, I was going to show you the room painting project that we continued with after replacing the windows. The first, and most painful task, as always, was to strip all the lead paint. If you look back to the previous post you know we already went through this with the windows. The wall and ceiling is a lot more surface area but it’s actually a lot quicker to do flat areas and not have to worry about corners and edges, so it took us a few days.
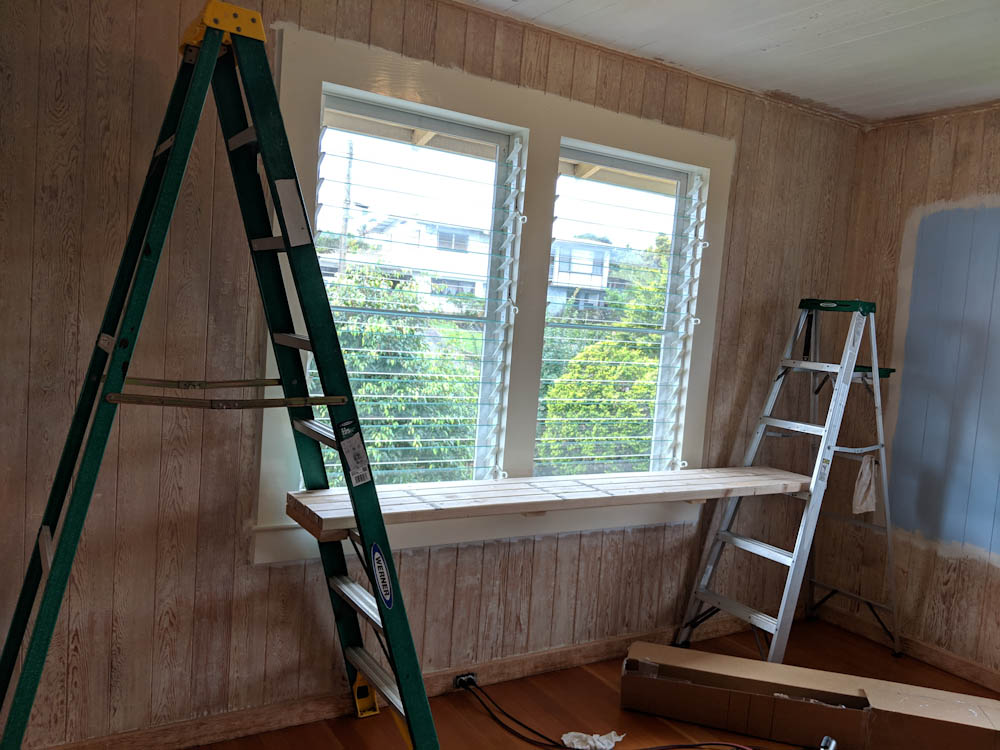
To be able to work the ceiling efficiently, we constructed a platform from a few 2x4s that we could span between the ladders.
To get the ceiling done without breaking our necks we made a platform hanging between the two step ladders, and we used the Speedheater movable arm attached to a tall metal pole on wheels. That way you don’t have to hold it up, you just move it from place to place and scrape the areas you’ve heated.
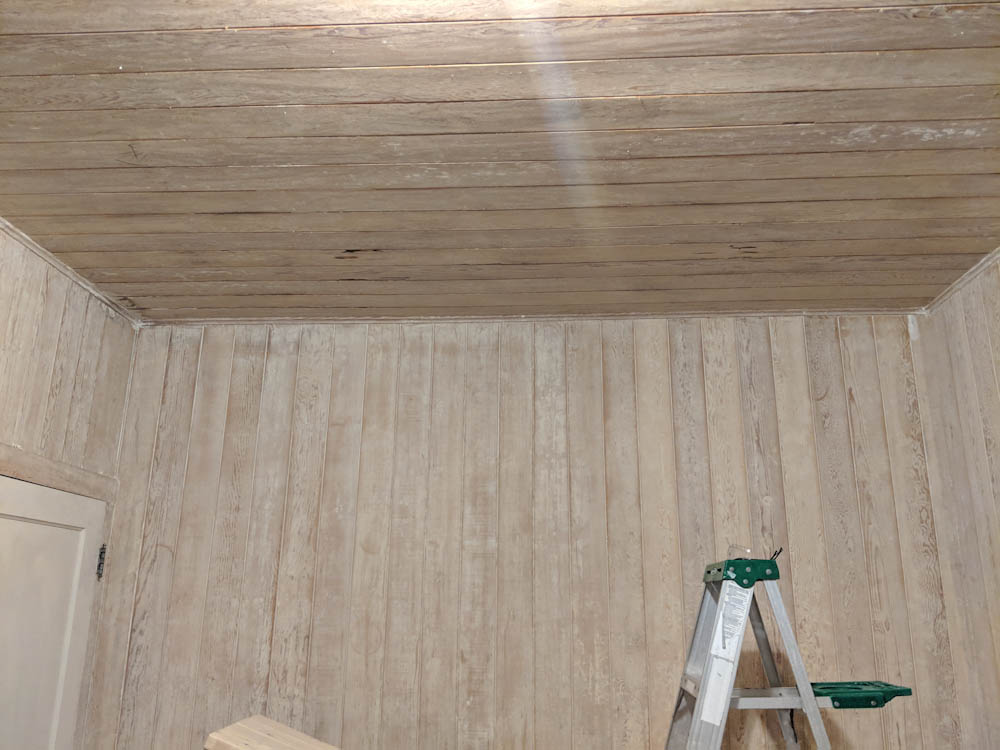
The walls and ceiling have been stripped, ready for priming.
Once all the old paint was off, we repaired some termite damage and filled every seam between the planks with sealant to have an elastic seal there instead of a gaping hole where the planks move.

In general, there was not a lot of termite damage found, but this area of the ceiling was pretty bad.
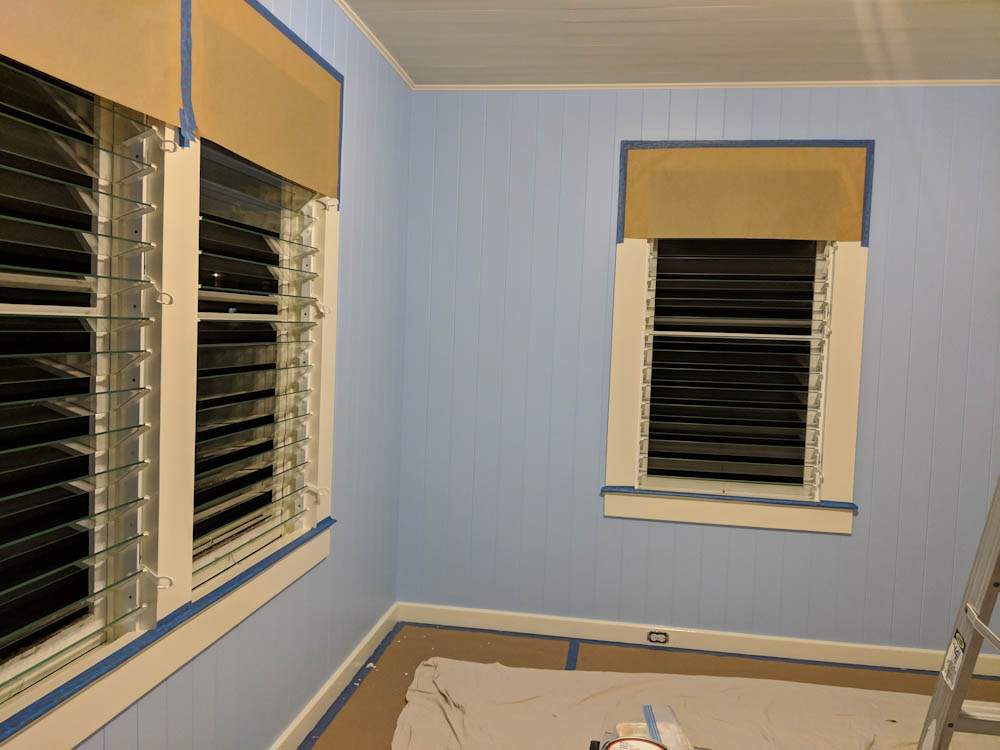
To make sure we got a uniform, well-primed base, we elected to go with two coats of the Eco primer/undercoat. We rolled it on, but they recommend a foam roller for this and that obviously won’t get paint into the grooves between the planks, so before rolling we had to go through and hand-fill the grooves with a brush. This easily made it take more than twice the time compared to if we’d just had a big flat area.
The first coat of primer is on. It gets absorbed a bit into the wood so to get a uniform base, and more durable paint, we did two coats of primer.

With the second coat of primer, the base is nice and uniform. Here we’ve started painting the trim along the ceiling with the Royal White flat paint we’re going to use for the ceiling.
Once everything was primed, we rolled the Eurolux ceiling paint. This is the same Royal White color we use on the trim for windows etc, except it’s flat instead of shiny.
Because the Eurolux acrylic paint dries quite quickly, it was difficult to not have the paint dry between filling all the plank joints and doing the edges, etc. It helped to do this as early as possible in the morning so it wasn’t so warm.
It was really difficult to edge and roll the main areas without the paint beginning to dry, so we did the corners and top/bottom early….
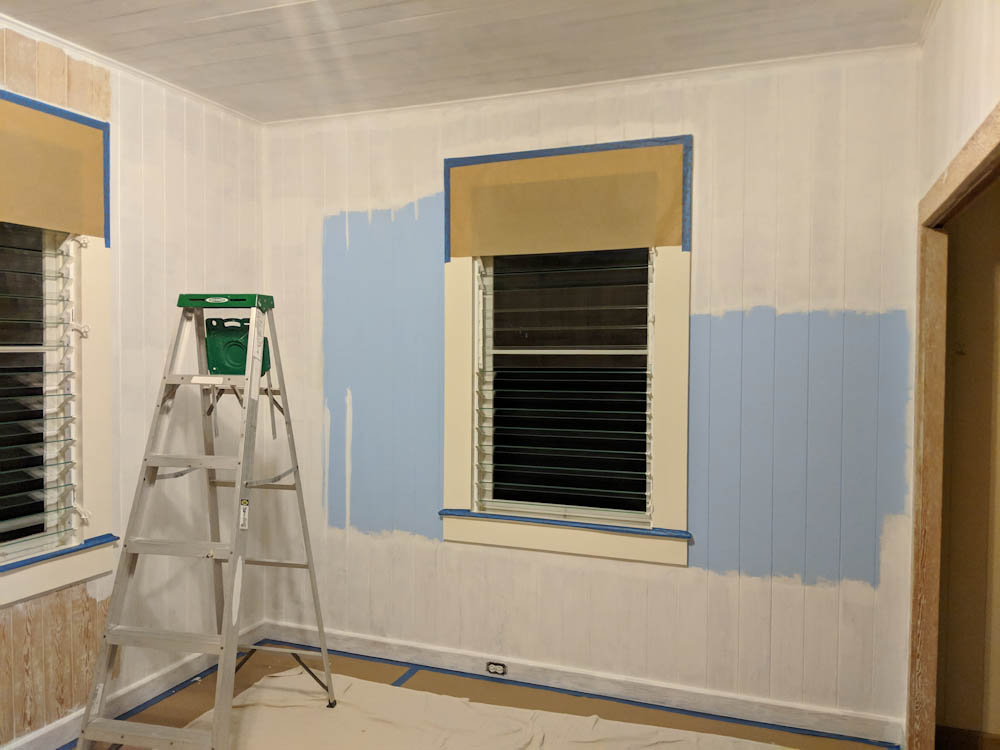
With the ceiling done, we proceeded to the “Bermuda Blue” wall paint. This was applied in two coats, rolled in the same way as the ceiling.

After the first coat of blue you can start to see what it’s going to look like.
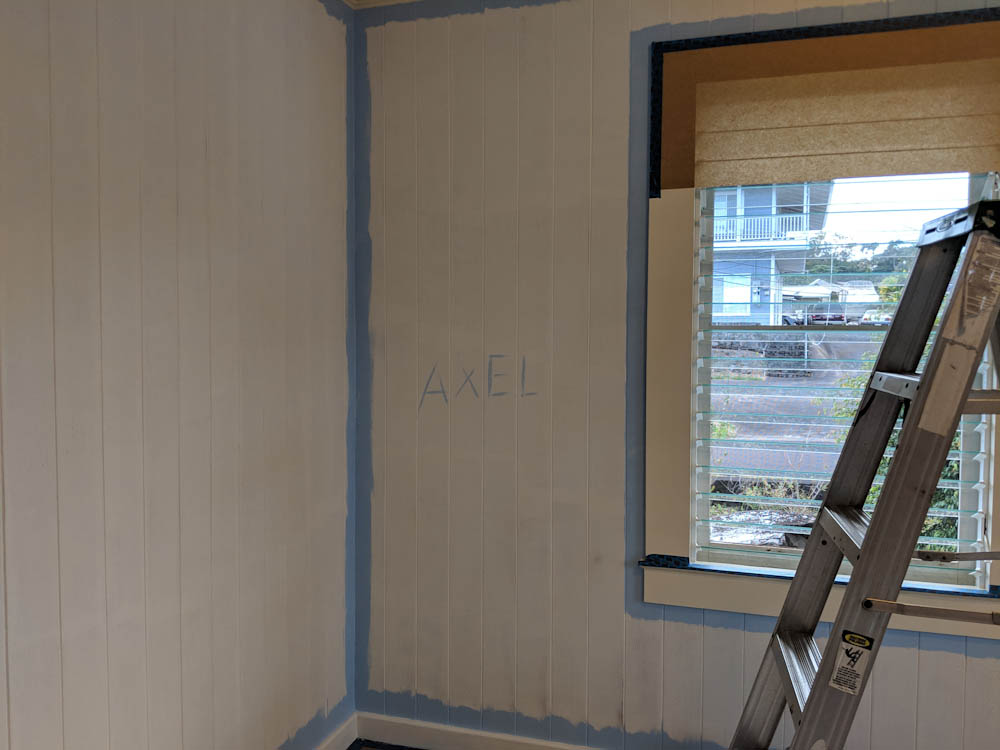
Two coats of blue done. I think at this stage we’d also done the first of the two coats along the baseboards.
Finally, with two coats of blue done, it was time to crawl along the baseboards and paint them using the same shiny Royal White paint that’s used on the window trim.
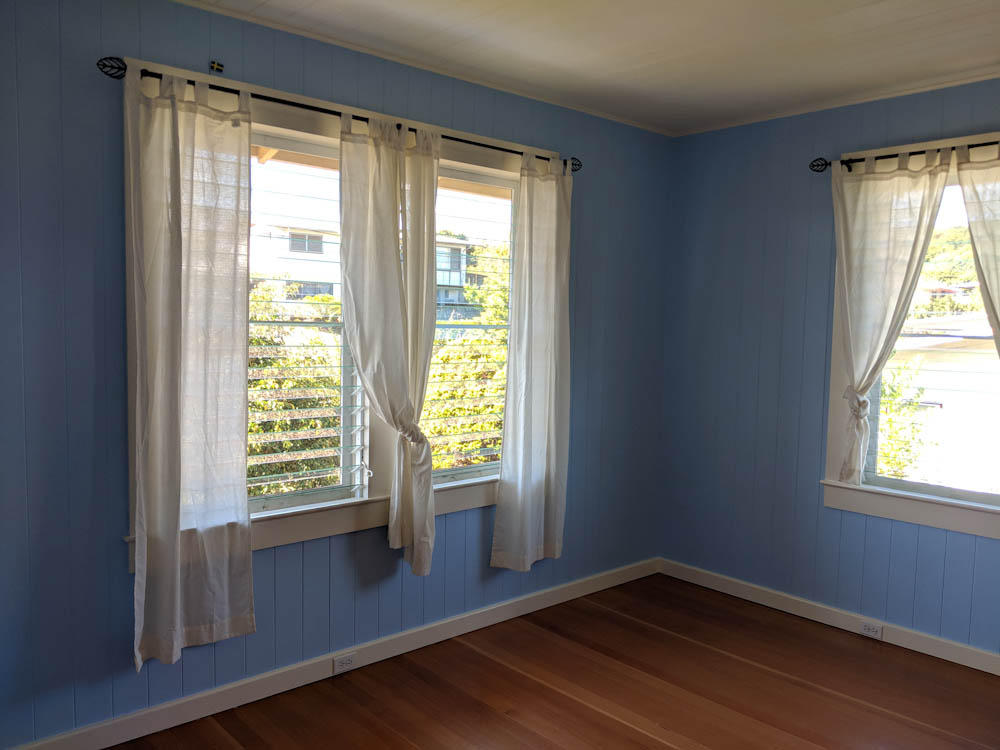
The final product, with the room back in usable shape.
The room got done right at the deadline, which was the inlaws arriving. They did have to sleep in the office one night while I did the final coat on the baseboards, but that seems like a small price to pay to get such a nice guest room! We’re really happy with how it came out. Maybe we should move out of the master bedroom and in here now just to experience it!
Pingback: More home improvement: Finishing the closets – Patrik's projects