The “one thing” left to do on the Sonex was to fix the left wheel brake, which was stuck. Well, ok, the left tire also kept losing pressure. Finally co-owner Andy and I managed to get down there and jack the plane up so we could take the wheel off.
We had wondered about how to safely jack up the plane, and after reading how other people had done it ended up putting a 4×4 across the fuselage bottom immediately behind the gear. Then we jacked this up with a lift and put jackstands under the 4×4. It seems quite secure, especially with the lift in place since it gives a large support area for the 4×4, even if the jackstands themselves were to fall over somehow.
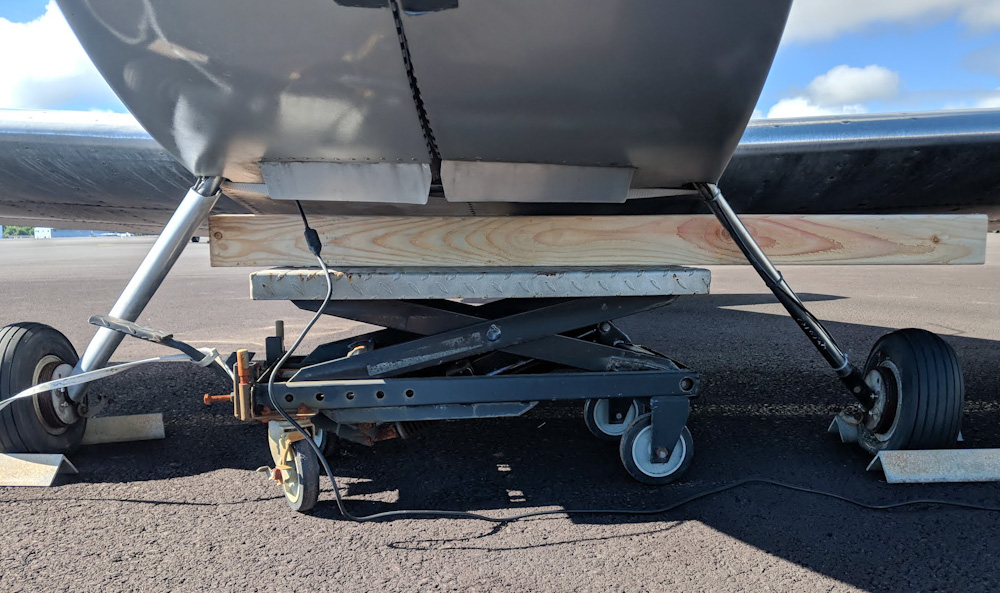
This is the lift we used to lift the plane off its gear. The jackstands are not in place yet.
Once we got the wheel off, it became apparent that this would be a somewhat larger job than anticipated, because … you guessed it: corrosion. It turns out not only was the brake arm rusted completely solid, the races of the conical wheel bearings were also rusted. That just was not acceptable, so off both wheels came off.
Everything down there was just in terrible shape. Apart from the left brake being frozen, the wheel bearing being rusty, and the tire having a slow leak, the brake drums were severely rusted all over and the aluminum wheels had pretty bad corrosion, too.
We left the plane on jackstands and I took everything home for a basic cleanup. There was so much caked brake dust everywhere that it was hard to see how bad the corrosion really was. The wheels can be split so the tire and tube can come off, and then the brake drum separated from the wheels. After some ultrasonic cleaning, it was clear that the left brake was a goner. The shaft for the actuator was completely frozen on the bushing and, instead, the bushing had spun in its mount and was now loose.
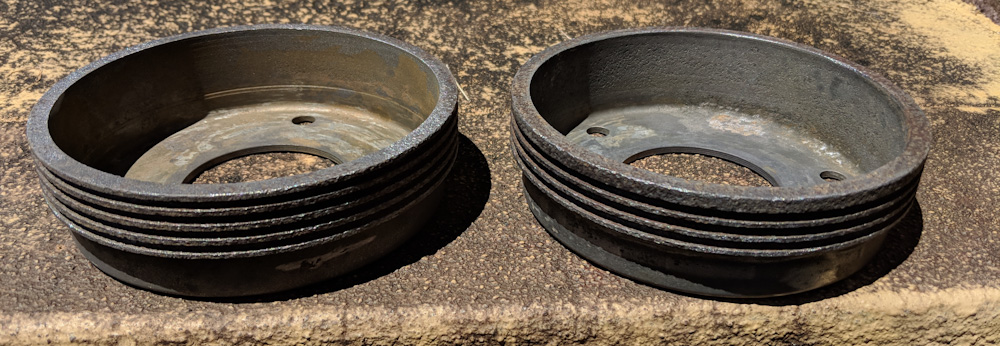
The brake drums look almost acceptable after some serious rust removal.
I dunked the brake drums in rust dissolver and left them for a week, after which they looked a lot better. The inside actually did not look that bad, and there’s barely any wear noticeable. The outsides, however, have “cooling fins” machined into the perimeter, and those were completely pitted. It took several sessions with Naval Jelly and the Dremel wire wheel before they were reasonably rust-free. Apparently they initially had a black oxide surface and that is completely useless here in Hawaii. Instead, they’re now painted with high-temperature “BBQ” black paint. This paint may interfere slightly with getting rid of brake heat, but it’s not going to be worse than a thick layer of rust.

The drums were painted with high-temperature paint. This will hopefully prevent them from rusting right away again.
The aluminum wheels also had pretty bad corrosion, especially where the brake drums had been mounted. I cleaned the mounting surface up with the wire wheel but otherwise there’s not much to do. I tried using the aluminum equivalent of Naval Jelly, but it didn’t seem to make any difference whatsoever. This corrosion is unsightly but not bad enough to affect the structure of the wheel. The wheels also aren’t visible when the wheel pants are on.
I was wondering how to get the bearing races out, since I don’t have a suitable puller. I was trying to find someone in our EAA chapter that had one, but eventually I decided I would just try to heat the wheels a bit and see if I could get them out. Indeed, it turned out that after some mild torch heating, I could pry them out. The new ones dropped right in with heat, too, so that turned out to be easier than expected.
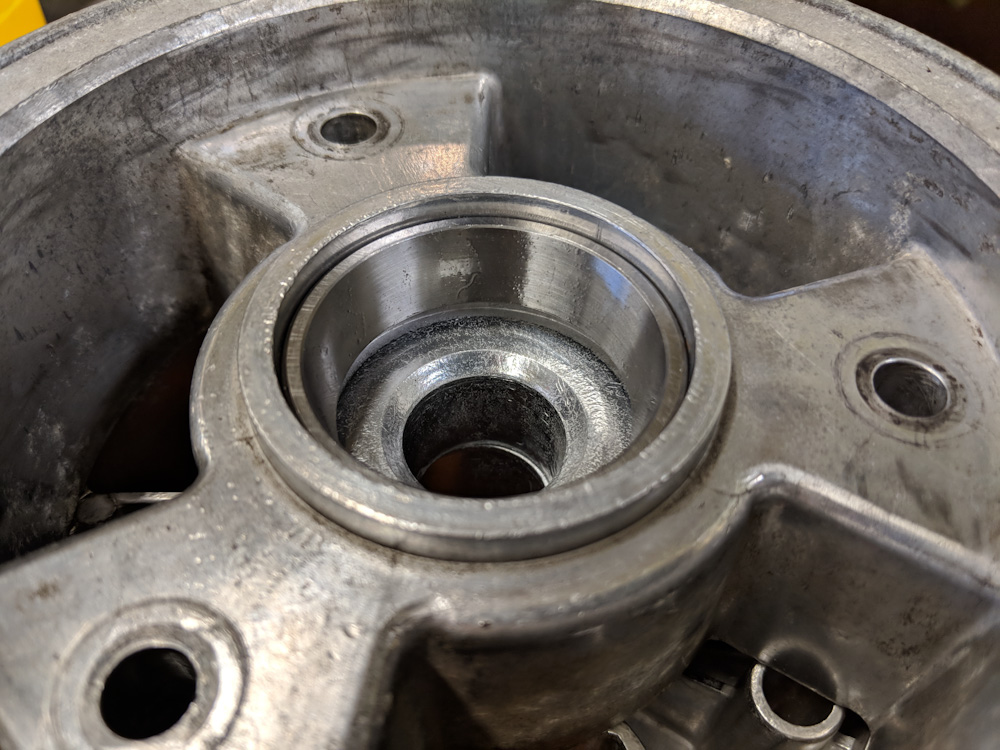
The new bearing races slipped in cleanly after the wheels where heated a bit.
With that, the wheels were ready to be put back together. The only hitch was that one of the wheel bolts were bent enough that it did not want to go back into the hole. (I had to pound it out, initially, too.) So I have to find a 3″ 5/16 bolt somewhere. At least these wheels aren’t actually aircraft parts so they don’t use AN bolts which we definitely can’t find locally.
The wheels were massively unbalanced, so I took advantage of the wheel balancer that I got a while ago to be able to change the tires on the bikes. Spinning the wheels this way also gave me an opportunity to make sure the brake drums were reasonably centered, since they’re only held by the bolts which do not provide very precise positioning.
The only thing I’ve not been able to figure out is the leaky tire. I dunked both inner tubes in water and saw no leaks. Maybe there was some junk in one of the valves that blew out when I emptied them? I guess we’ll see.
Pingback: Tailwheel – Patrik's projects