As I mentioned in the last post, I left the key on and ran down the Ballistic Lithium battery. Instead of just forking over another $100 I thought it would be fun (and “cheaper”) to make my own pack.
This is what the Ballistic battery looks like if you crack it open.
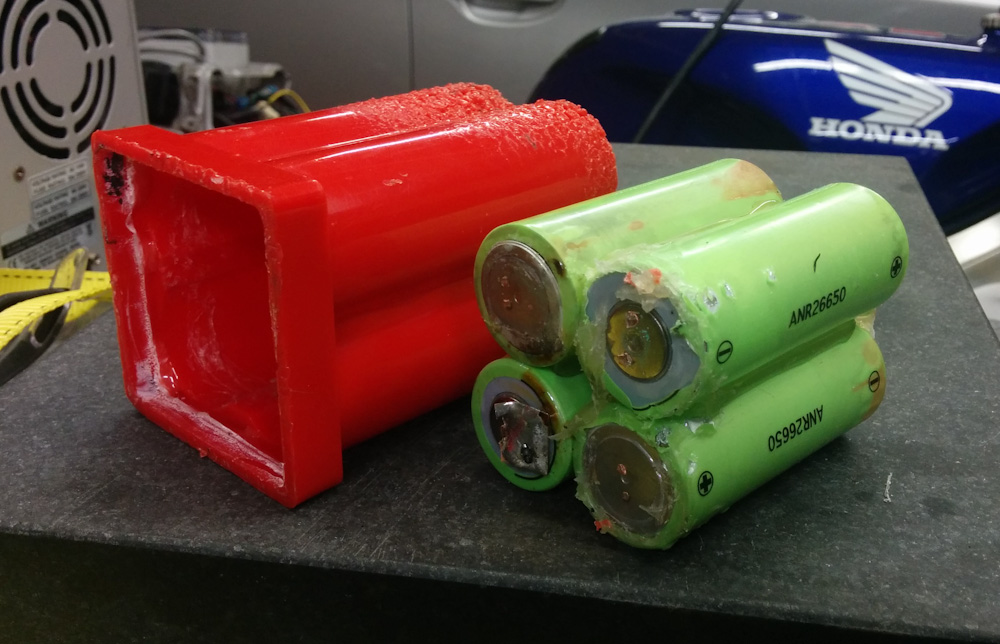
This is what the Ballistic battery looks like on the inside. It’s just 4 A123 Lithium-ion cells in series. Should be a piece of cake to DIY.
The battery cells are about $10 each, so it should be possible to make it for a lot less than it sells for… once you’ve acquired the necessary tools to make it, of course! 😉
It so happens that I recently bought a 3D printer, a Lulzbot TAZ6. I’ve been thinking that this would be a very useful tool to have for some time, and I’ve had a price watch set on Amazon. I’d seen on camelcamelcamel (a very useful site if you want to get alerted to bargains on Amazon) that there would be occasional sales, so when I got alerted that the price had dropped by almost $400 from the standard price I pulled the trigger.
With the 3D printer, I had the capability to print a new battery case. This would have three advantages. First, as you can see above, I mutilated the old case pretty badly getting it open. Second, I could print it in a plastic that doesn’t melt if it comes in occasional contact with gasoline. And third, since the old battery was just on the hairy edge of being too tall, I could rearrange the cells to lie them down (like in the picture above) which would better utilize the space in the battery compartment.
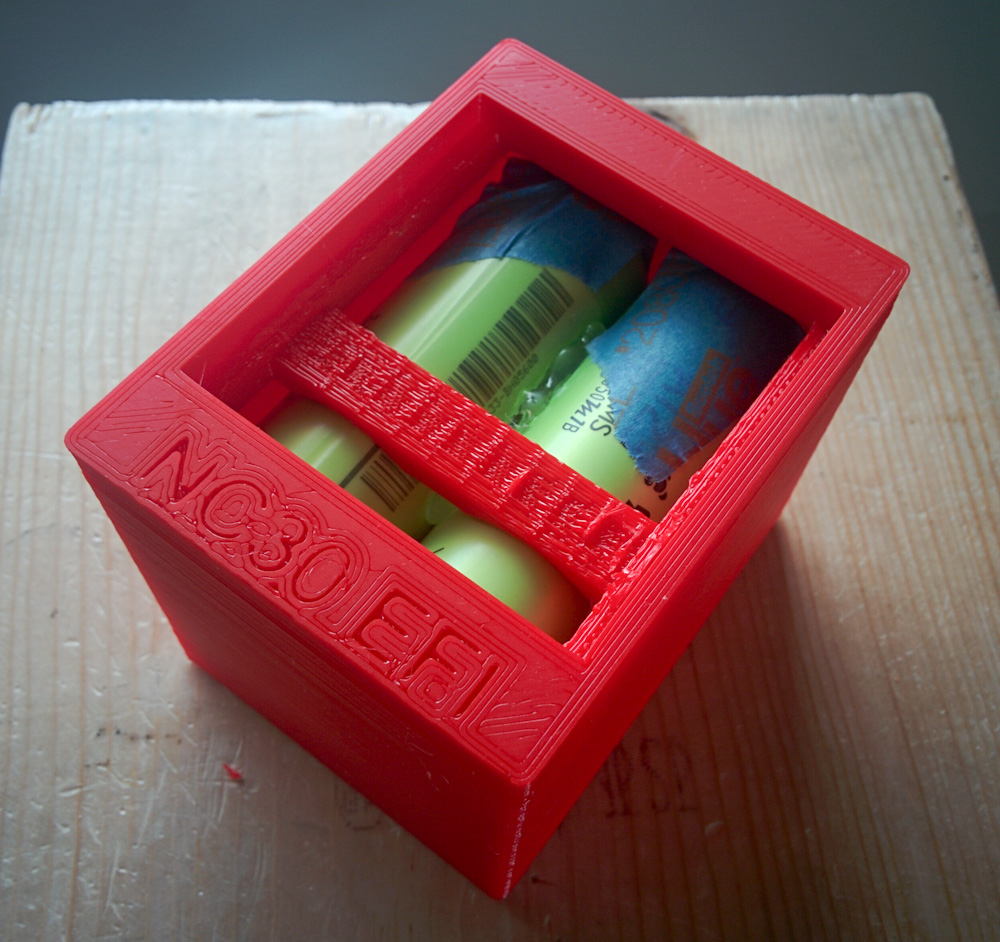
This is the 3D-printed battery box, with the cells inside for test-fit. The hole in the lid is for mounting the terminals from the old battery. This lid had to be redone, as I had miscalculated the room needed for the terminal connections on the inside.
The next challenge was how to hook up the cells. The normal procedure for connecting battery cells is by spot welding a nickel strip to them. It is technically possible to solder them, but this imparts a lot of heat on the cells and you can easily damage them. The problem with spot welding is that I didn’t have a spot welder…
Luckily you can get Chinese spot welders for a bit more than a hundred bucks on ebay. They’re not exactly high quality, but for occasional use they should be perfectly fine. So I got one of those.
The only somewhat sketchy part about this is that the starter current is very high. These cells are rated for continuous 50A, 100A intermittent discharge current. Nickel has a much higher resistance than copper, so in high-current applications it’s not ideal. The Ballistic battery indeed had spot-welded copper connectors, but spot welding copper requires much better equipment.
I asked the people at batteryspace.com, who I’ve bought Lithium batteries from before, and they said they used 0.3mm thick Nickel strips for their A123 cells without a problem, so that’s what I went ahead and used.
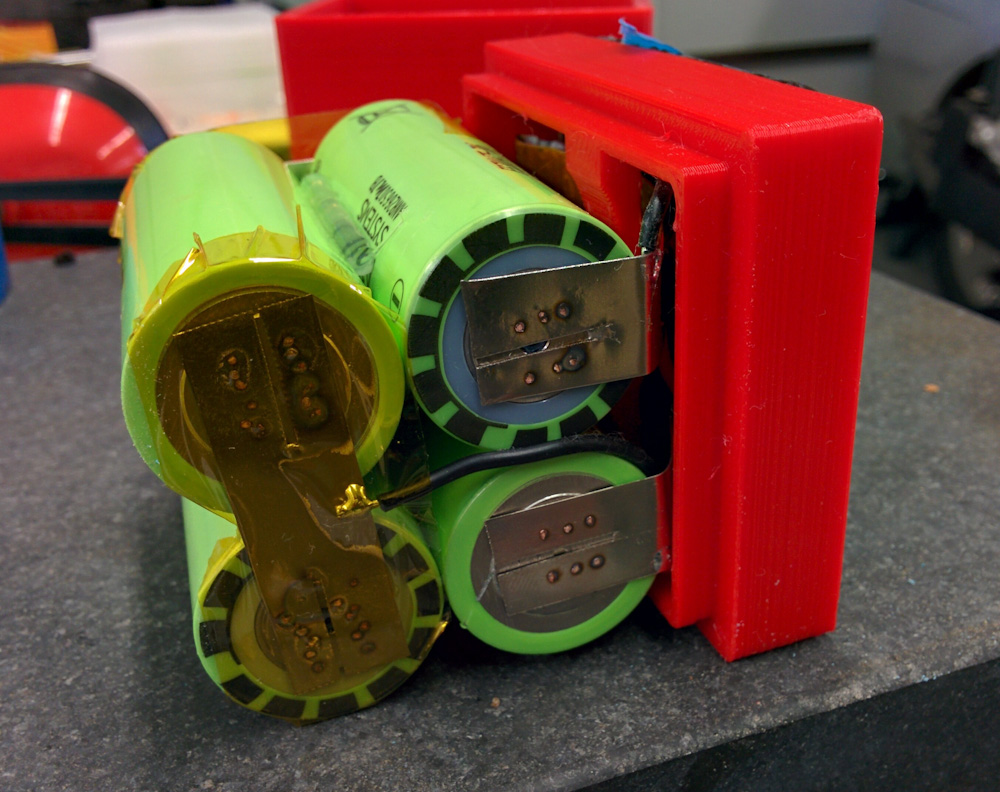
Here are the spot-welded cells ready for mounting. You really don’t want to accidentally short these cells, so I covered the connections with kapton tape.
Before spot-welding the final connections, I soldered those strips to the copper connectors going to the battery terminals. Then I just had to put the cells into the box and, voila, we have a new battery!
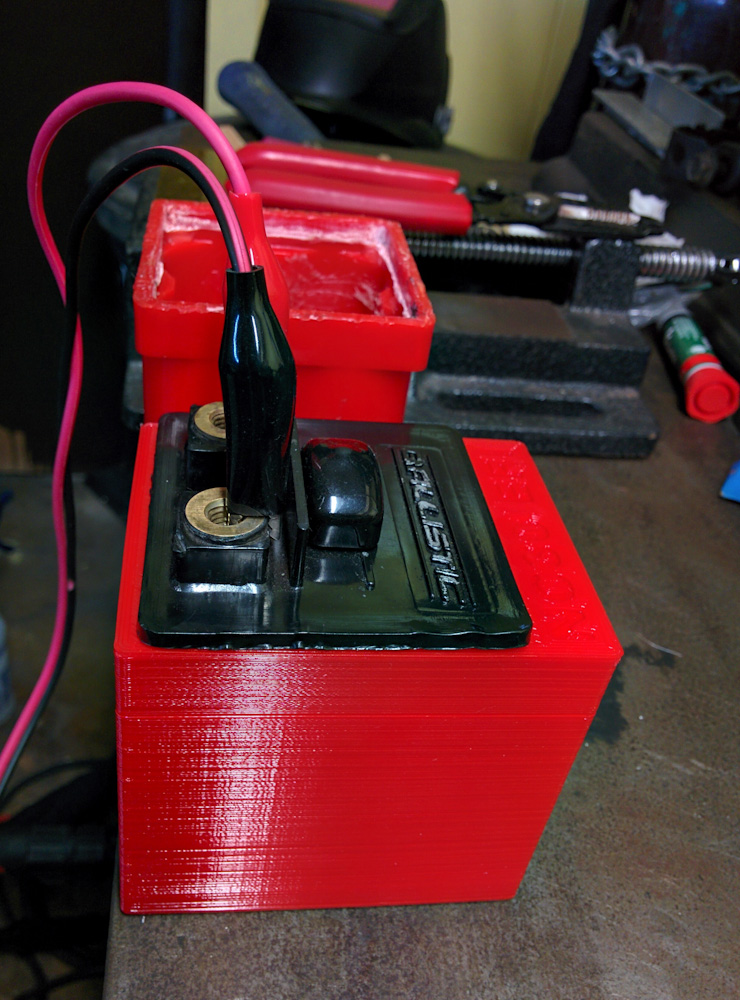
The assembled battery, getting its first charge.
The new box fits very well in the battery compartment, and there is no longer any interference with the seat. The motor cranks about the same as before. It’s possible that the cranking speed is a bit lower, judging from the data logs, but there was absolutely no problem starting.
However, there’s something weird going on. When I rode the bike, it ran crappily, and the data log shows that it ran much leaner than before. The battery voltage is pretty much the same, so I don’t think it’s possible that the new battery could be the cause. There was some ethanol-blended fuel in the tank, so maybe letting the bike sit for a few weeks made it absorb water, which would make it run leaner? That also doesn’t seem plausible, though. The effect is large, like more than 15%.
Unfortunately I haven’t had time to troubleshoot any further. More info when I have it.
Hi! This is Luis, from Spain, i’ve been following your project sice… Long ago. I have a pc12 (vf500) and considering on going efi with microsquirt as well.. Very close set up but not the same, i’ll use bmw k75-k100 tb’s and the cranck pulley from a vf 750 magna. Still preparing things before stoping the bike. I wonder if you could send me your microsquirt set up msq file so i can work in advance and save some good time you have allready invested…
By the way, great project congratulations!!!!
Pingback: Microsquirting the NC30, part #48: Voltage stability – Patrik's projects