A short update on the fairing job: In the last post, I had just done the layup for the new hole. After the epoxy cured, I cracked the Bondo off and broke the aluminum pipe loose from the epoxy without too much difficulty.
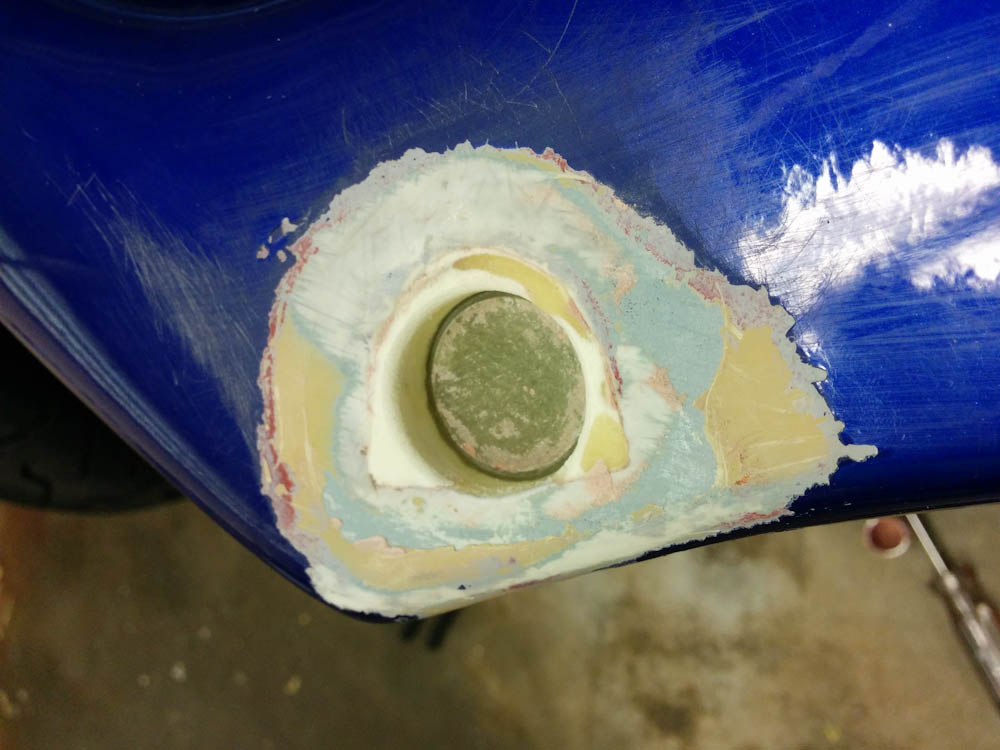
After I removed the Bondo mold and the aluminum pipe that created the shape for the screw hole, I was left with this.
Not bad. As I suspected, there were a couple of air bubbles in the micro that I’ll have to fill. The plug in the aluminum pipe had also gotten pushed into the pipe a bit, so there’s a ring-shaped depression around the perimeter of the bottom of the hole. I’ll fill that in with a little micro fillet, I think. That way there won’t be a sharp corner there either.
Putting the fairing back on the bike, it was now time to see if it would all work out. Luckily, the hole is in exactly the right place. I could even see the screw hole in the frame through the epoxy, so it was easy to drill it out enough that I could get the screw in.
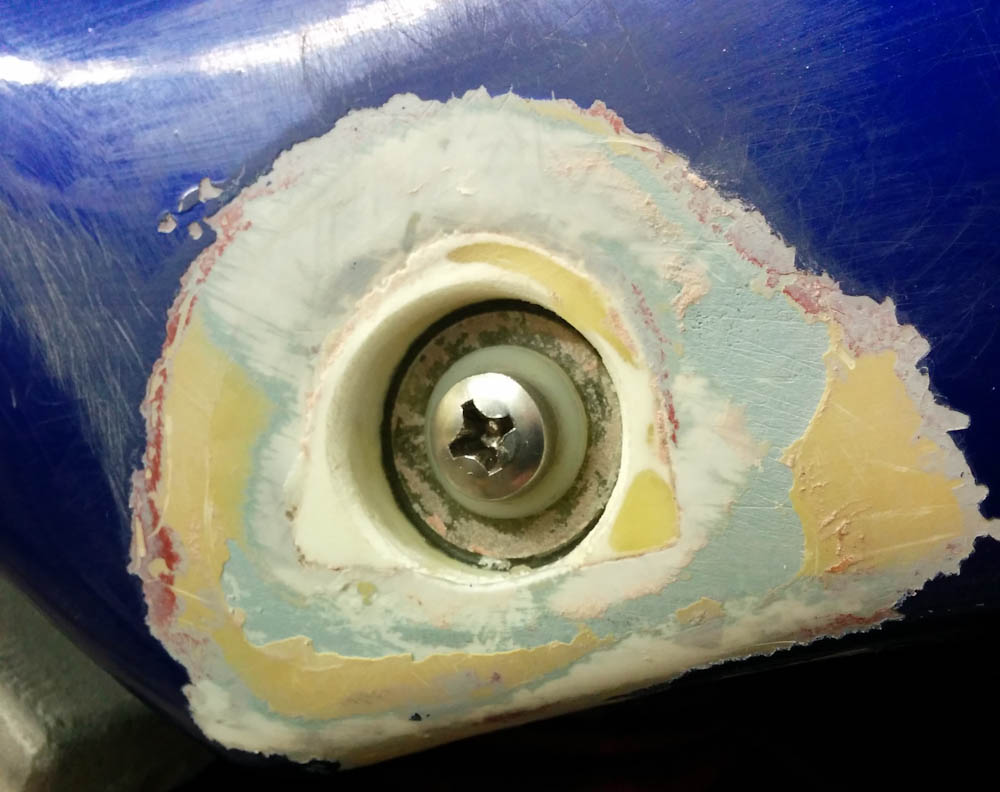
The location of the hole turned out pretty much perfect, the screw is well centered.
I still need to make the hole bigger to fit the rubber grommet, but that will have to wait until my step drill arrives, because I don’t have a drill bit that large right now. But I’m going to count this as a success! Now on to the right-side hole, which is even more misplaced than the left one was. But the same technique should work fine there, too.
Pingback: Microsquirting the NC30 (part 1 of many…) | Patrik's projects