It’s been a while since I wrote something about the bikes. Not much has really happened since we moved to Hilo, but I’m now back to doing some stuff on the NC30. It really started before we moved. I mentioned back in the post that I was going to replace the nonstandard headlight in the Tyga fairing with stock headlights. The impetus for this both that the bike needed to pass the Hawaii vehicle safety inspection and that the stock double round headlights just personify the VFR to me!
New headlights are impossible to get, so I ordered a set of Chinese ones off ebay. Getting a new headlight of course also required getting a new upper fairing. The Tyga fairing has a different shape than the stock one, so the only reasonable replacement was a Tyga “NC30 style” one. After having that delivered from Thailand, I unfortunately discovered that it didn’t fit with my lowers anyway:
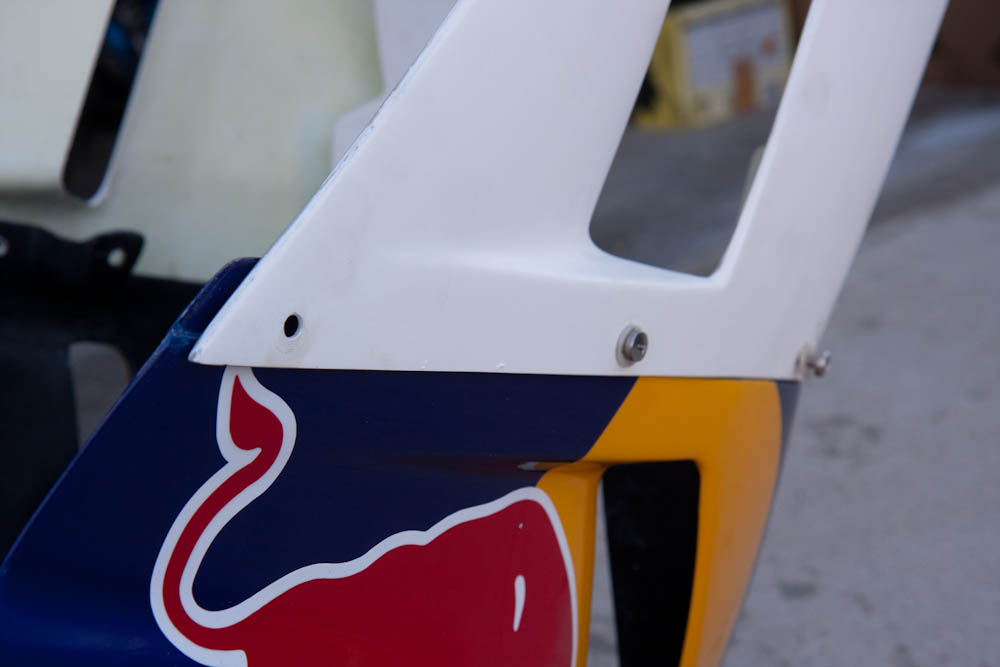
This is an example of how the new Tyga upper fairing fit against the old lower one. Not so good.
This is just one example of the fitting problem. The curve around the radiator also had a very different radius to it, so there was no way to get it to line up.
After asking Tyga about it they admitted that their early productions had quite a bit of variability to them and were always sold as matched sets. These days their production is better but it seemed likely the old lower wouldn’t fit. Well, whatever. I ordered a new lower, too, along with the stock fasteners that I also didn’t have.
The result? Better, but not by any means perfect:
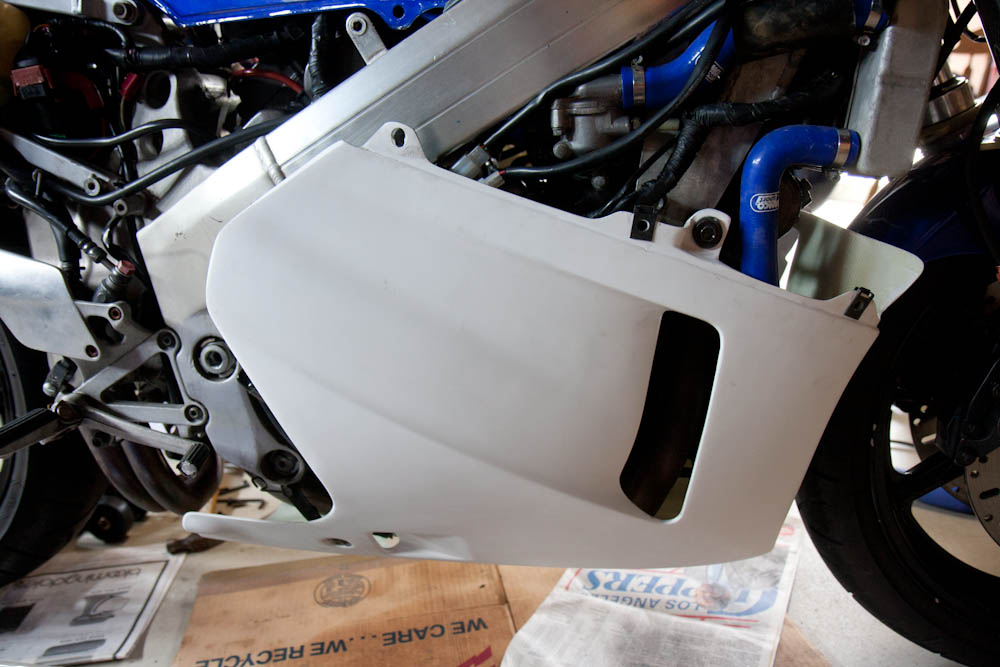
The new lower fairing. Note how I had to “adjust” the upper left hole for it to fit.
A big problem with fitting fairings after a bike has gone down is that everything ends up out of alignment. The fairings mount into metal brackets that get bent a bit, and it’s hard to find a reference for where things are supposed to sit. At least the stock lower fairing mounts rigidly into the frame at two points, so that gave me a good starting point.
The upper fairings are attached to the two mirror stays that bend up from the tank and to the headlight bracket in front. These both easily get bent if the bike goes down, but after “adjusting” them a bit I got a reasonable fit. The only problem was that the front screw hole was about 1cm too far forward for the headlight bracket.
Luckily the Tyga fairings are fiberglass, so I could apply some of my airplane-building skills and add more thickness to the fairing in this part.
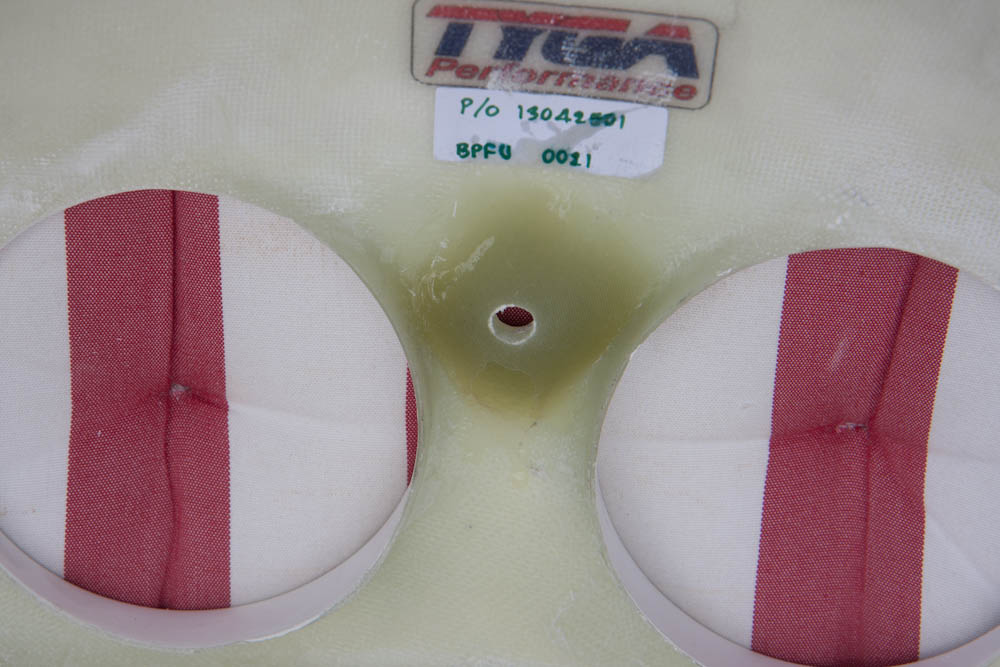
This is the attachment where the fairing screws into the headlight bracket. By adding a pad of tiny fiberglass layers I could build up the seat to the appropriate thickness and drill it out.
With that along with some spacers in other places, I got the fairings to fit pretty well.
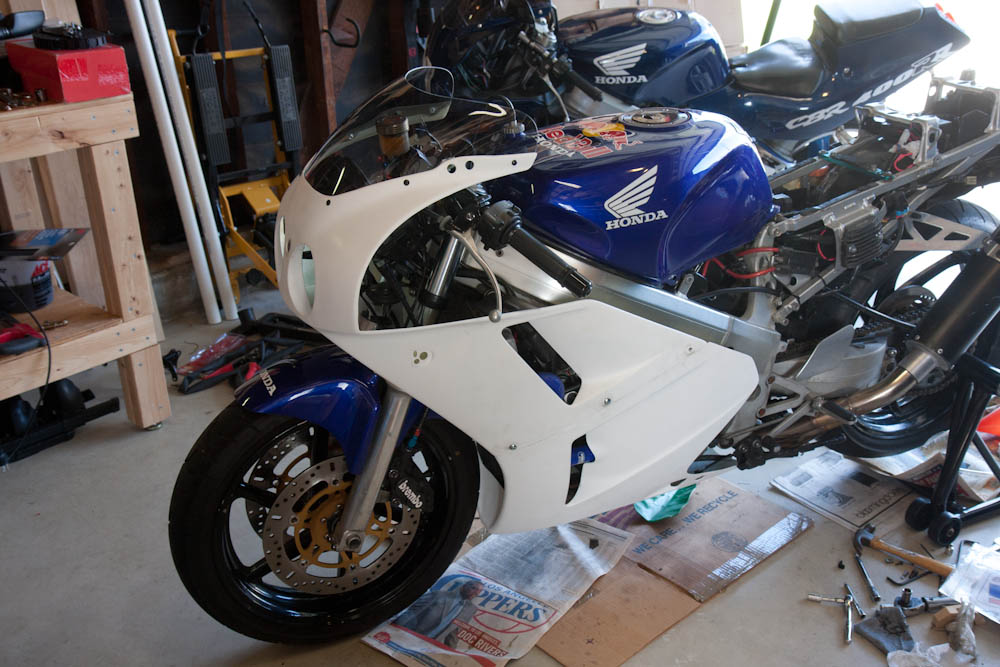
Finally, a reasonable fit for the new upper and lower fairings. Now they just need paint.
This was as far as I got before we moved. The bike’s been rolling around in primer since then. Rather than try to recreate the “Red Bull” theme, I want to repaint it the classic stock paint scheme (It’s called “NH-196”. There’s still a sticker under the seat with that code, so I know that’s what it used to look like.)
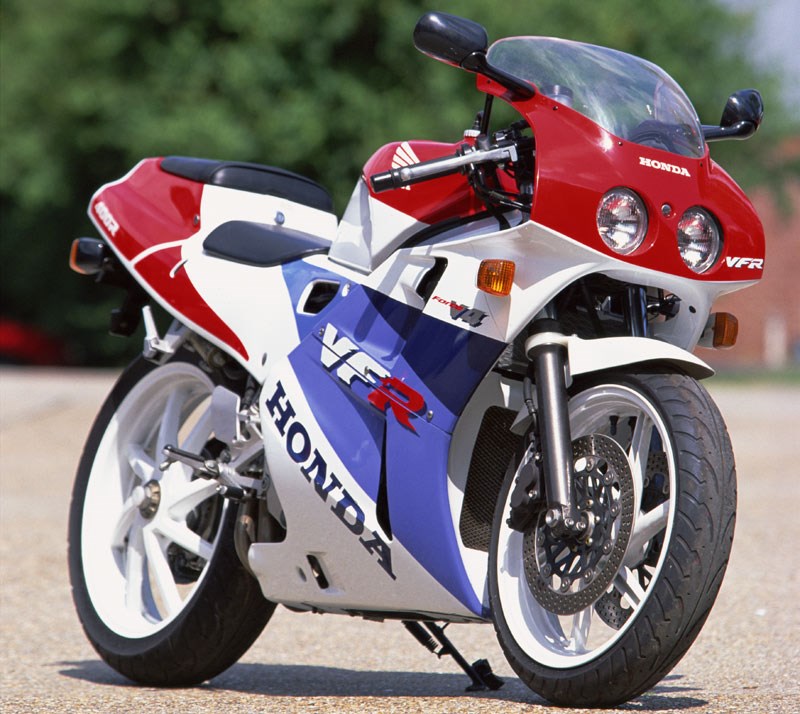
The classic “NH-196” VFR paint scheme, stolen from 400greybike.com.
After trolling the internet for the correct Honda paint codes for this scheme, I went to Finishmasters to see if they could get it. No luck, these paint codes were in none of their computers. Presumably they only have paint codes on models that were sold in the U.S.
I did manage to source a set of stickers from “ImageWorks” in the U.K. But I kept getting stumped on the paint. Finally I got it from RS Bike Paint, also in the U.K. They have it in water-based paint, so they could ship to the U.S. (However, they could not ship to Hawaii, so I had to use an intermediary in CA to re-send them in USPS to me.) Now I have all I need to paint.
Before painting, though, there’s a bit more fairing work to be done. I’ll leave that to the next post.
Pingback: NC30 fairing job #2 | Patrik's projects