After the SportAir workshop, I put in an order for a startup kit of composite materials from Aircraft Spruce. Since we got a discount from the workshop, I thought it would be a good way of getting some momentum on the airplane building. I didn’t order nearly enough for an airplane, but it’s sufficient for starting to practice with the materials.
The first practice layup that the Long-EZ plans wants you to do is a flat rectangle made up of 6 layers of bidirectional (“BID”) fiberglass. This gives you practice in wetting out the glass, making sure you get all the air out, and to not oversaturate the layup with resin which would make it unnecessarily heavy.
By now our shed in the back is pretty cool (it’s just made of sheet metal without insulation) so the temperature was around 18C, a bit lower than ideal. If the temperature is too low, the epoxy resin becomes thick and it’s harder to get it to penetrate into the glass. This was definitely noticeable as I spread it out on the table against the probably even cooler bench top, I had to work quite a bit to get the epoxy into the glass. This is done with a squeegee (carefully so as to not disturb the glass fibers). As there were numerous air bubbles visible between the glass layers, I used the “sandwhich” method, putting a layer of plastic over the top. This makes it possible to squeegee harder without disturbing the weave, and with generous use of the heat gun and dragging the air bubbles out to the edge, I got a pretty nice layup.

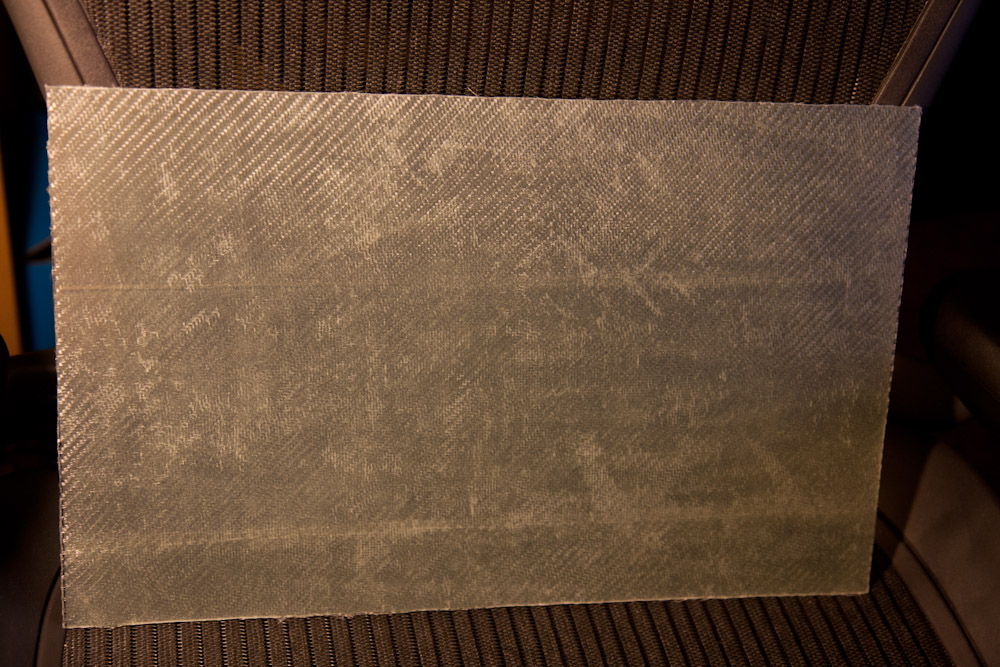
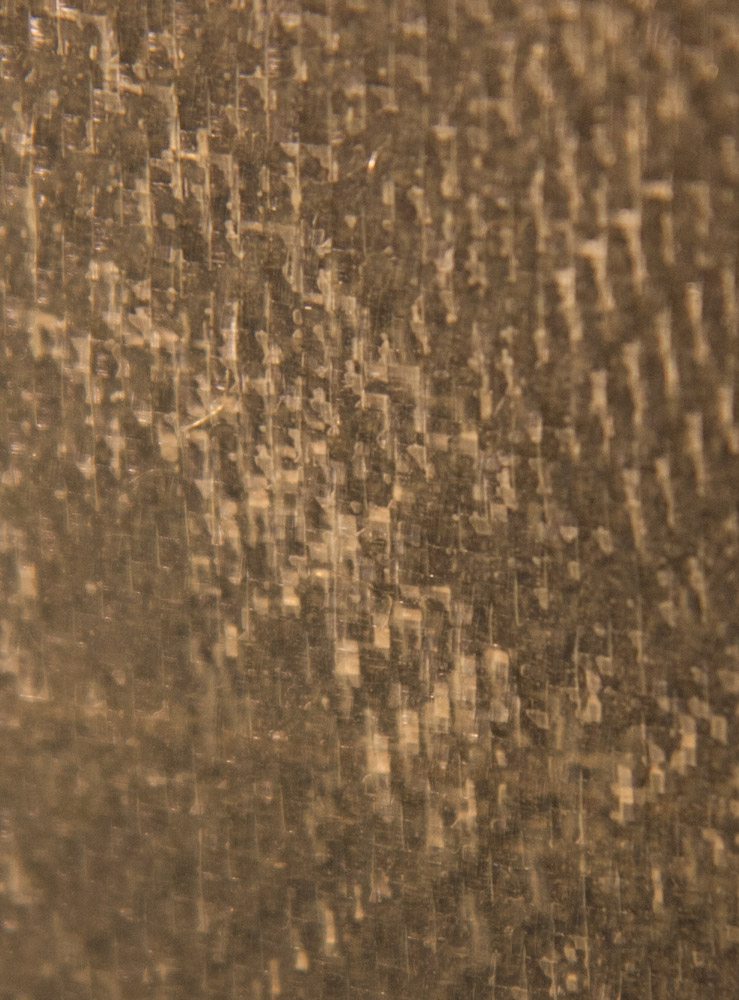
This is the 10×16″ practice layup, consisting of 6 layers of BID. It’s supposed to weigh 10.5-12.5 ounces, mine came in at 9.9 so it’s too dry. This is also clear from the numerous white areas where the fibers are insufficiently wet out with resin.
The picture above shows the cured and trimmed piece of glass. The white parts are where the fibers are insufficiently wetted out with resin. I noticed them already as I was finishing the layup but decided to let it cure and see how it looked. Either the temperature was too cold or I squeegeed out too much resin from the plastic sandwhich which allowed air to get drawn into the fibers when I removed the plastic. Most probably, both were issues. According to the instructions, with an ideal amount of resin, the 10×16″ piece should weigh 11 ounces (yeah, I know. That’s 311g in civilized units) with a weight between 10.5 and 12.5 being acceptable. Mine weighed in at 9.9oz, another sign that it’s too dry. (For reference, the glass cloth alone weighs about 6.5oz.)
Apart from the dry spots, the piece came out pretty well. It’s surprisingly strong. The piece is about a mm thick and with considerable effort I can bend it 90 degrees and it will then spring right back.
I’m going to try making the piece again, but before that I’m going to need better temperature control in the shed. I tried putting a space heater in the shed to get the temperature up a bit, but the bare metal just sucks the heat out and the power bill would cost a fortune. I’ll try putting up some insulating styrofoam sheets on the inside, even a thin layer should be a dramatic improvement over the current state of affairs.
I’ll probably also need to make a heated epoxy storage box so it can be stored at 30C or so. People commonly just make an insulated box and mount a light bulb with some form of temperature control. I still have plenty of DS18B20 temperature probes and a spare Arduino so that should not be a big deal. Then I think I need to build a large table, too. The work bench is fine for these practice pieces but for the real deal I need more surface area.

Pingback: Epoxy hot box « Patrik's Projects
Pingback: Second practice layup « Patrik's Projects
Pingback: Third practice layup | Patrik's Projects