This is the second and final installment about the NC23 headlight retrofit project. In the first post, we compared the beams of the old headlight and the new projectors. Now we’ll see how it turned out.
The final mounting of the projectors in the headlights involved making a mount to screw it in using JB Weld, then attaching the shroud with some high-temp silicone RTV, and finally replacing the front glass.
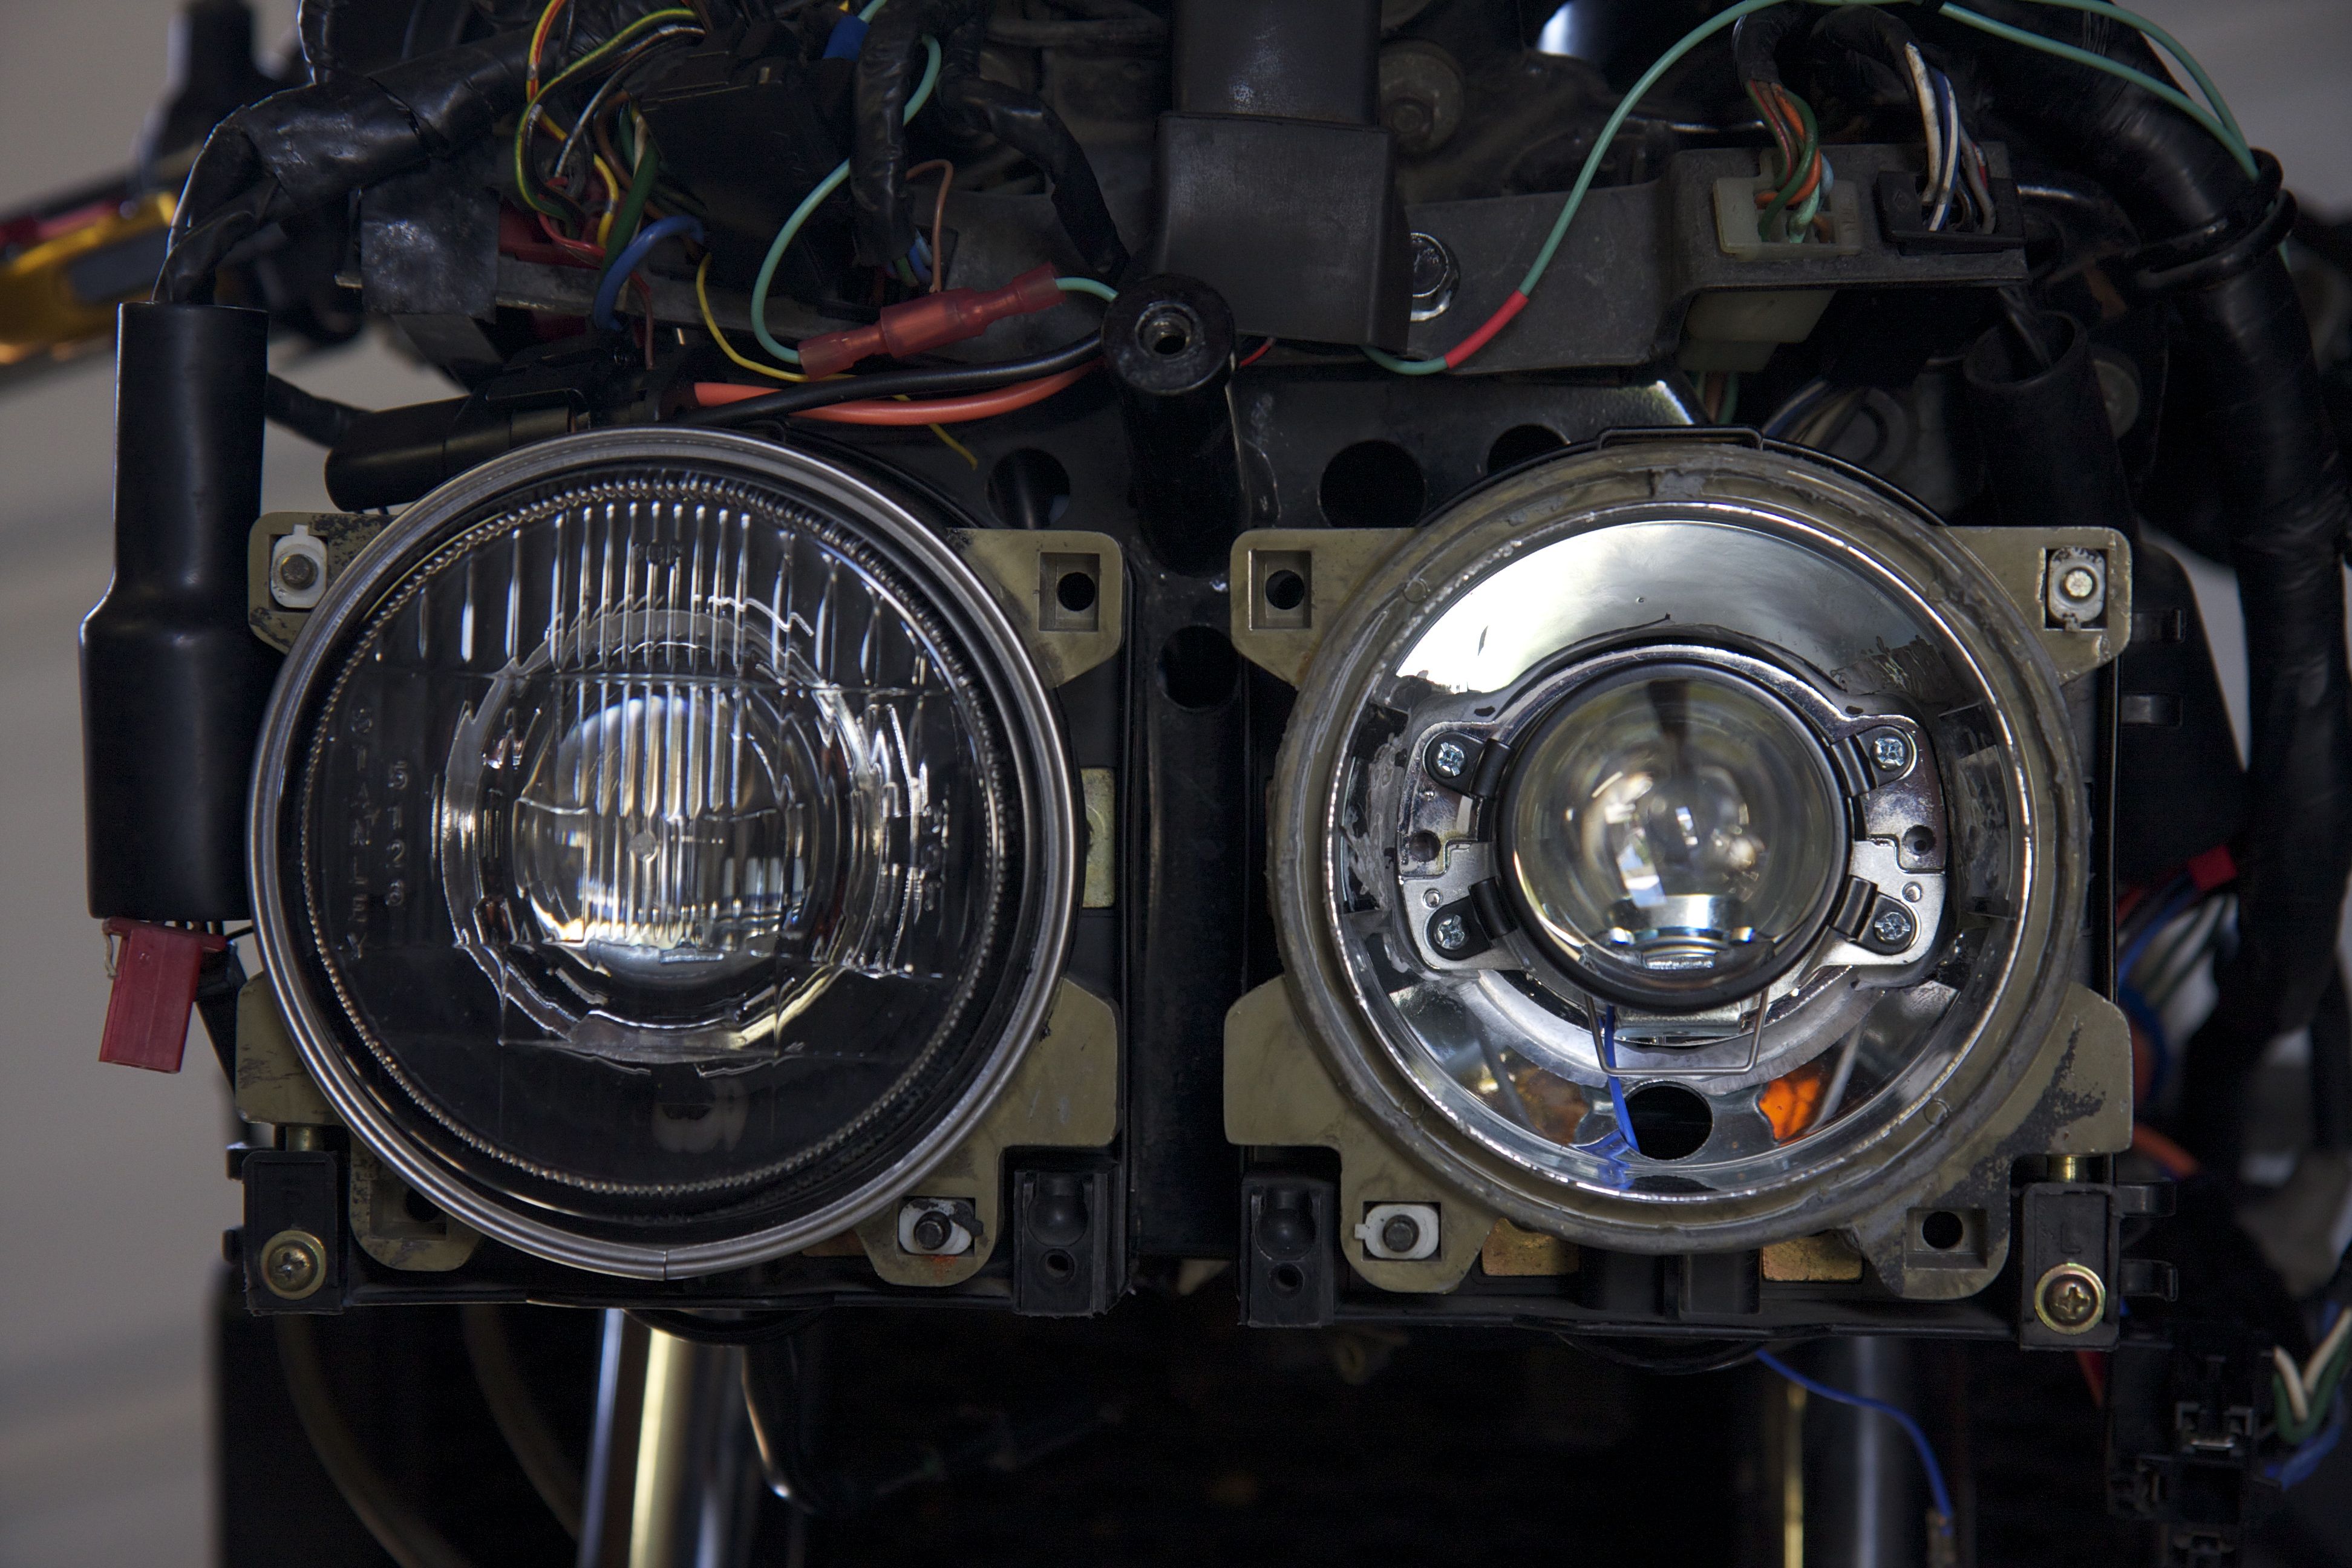
The new headlights mounted. The right one is done, the left one is temporarily mounted to check rotational alignment.

The rear of the projector, showing the bulb attachment and the RTV used to seal the space between the projector and the headlight housing.
Now it was time to wire them up. Rather than try to squeeze in the ballasts in the nose, I decided to put them in the tail. TheRetrofitSource.com obligingly provided me with 50″ extension cords for the bulbs, and to switch the ballasts I soldered together a small circuit with a power MOSFET as the switching element in favor of a relay. The switching needed a bit of thought as the hi/low beam headlight switch switches both bulbs off for an instant when changing state — a big no-no for HIDs. So I wired up a time delay circuit with an opamp connected as a Schmitt Trigger driving the MOSFET and an RC circuit on the input connected to both high and low beams with diodes. The net result is that if either high or low beams are on, the ballasts are on, and the RC circuit provides about 2s time delay before switching them off. This is easily enough to bypass the gaps in the high/low beam switch at the price of having the lights be on for 2s when turning them off — which is fine.
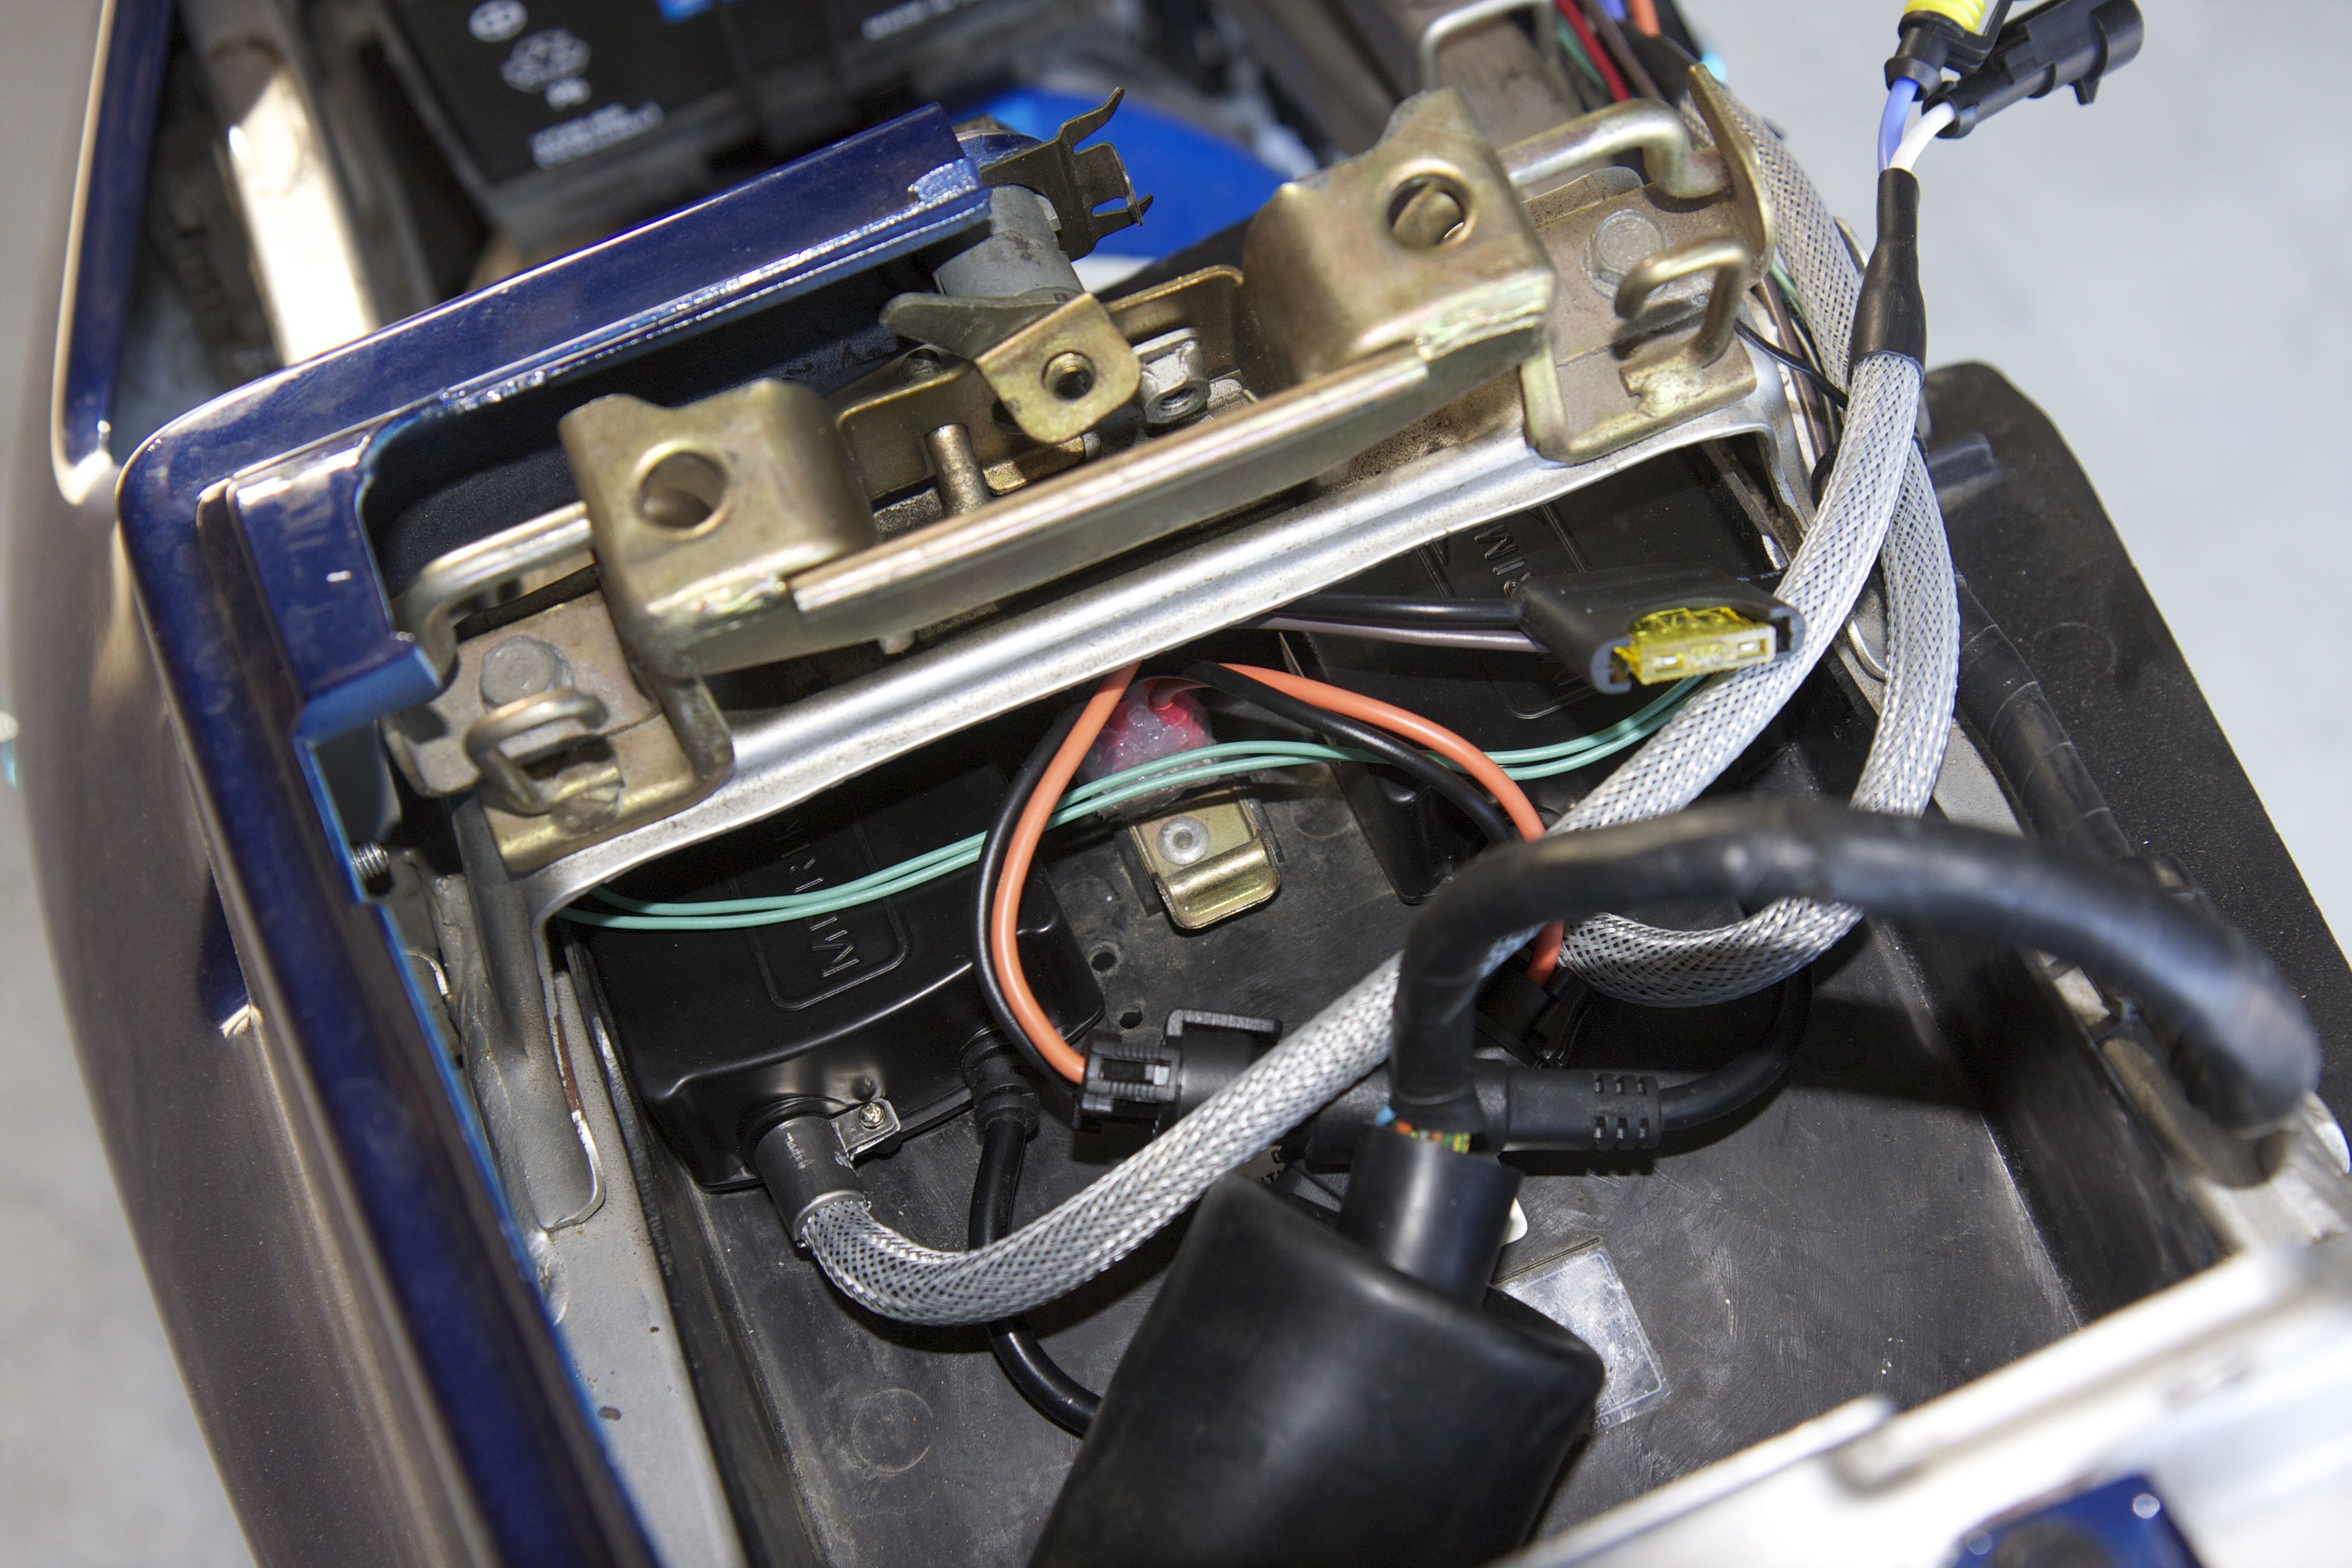
The ballasts are mounted in the tail where there’s plenty of space for them. The little circuit board with the MOSFET switch is barely visible between them.
Since the high-beam circuit now only needs to provide power to the bi-xenon solenoid in the projectors, I got rid of the high-beam relay which also provided convenient access to the ignition and high-beam circuit for wiring up the inputs. The high beam relay switch output was also connected directly to the input so that the high beam indicator light would come on. All in all the wiring was pretty neat and I did not need to cut into any stock wires.
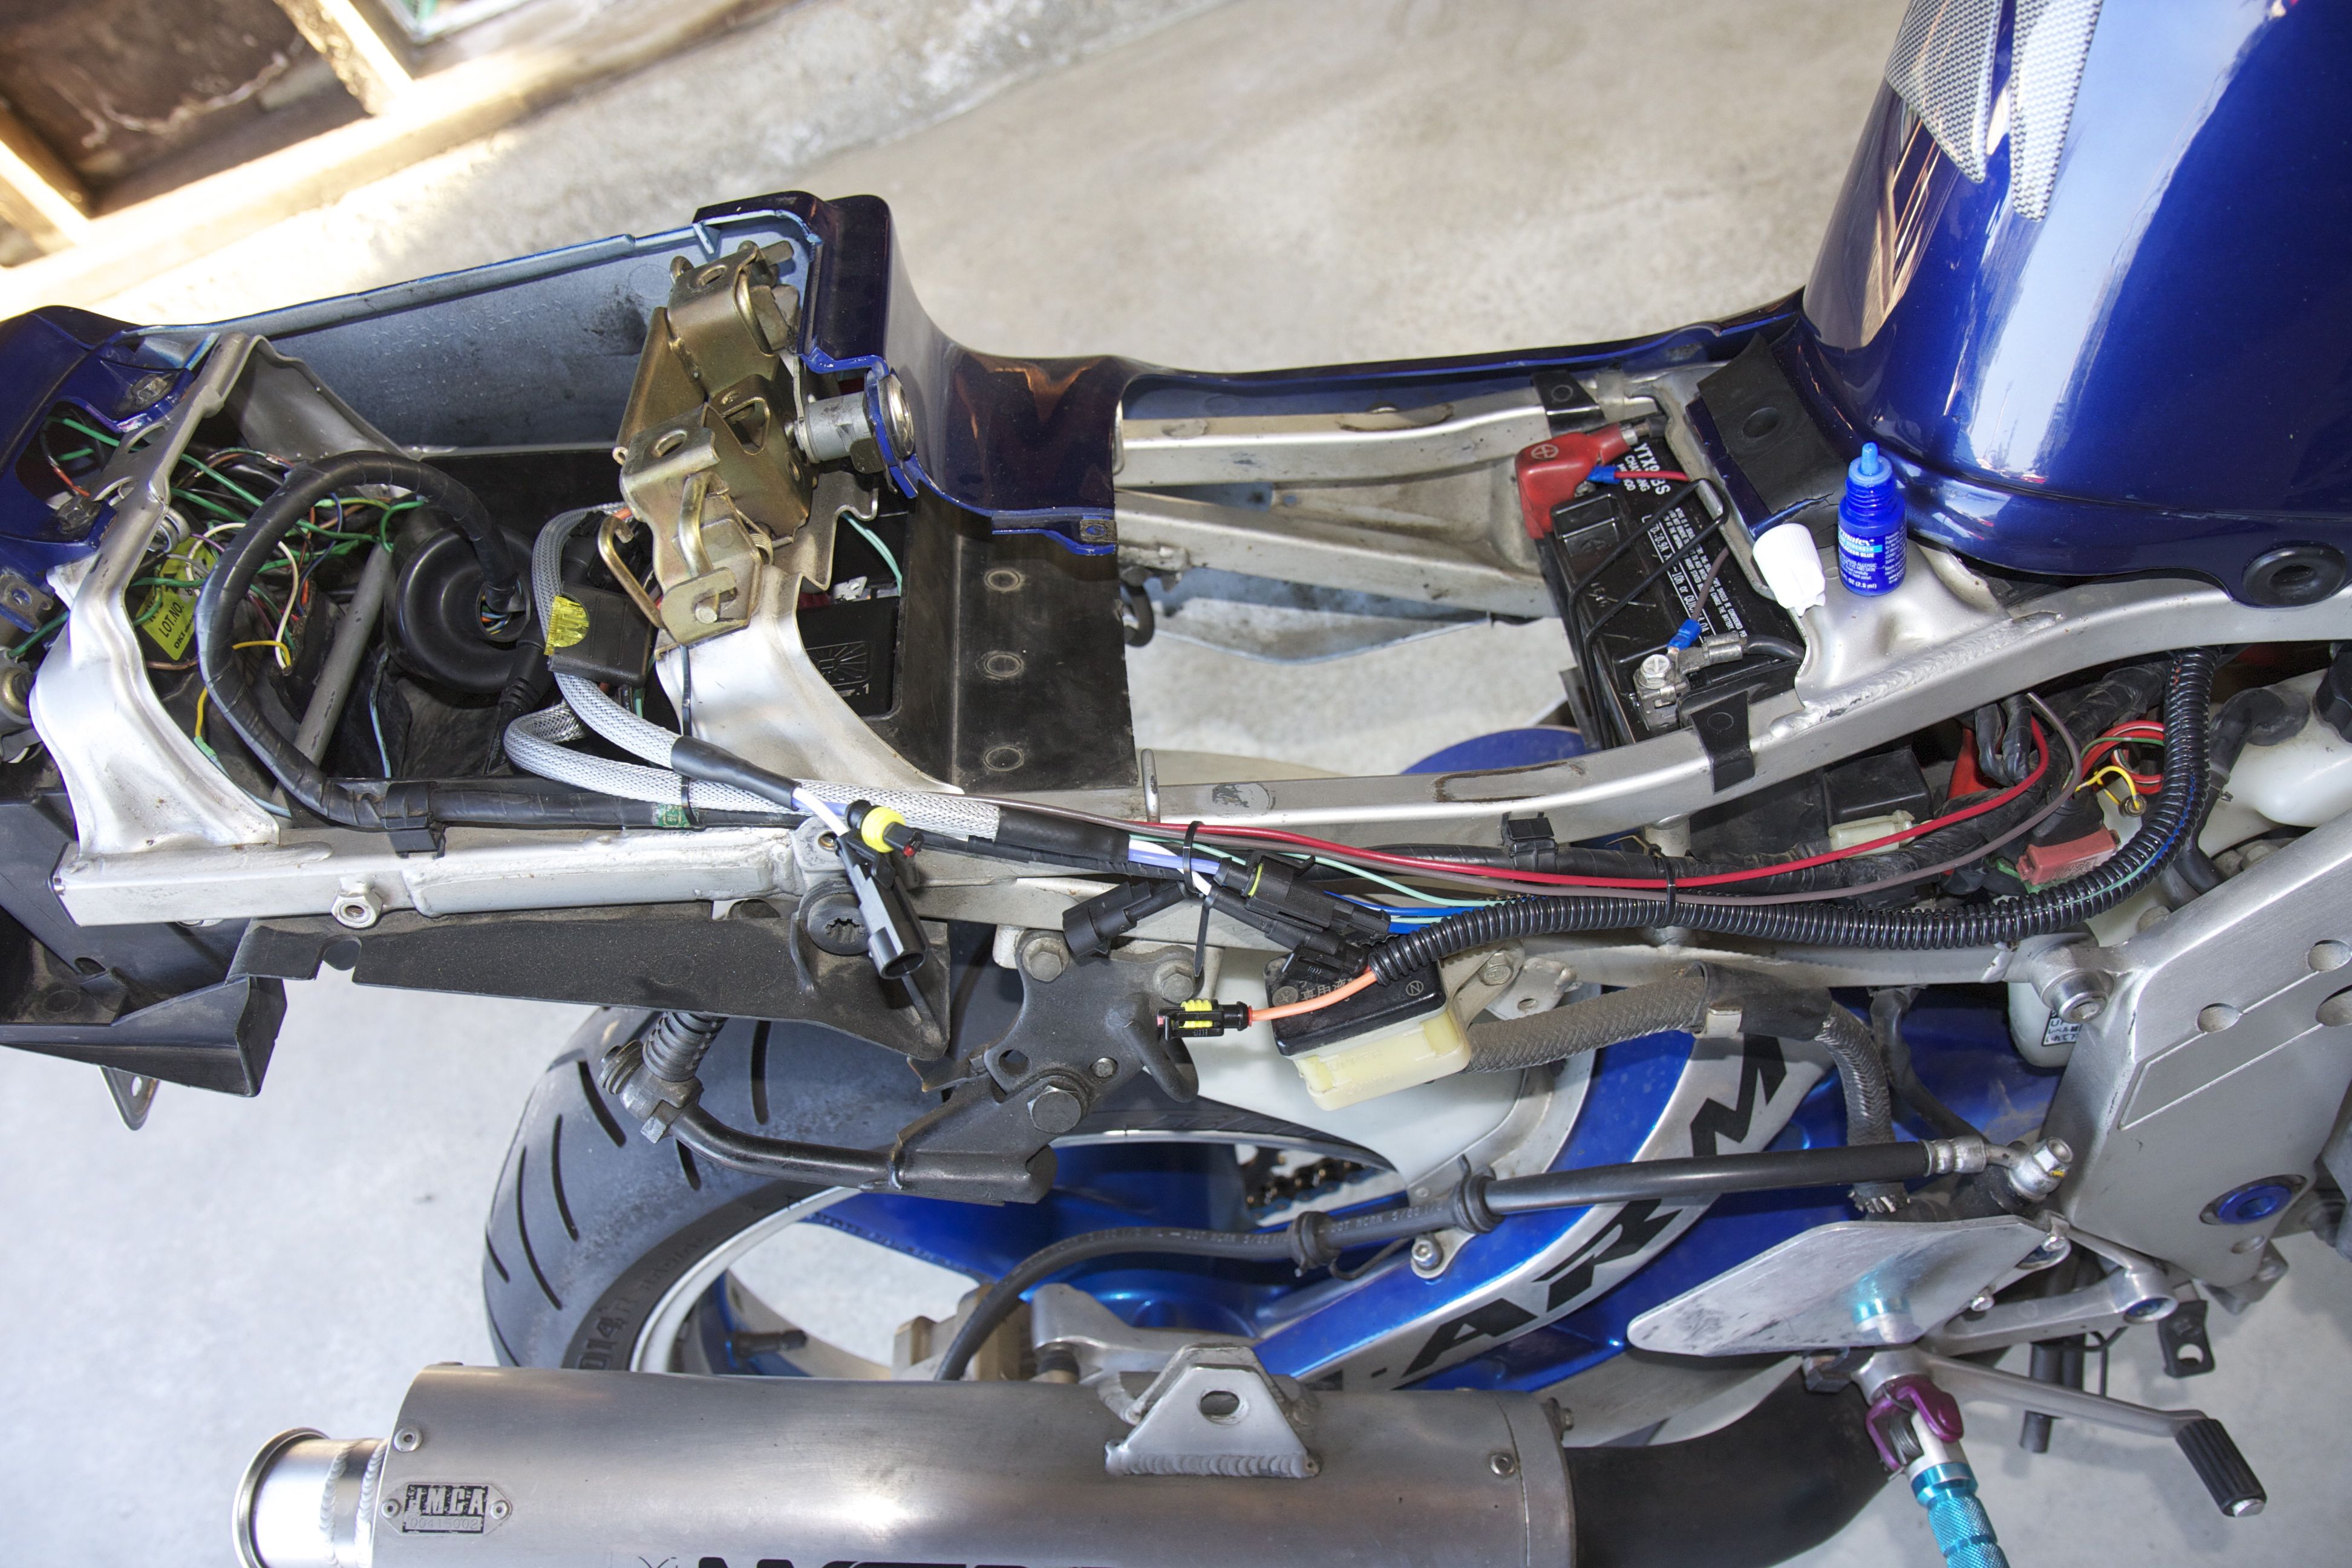
The wiring from the the ballasts to the front, consisting of the two bulb wires plus two thin wires for ignition and bulb on, goes in a plastic loom routed along with the main loom. The MOSFET switch is wired directly to the battery with two dedicated wires.
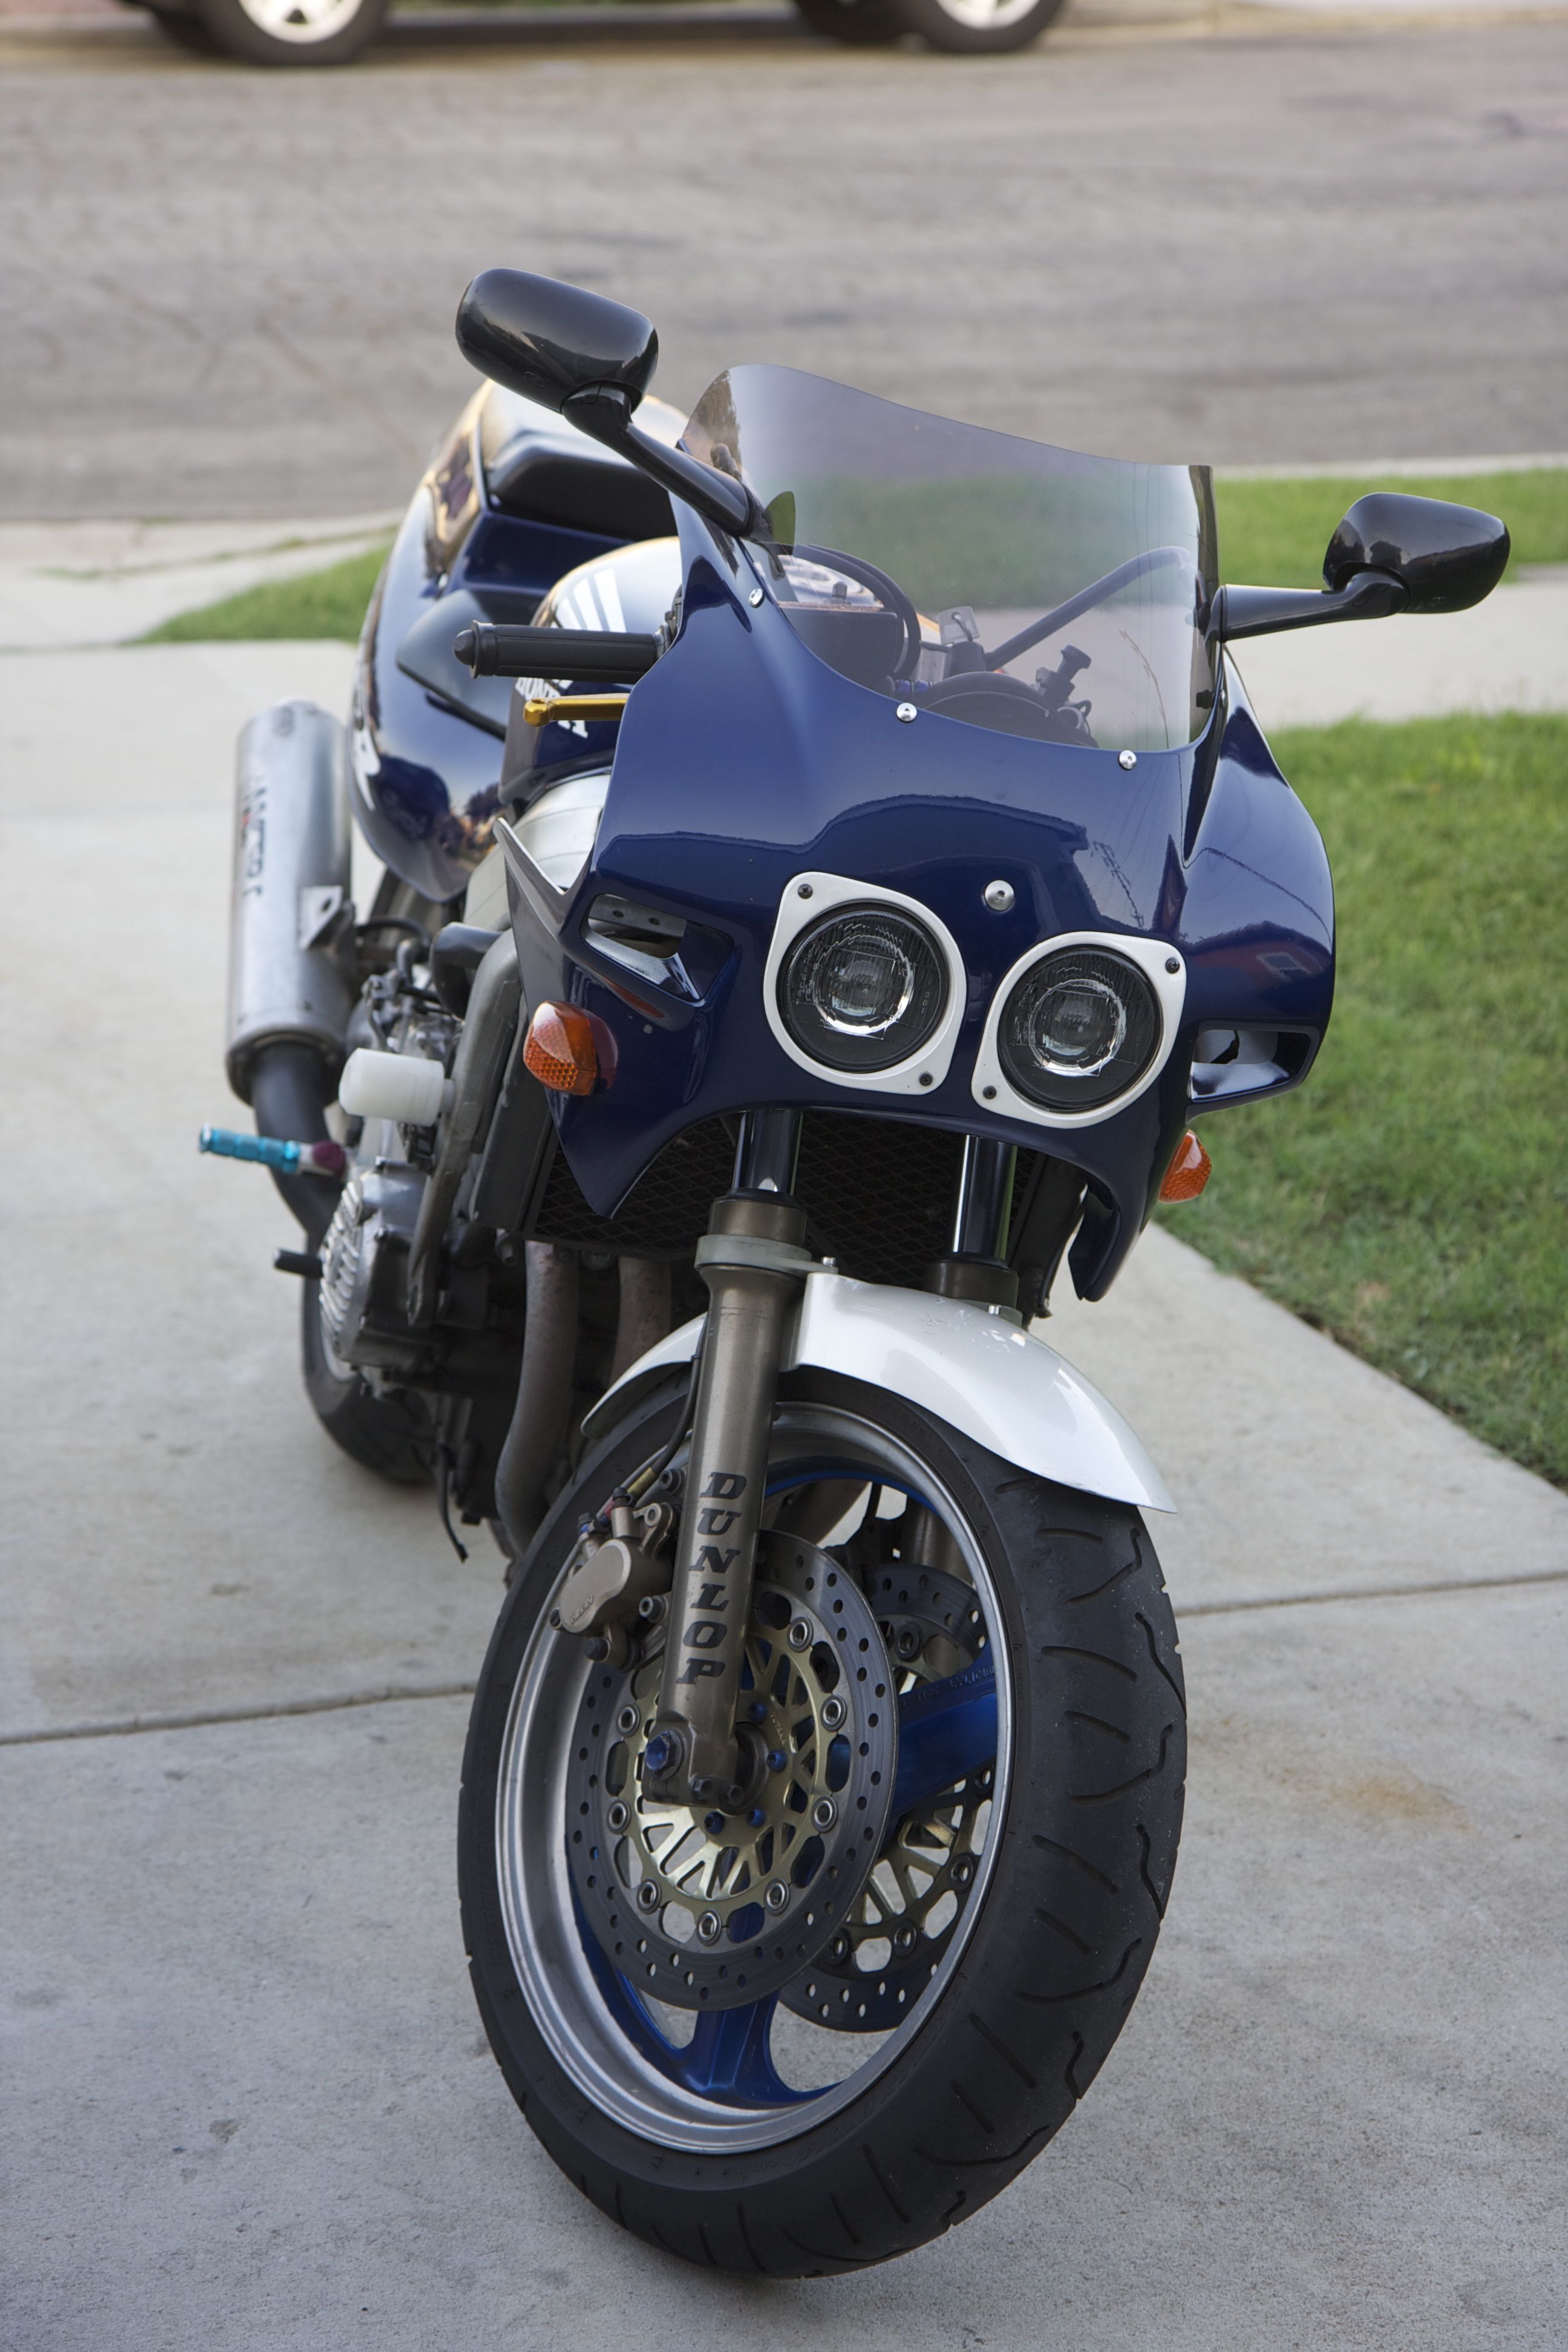
All mounted and back together, this is how it turned out. I think the headlights look even more like two eyes now when they have the projectors as “pupils”. (The mid/lower fairings are off for cosmetic rework.)
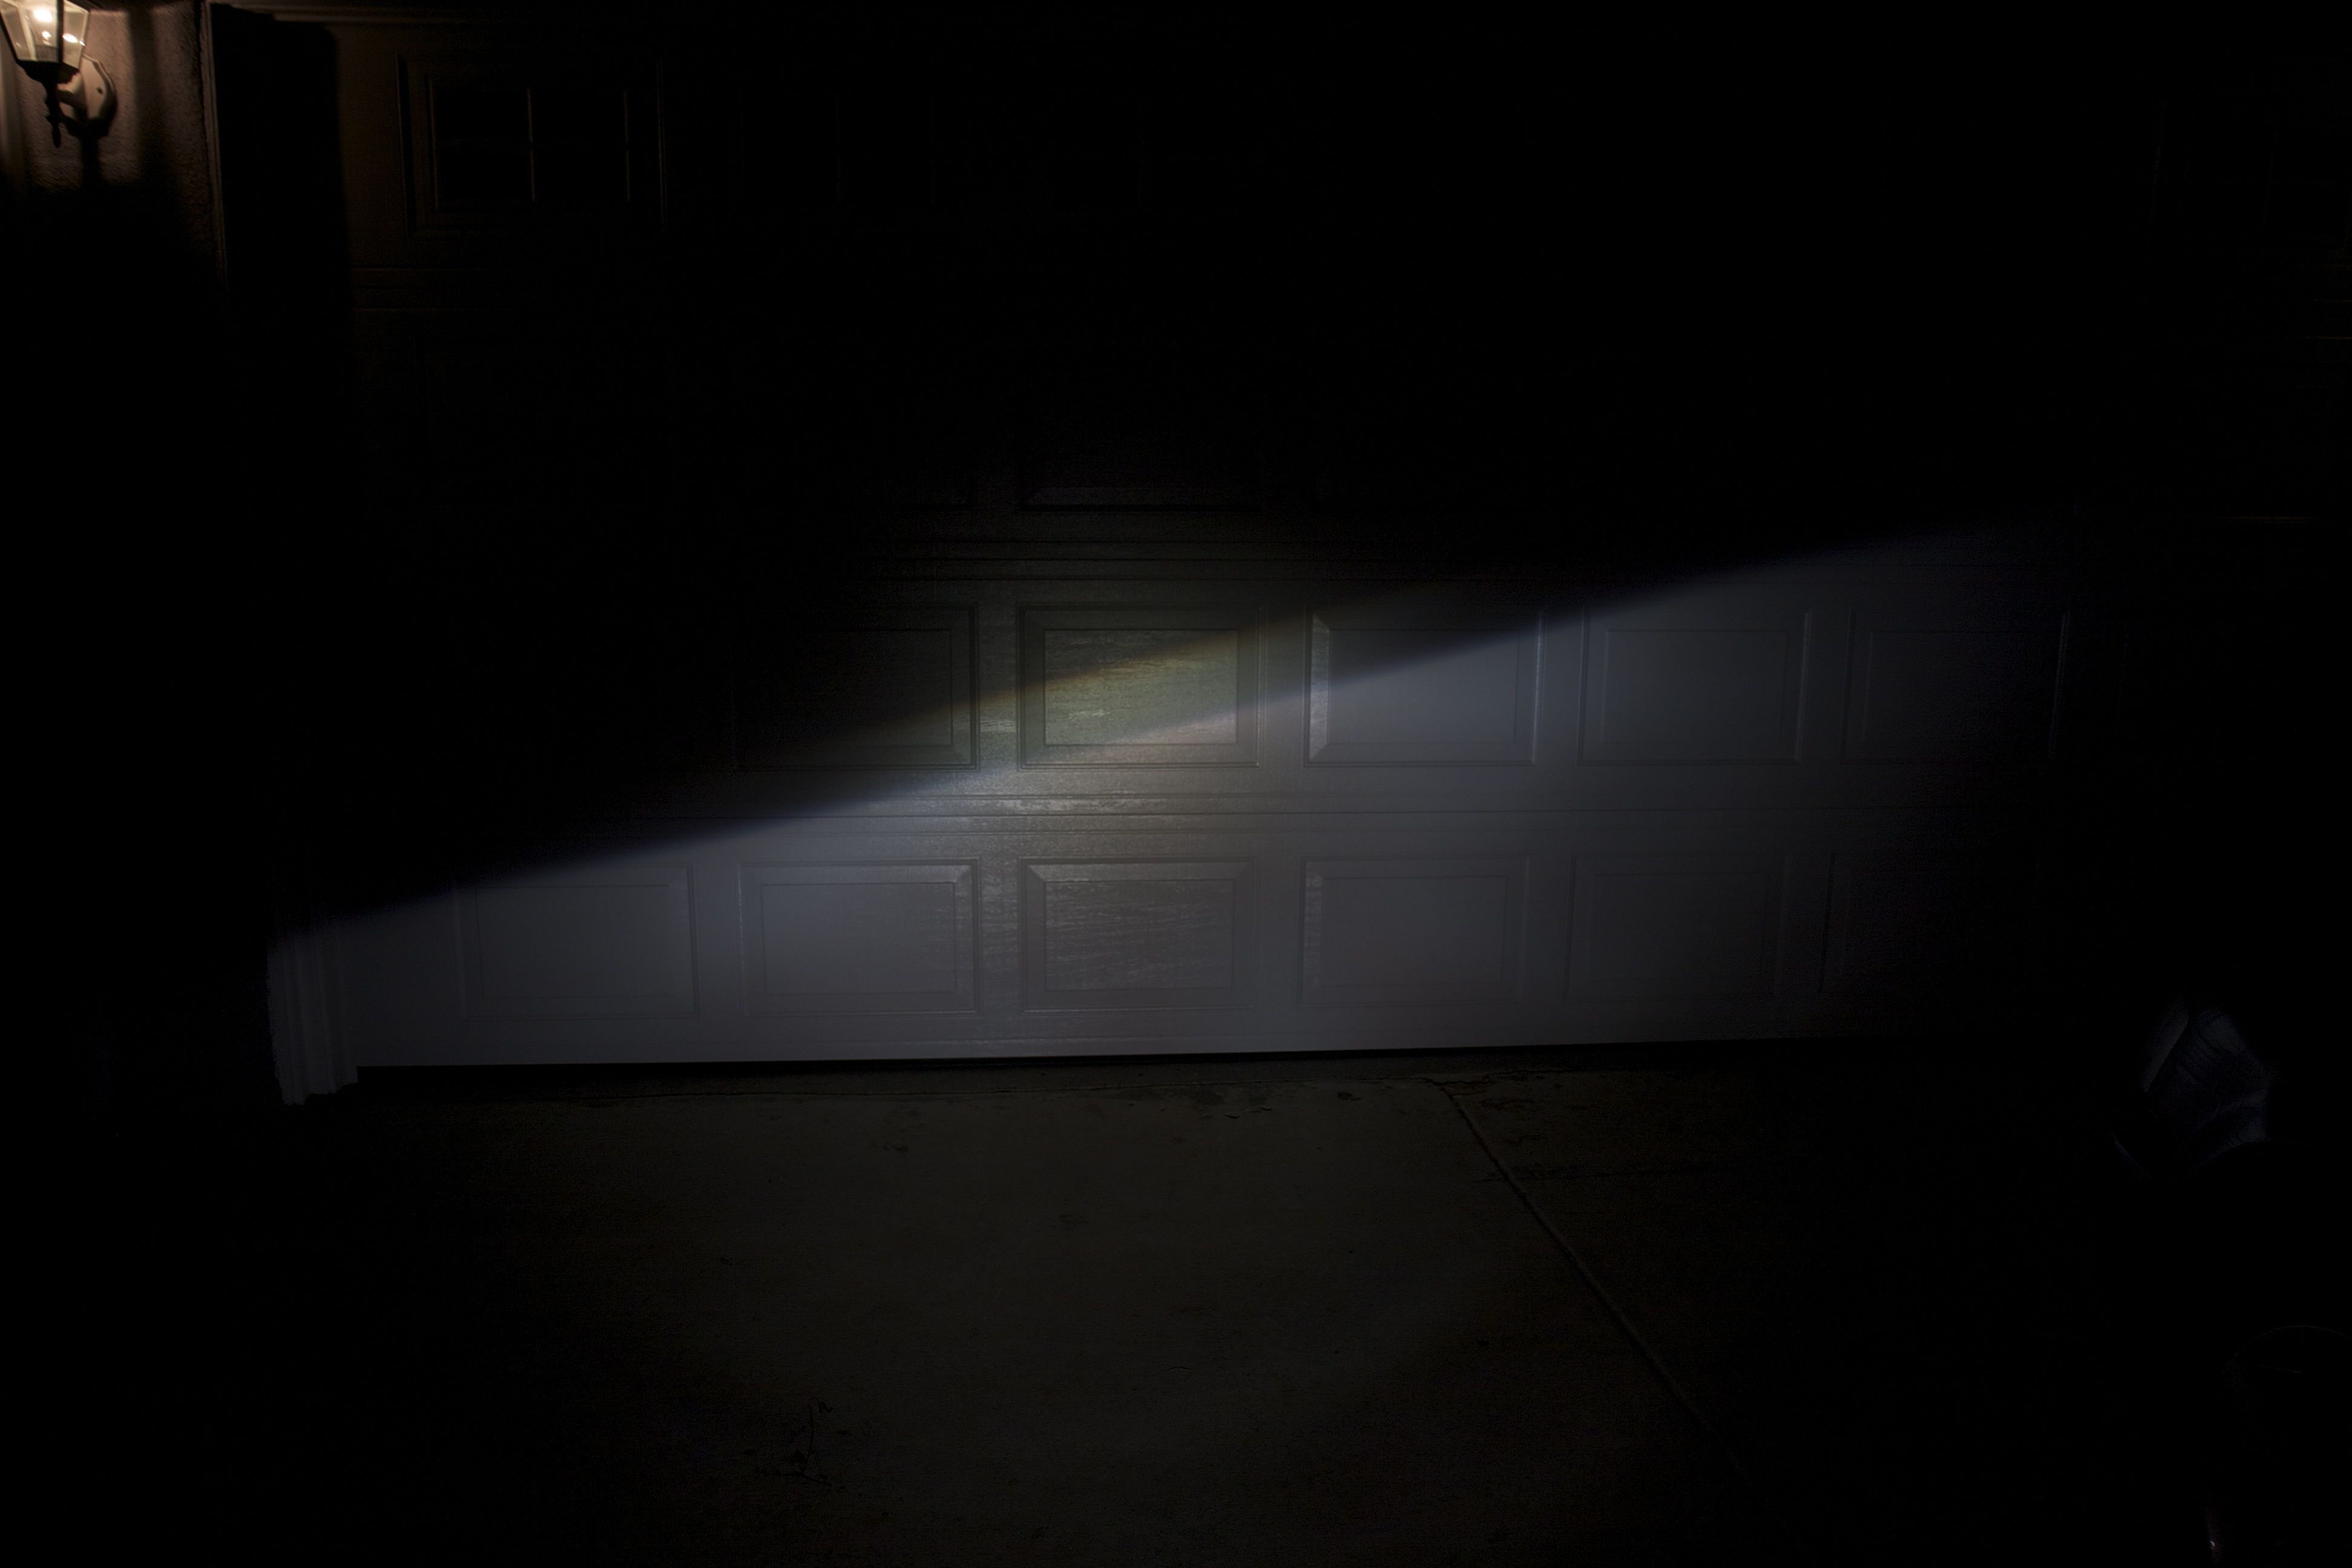
So how well did the final result work? Sadly, not as well as I had hoped. The fluted front glass really does a number on the beam output, projecting more light above the cutoff. They also seem to detract a lot from the final intensity. Below are some pictures of the final result.
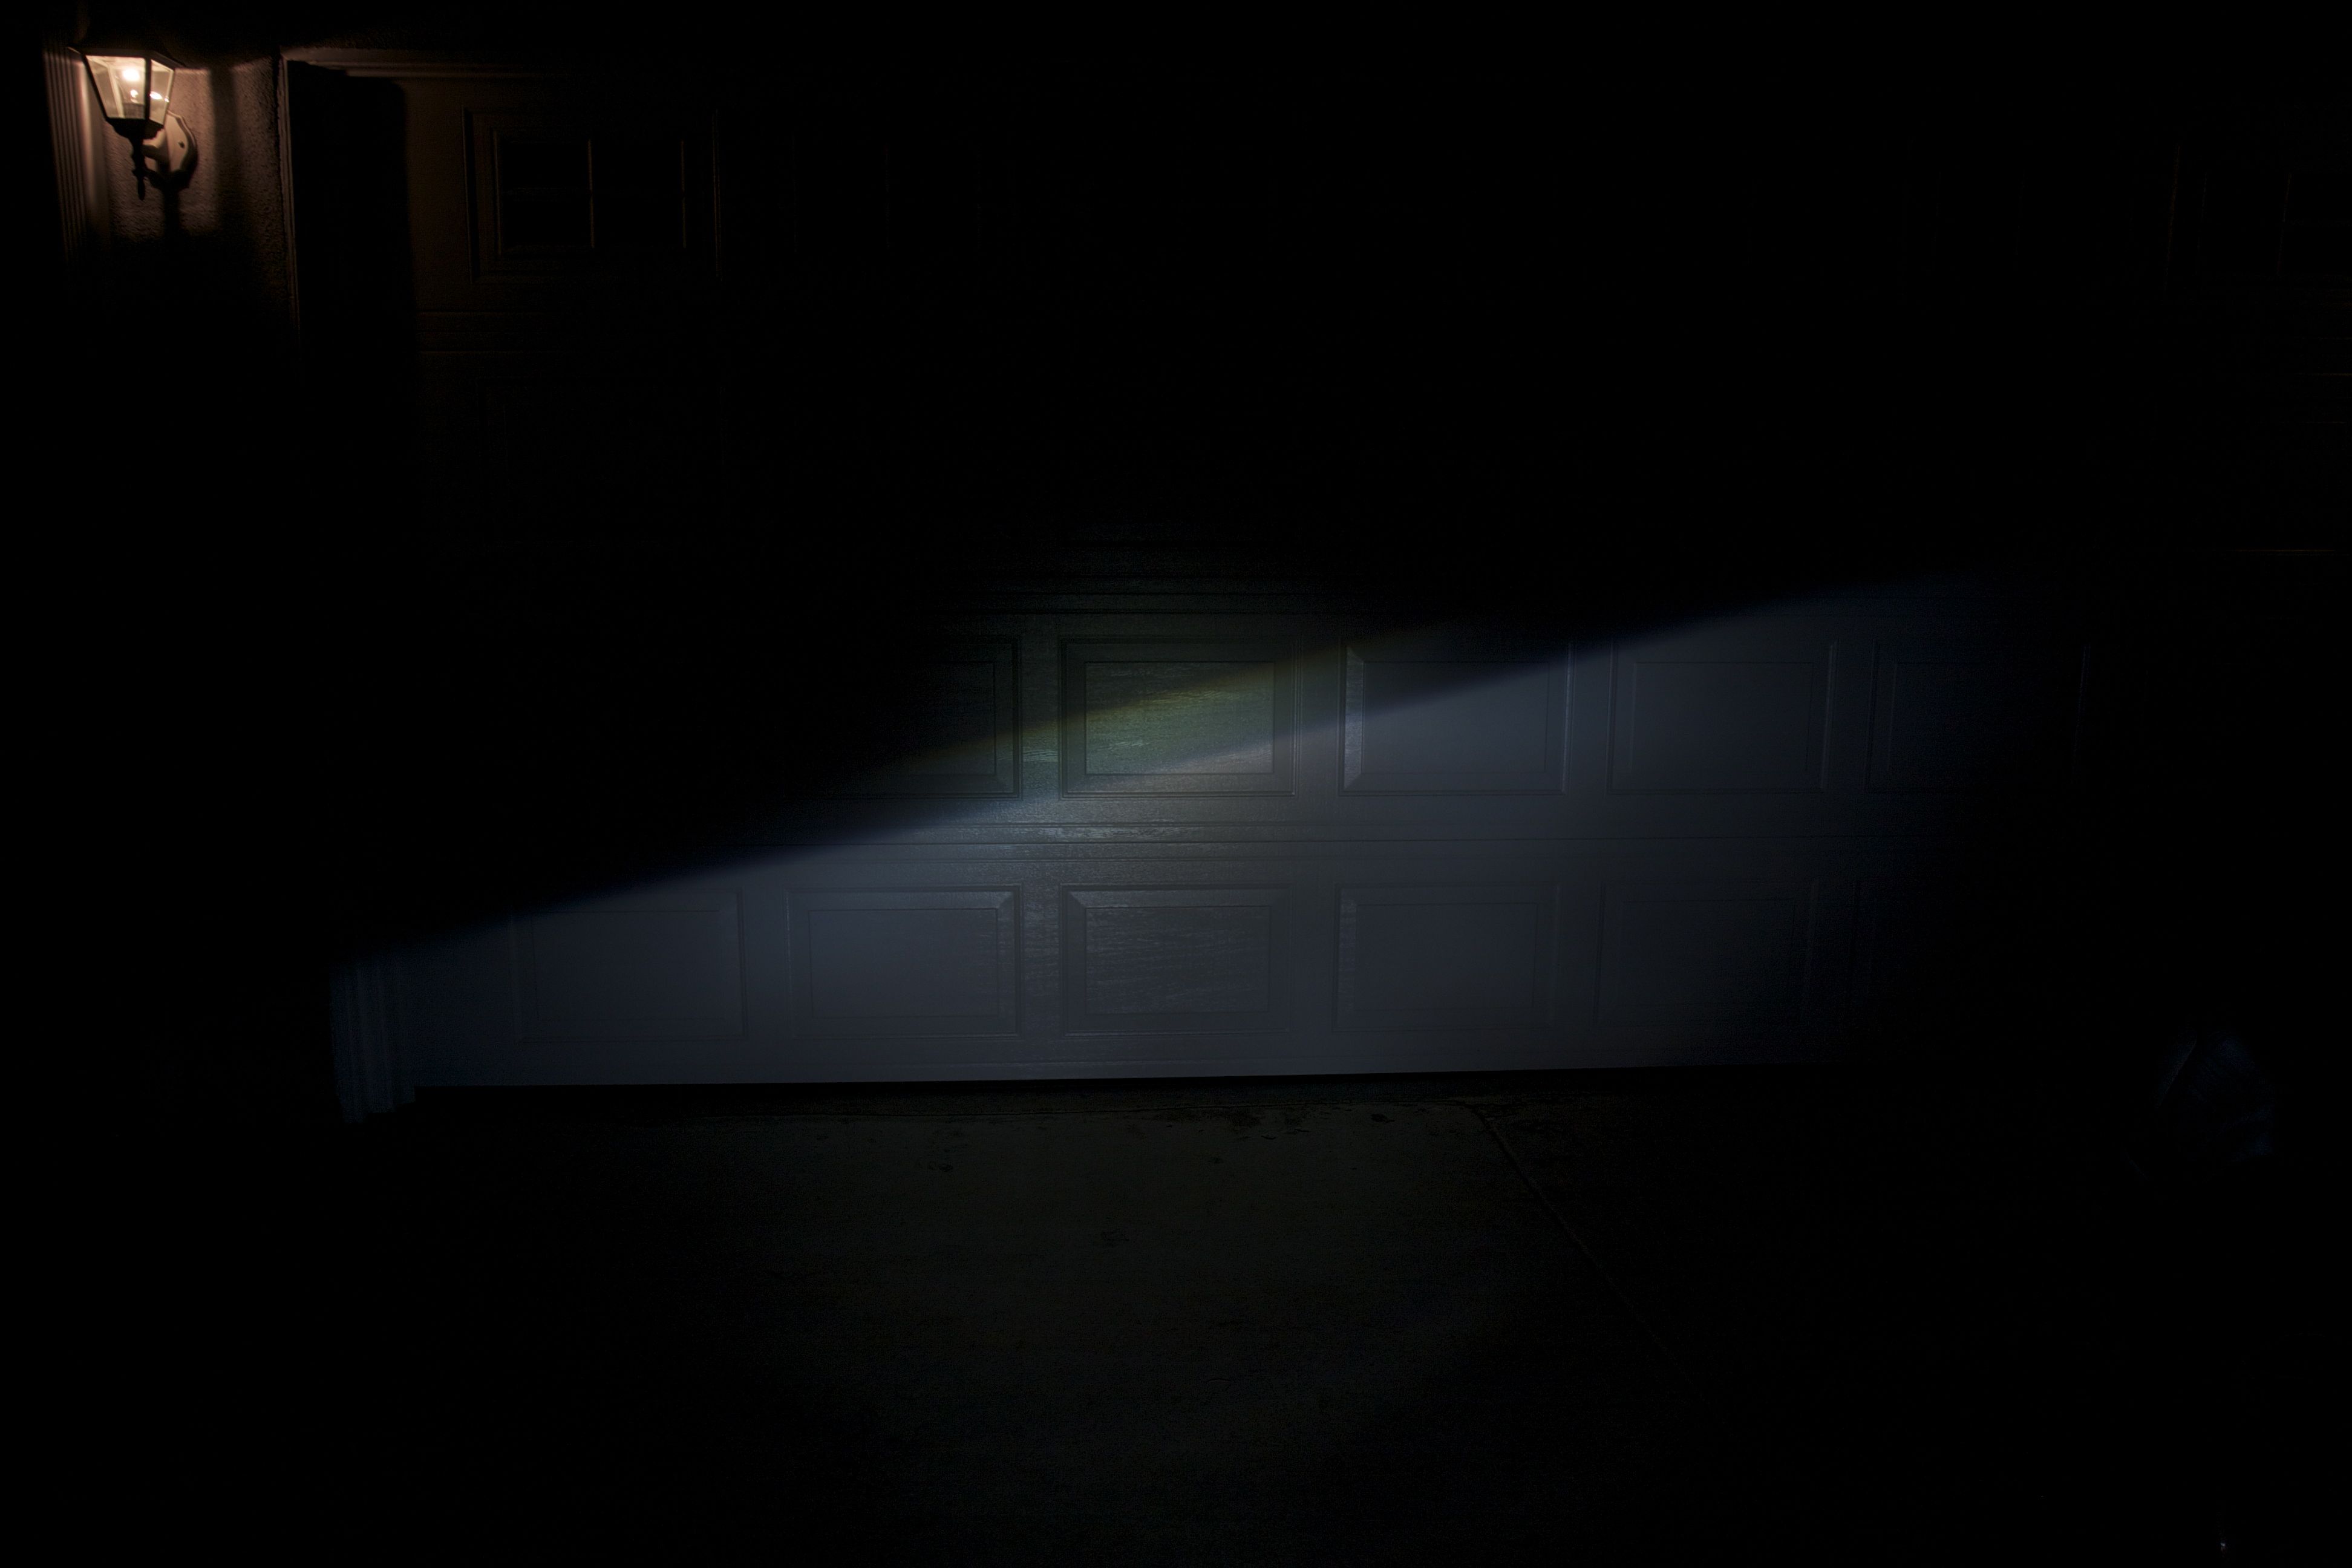
This is the beam from one projector including the fluted glass. The exposure settings are identical to the ones for the beam pictures in #1, but I’m not positive the light is at the same distance from the garage door. It’s so much fainter that it seems remarkable a clear piece of glass could take away so much light. Also note the severe glare now present above the cutoff. It comes from the top center part of the projector and must be some refraction in the glass.
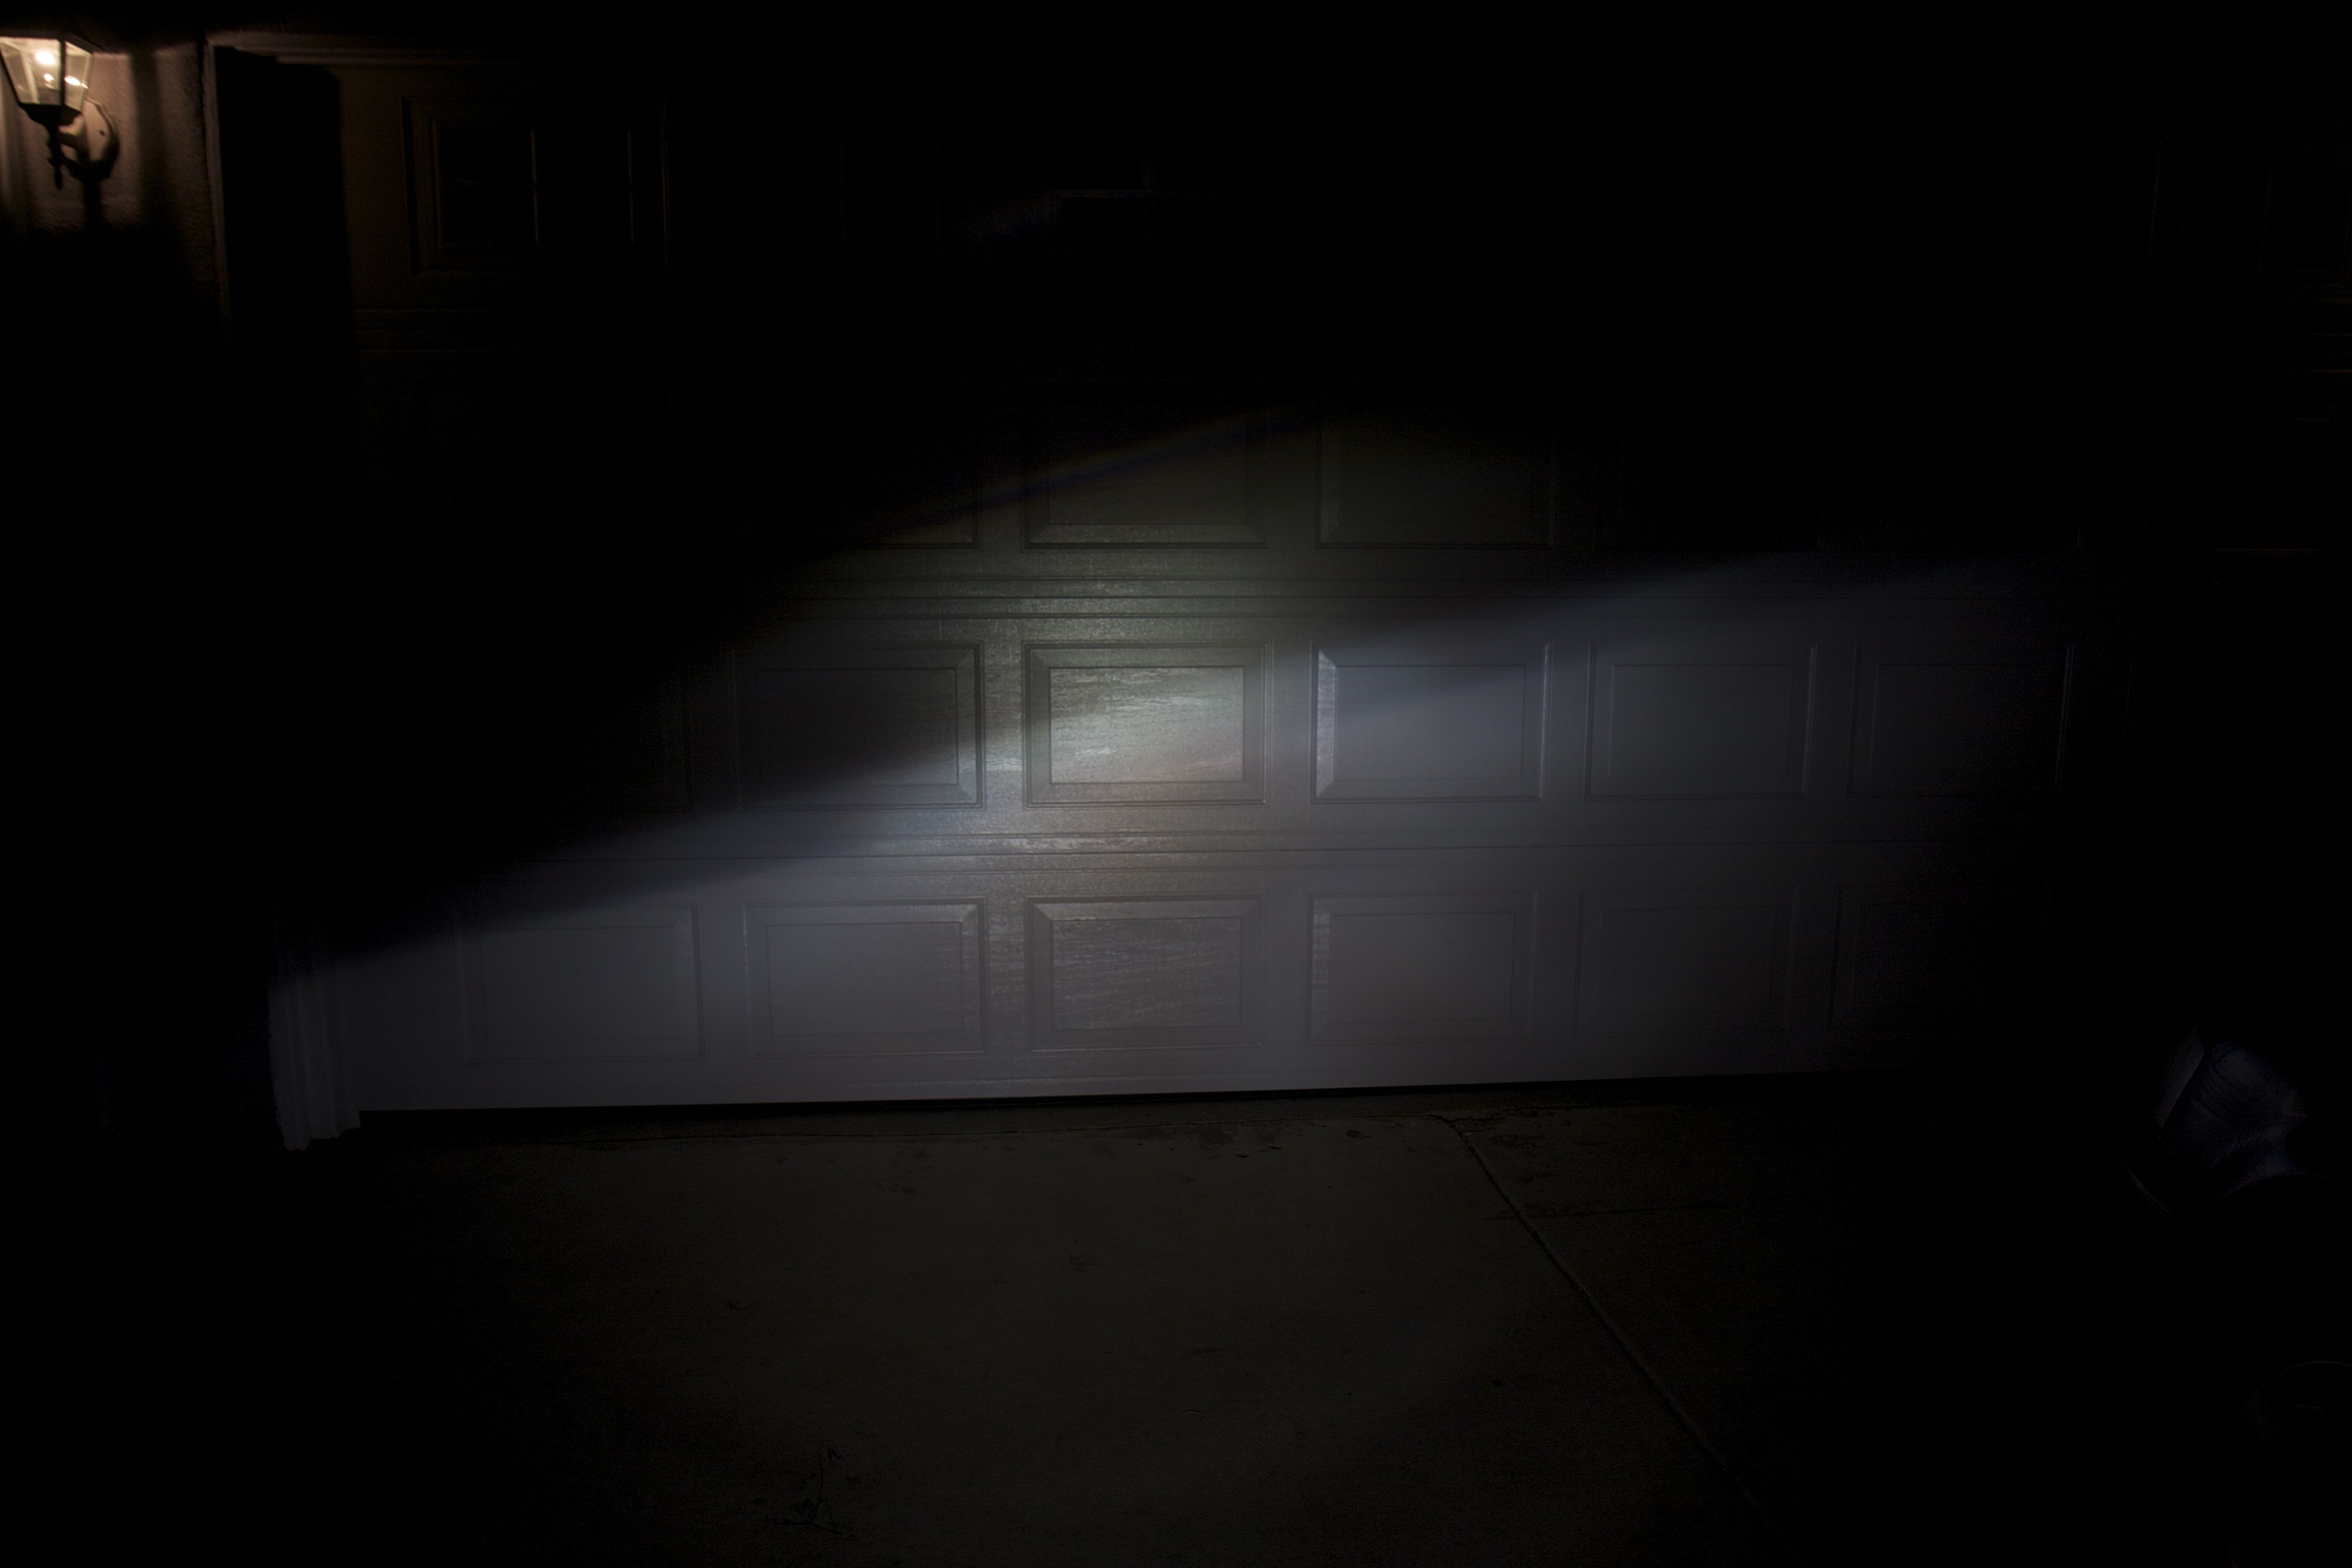
This is the high beam. Only one solenoid is wired up, so while both lights are on, only one is in high beam here.
As you can see, the result is quite disappointing compared to what it looked like with the bare projectors in part 1. I thought I had put the lights a certain distance from the wall in those photos, but judging from the width of the beam here compared to in part 1, I think they were closer. That would certainly explain the pretty dramatically fainter pictures here. Even if the front glass clearly does waste a fair amount of light, I have a hard time thinking it would make that much of a difference.
And for a final comparison, here’s two Morimoto Matchbox vs the two Valeo A4 projectors in the Passat:
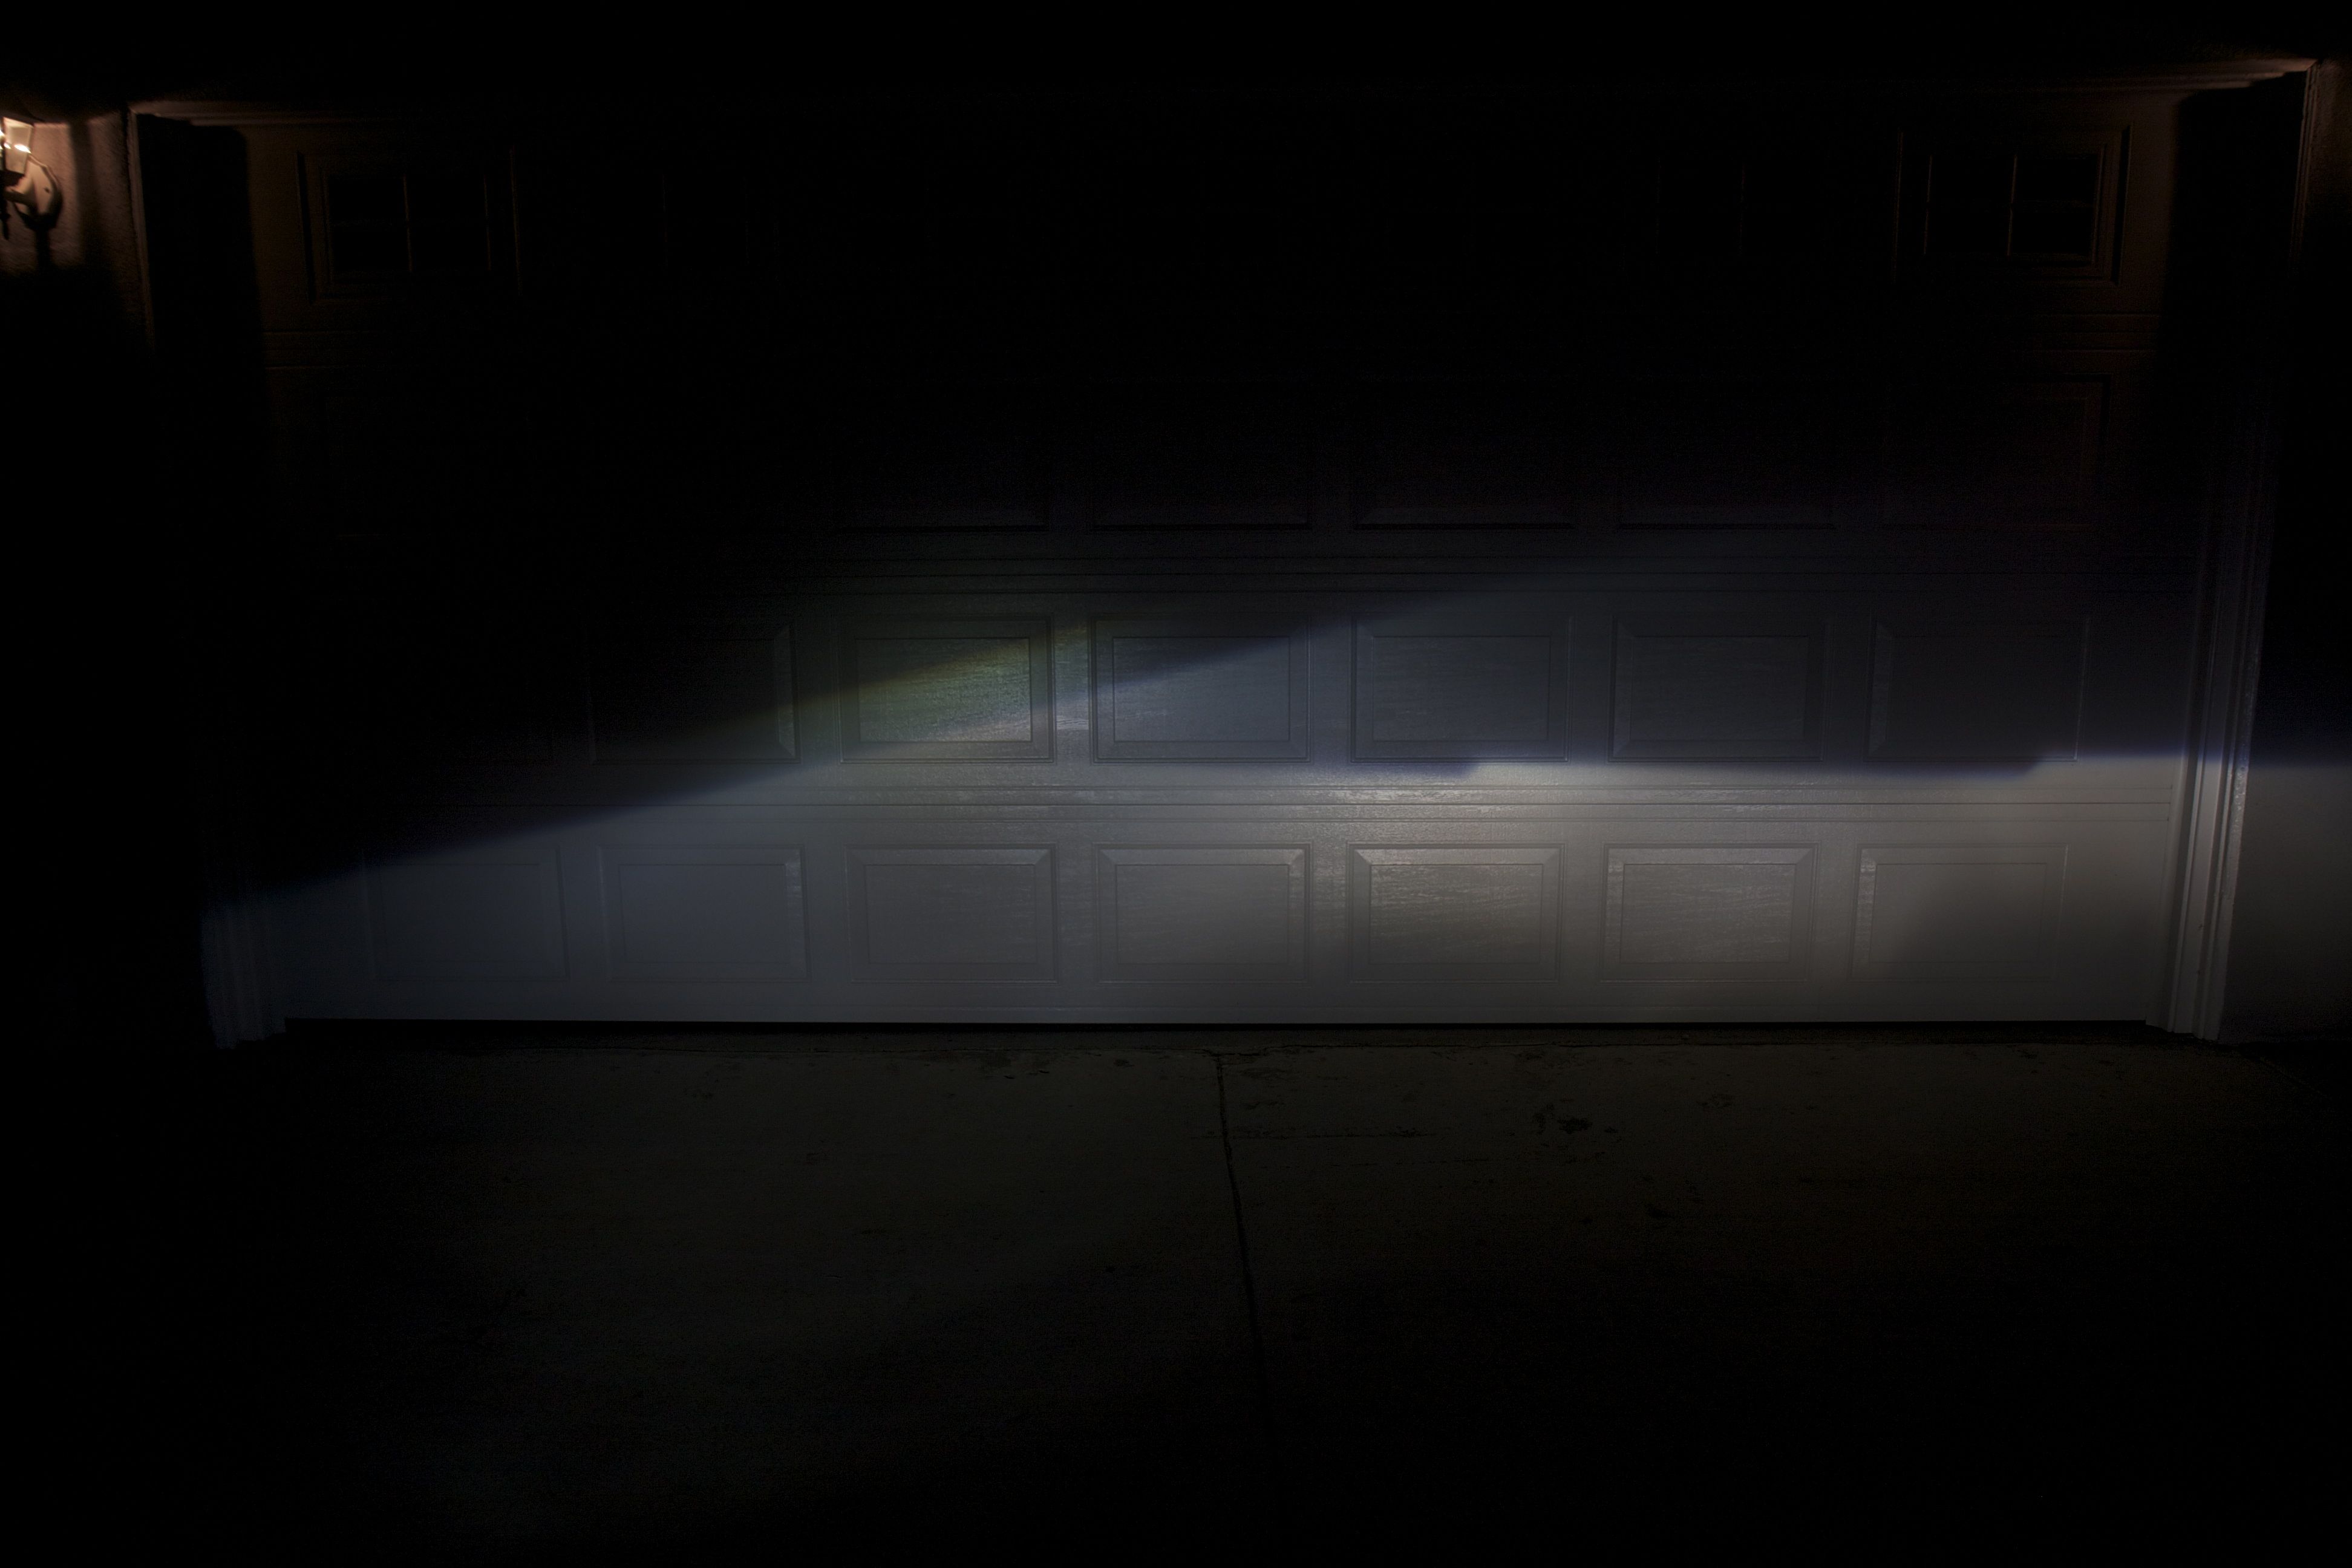
Here’s the two Morimoto Matchbox projectors on the left compared to the two Valeo A4 D2S projectors that I retrofitted onto the Passat. The Matchboxes clearly are inferior, but they are still not bad. I’d say the tiny Matchboxes are doing a pretty good job, especially given their small size. (And yeah, the Passat headlights need to be re-leveled, the left one is way too low.)
So was this really as much of an improvement as I had hoped? Well, it’s definitely way better than the stock headlights, no question about that. But that fluted front glass really does a number on the beam, I really don’t like the glare introduced above the cutoff. I don’t have a good idea now how much that will bother oncoming drivers, but given how much I hate people with glaring headlights I really don’t want to be one of them myself. If worst comes to worst, people are apparently having reasonable success shaping their own clear front lenses by molding plexiglas, if it turns out to be really bad I’ll give that a try.
Pingback: Pacifica Headlight Upgrade – Patrik's projects