This is post #5 describing the wine storage unit upgrade. See the introduction post for the background.
By now, most of the electronics are done, but some hardware work remains: The cabinet needs to be drilled up to fit the temperature probes, and 4 conductors need to be put through to the lamp area for the 1-wire probe and humidity sensor. Since the cabinet is insulated with foam, it was pretty easy to drill 2 holes through to the back for the temperature probes. The lamp connection was a bit more tricky, but using a long metal wrench extension I managed to jam a hole into the insulation above where the lamp board is mounted, so that I could then poke a hole in from the lamp side and get through. These holes will be refilled with polyurethane spray foam later, so it’s not really a big deal.
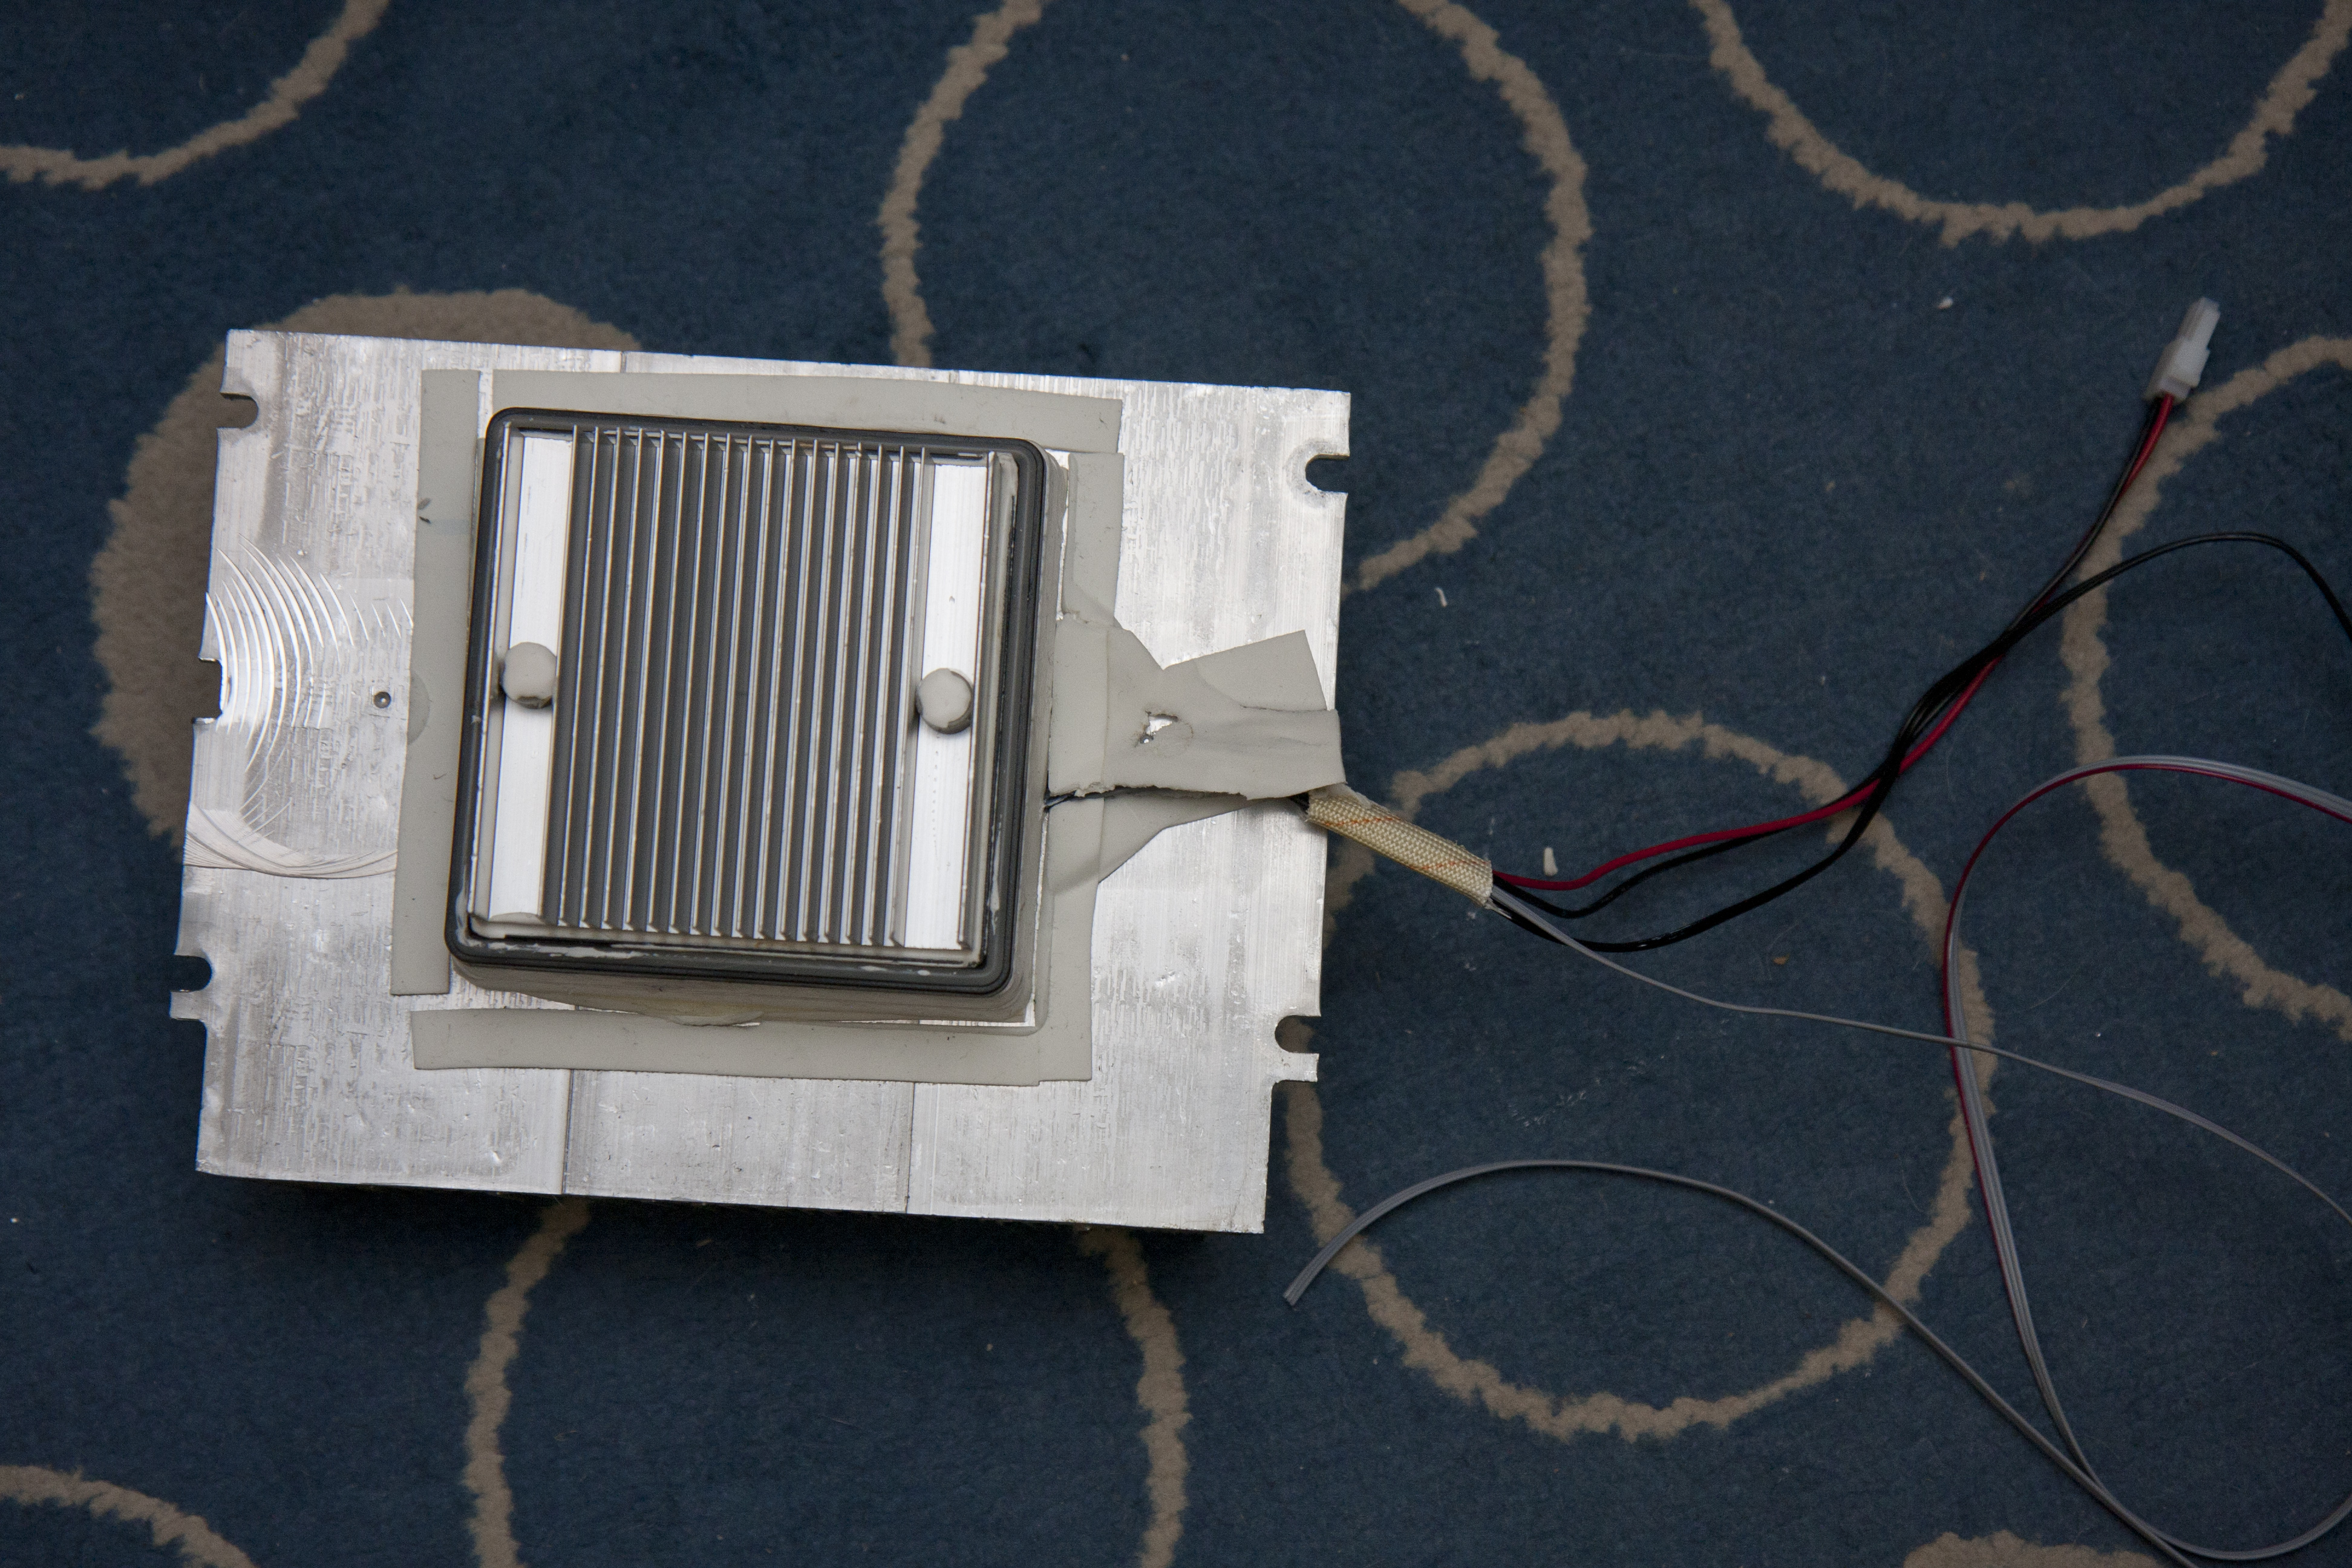
I also took the thermoelectric assembly apart to add a temperature probe to the cold sink. The pictures show the disassembled parts, the mounting of the temperature probe, and the reassembled heat sinks.
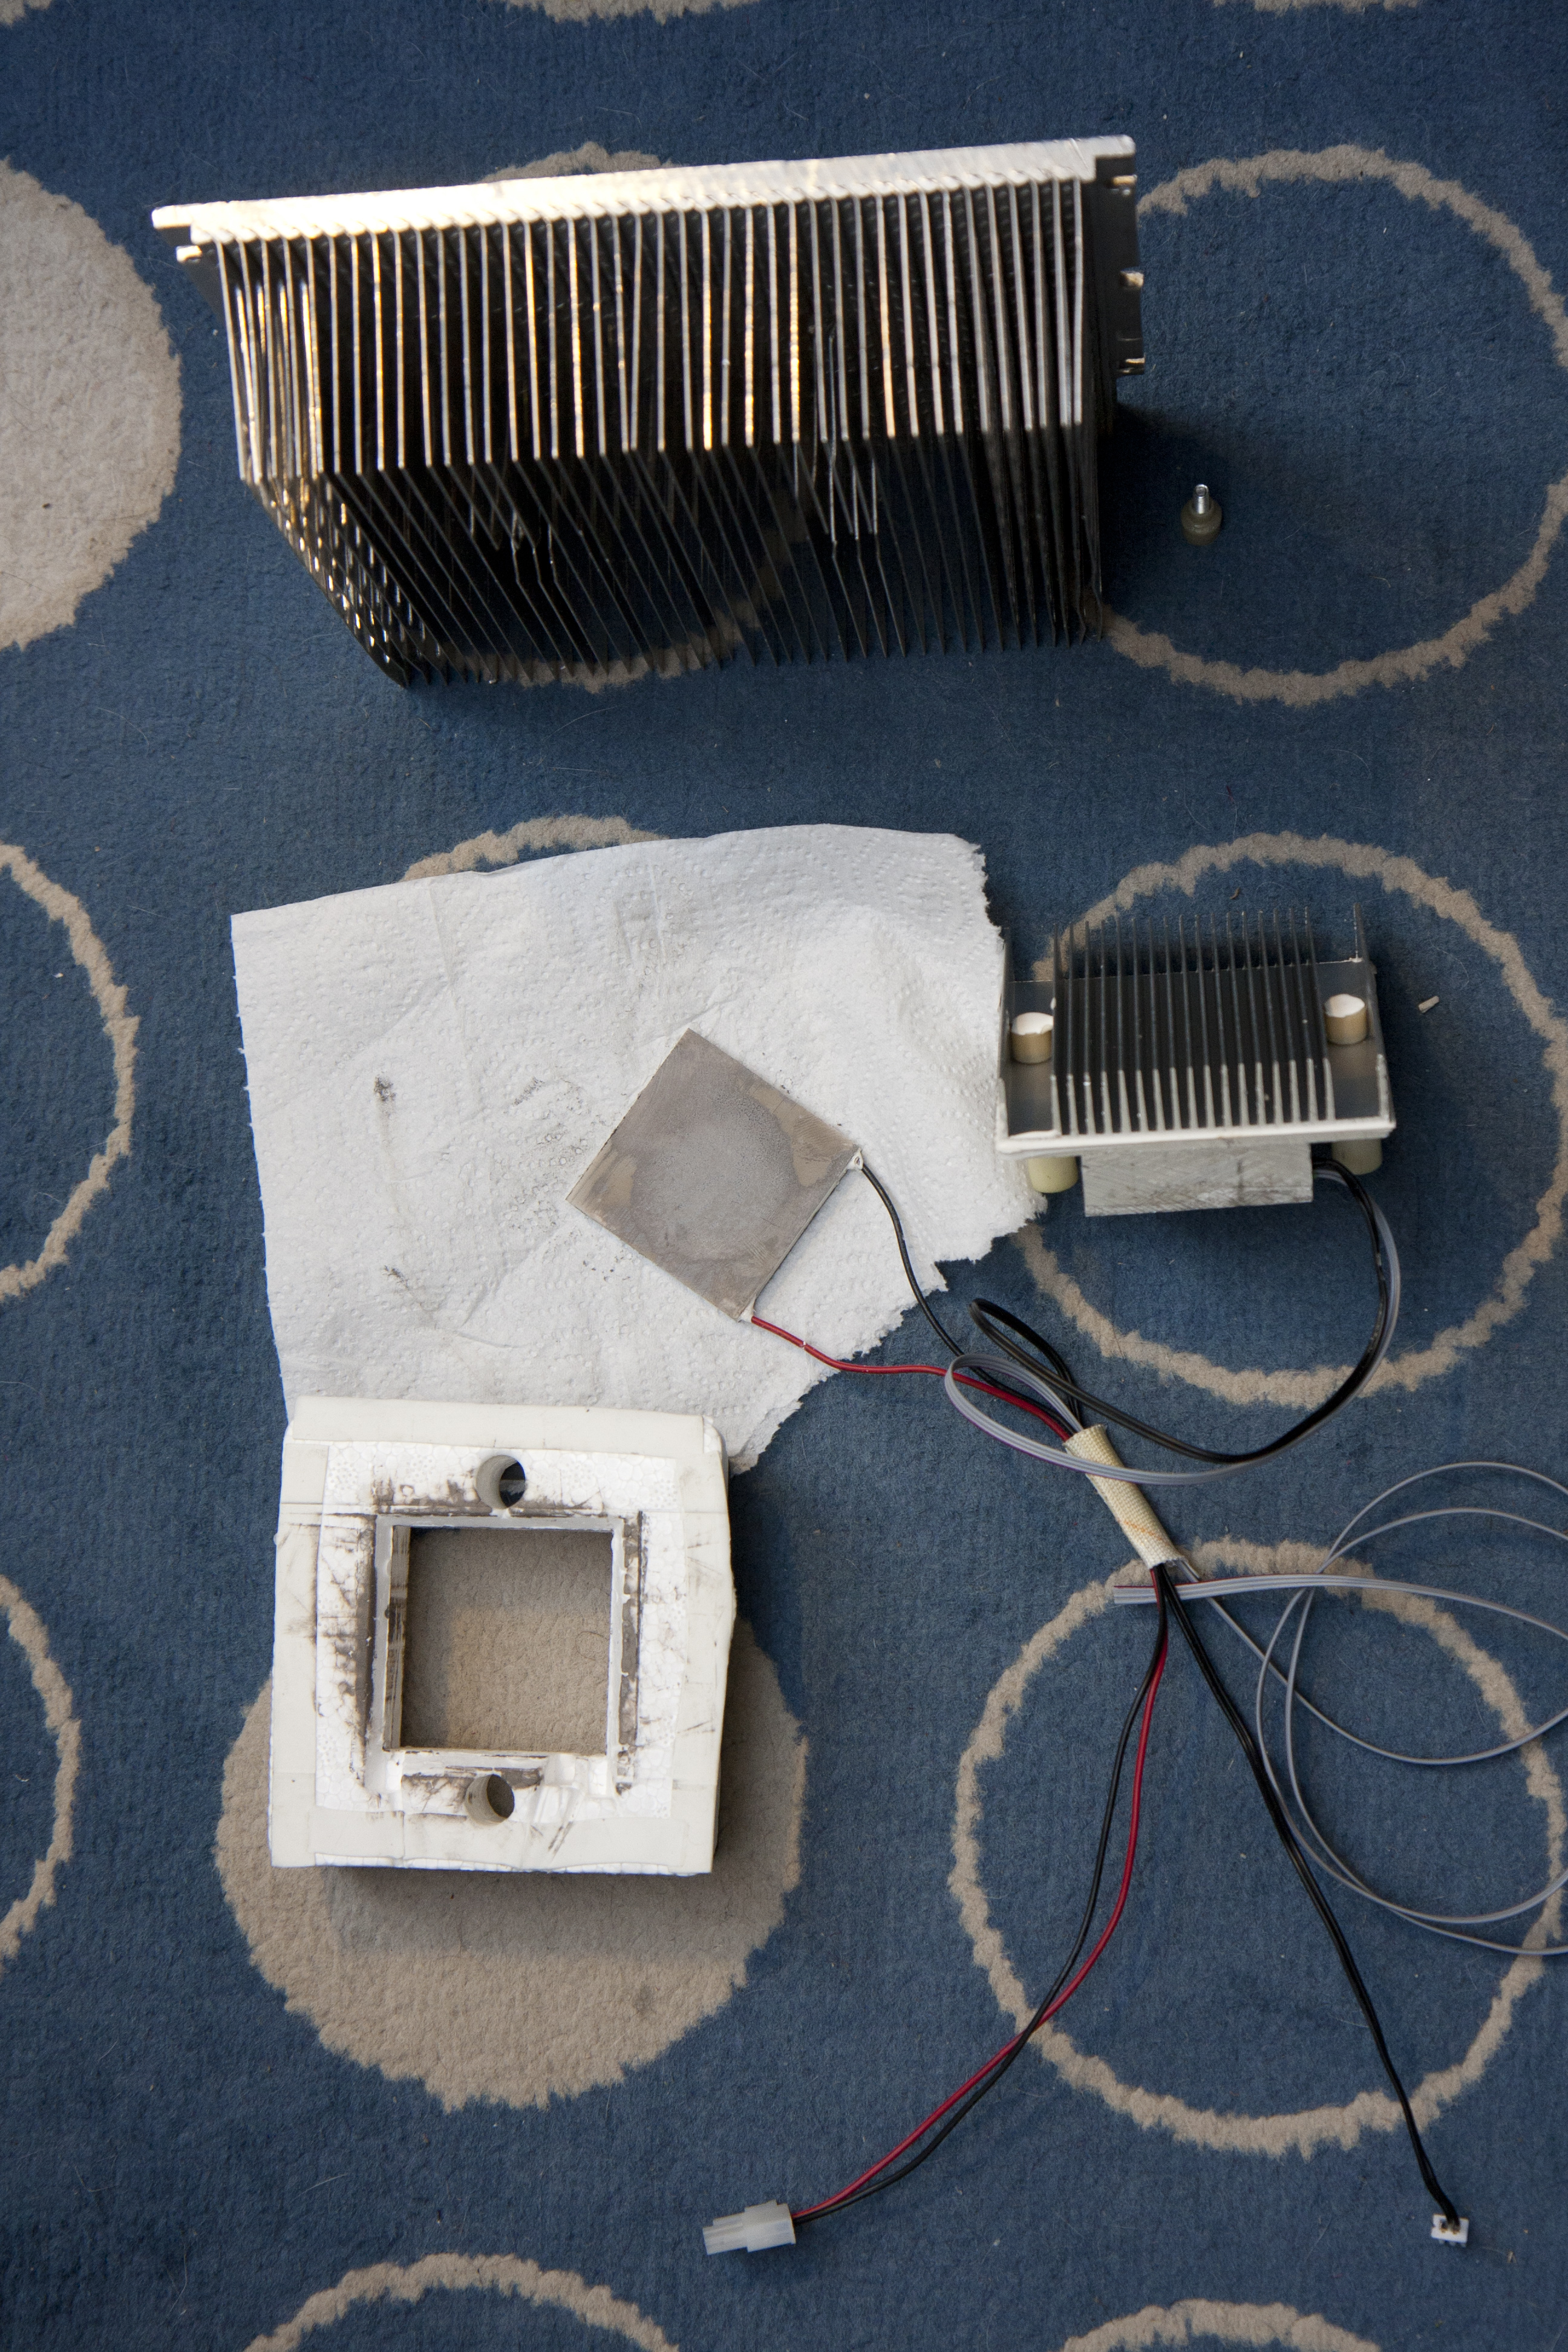
Here's the disassembled thermoelectric assembly. The element itself is the little square in the center, the large heat sink on top is the external heat sink, and the small heatsink on the right is the internal cold sink. The whole assembly is mounted into a styrofoam block that mounts into a large hole in the back of the cabinet.
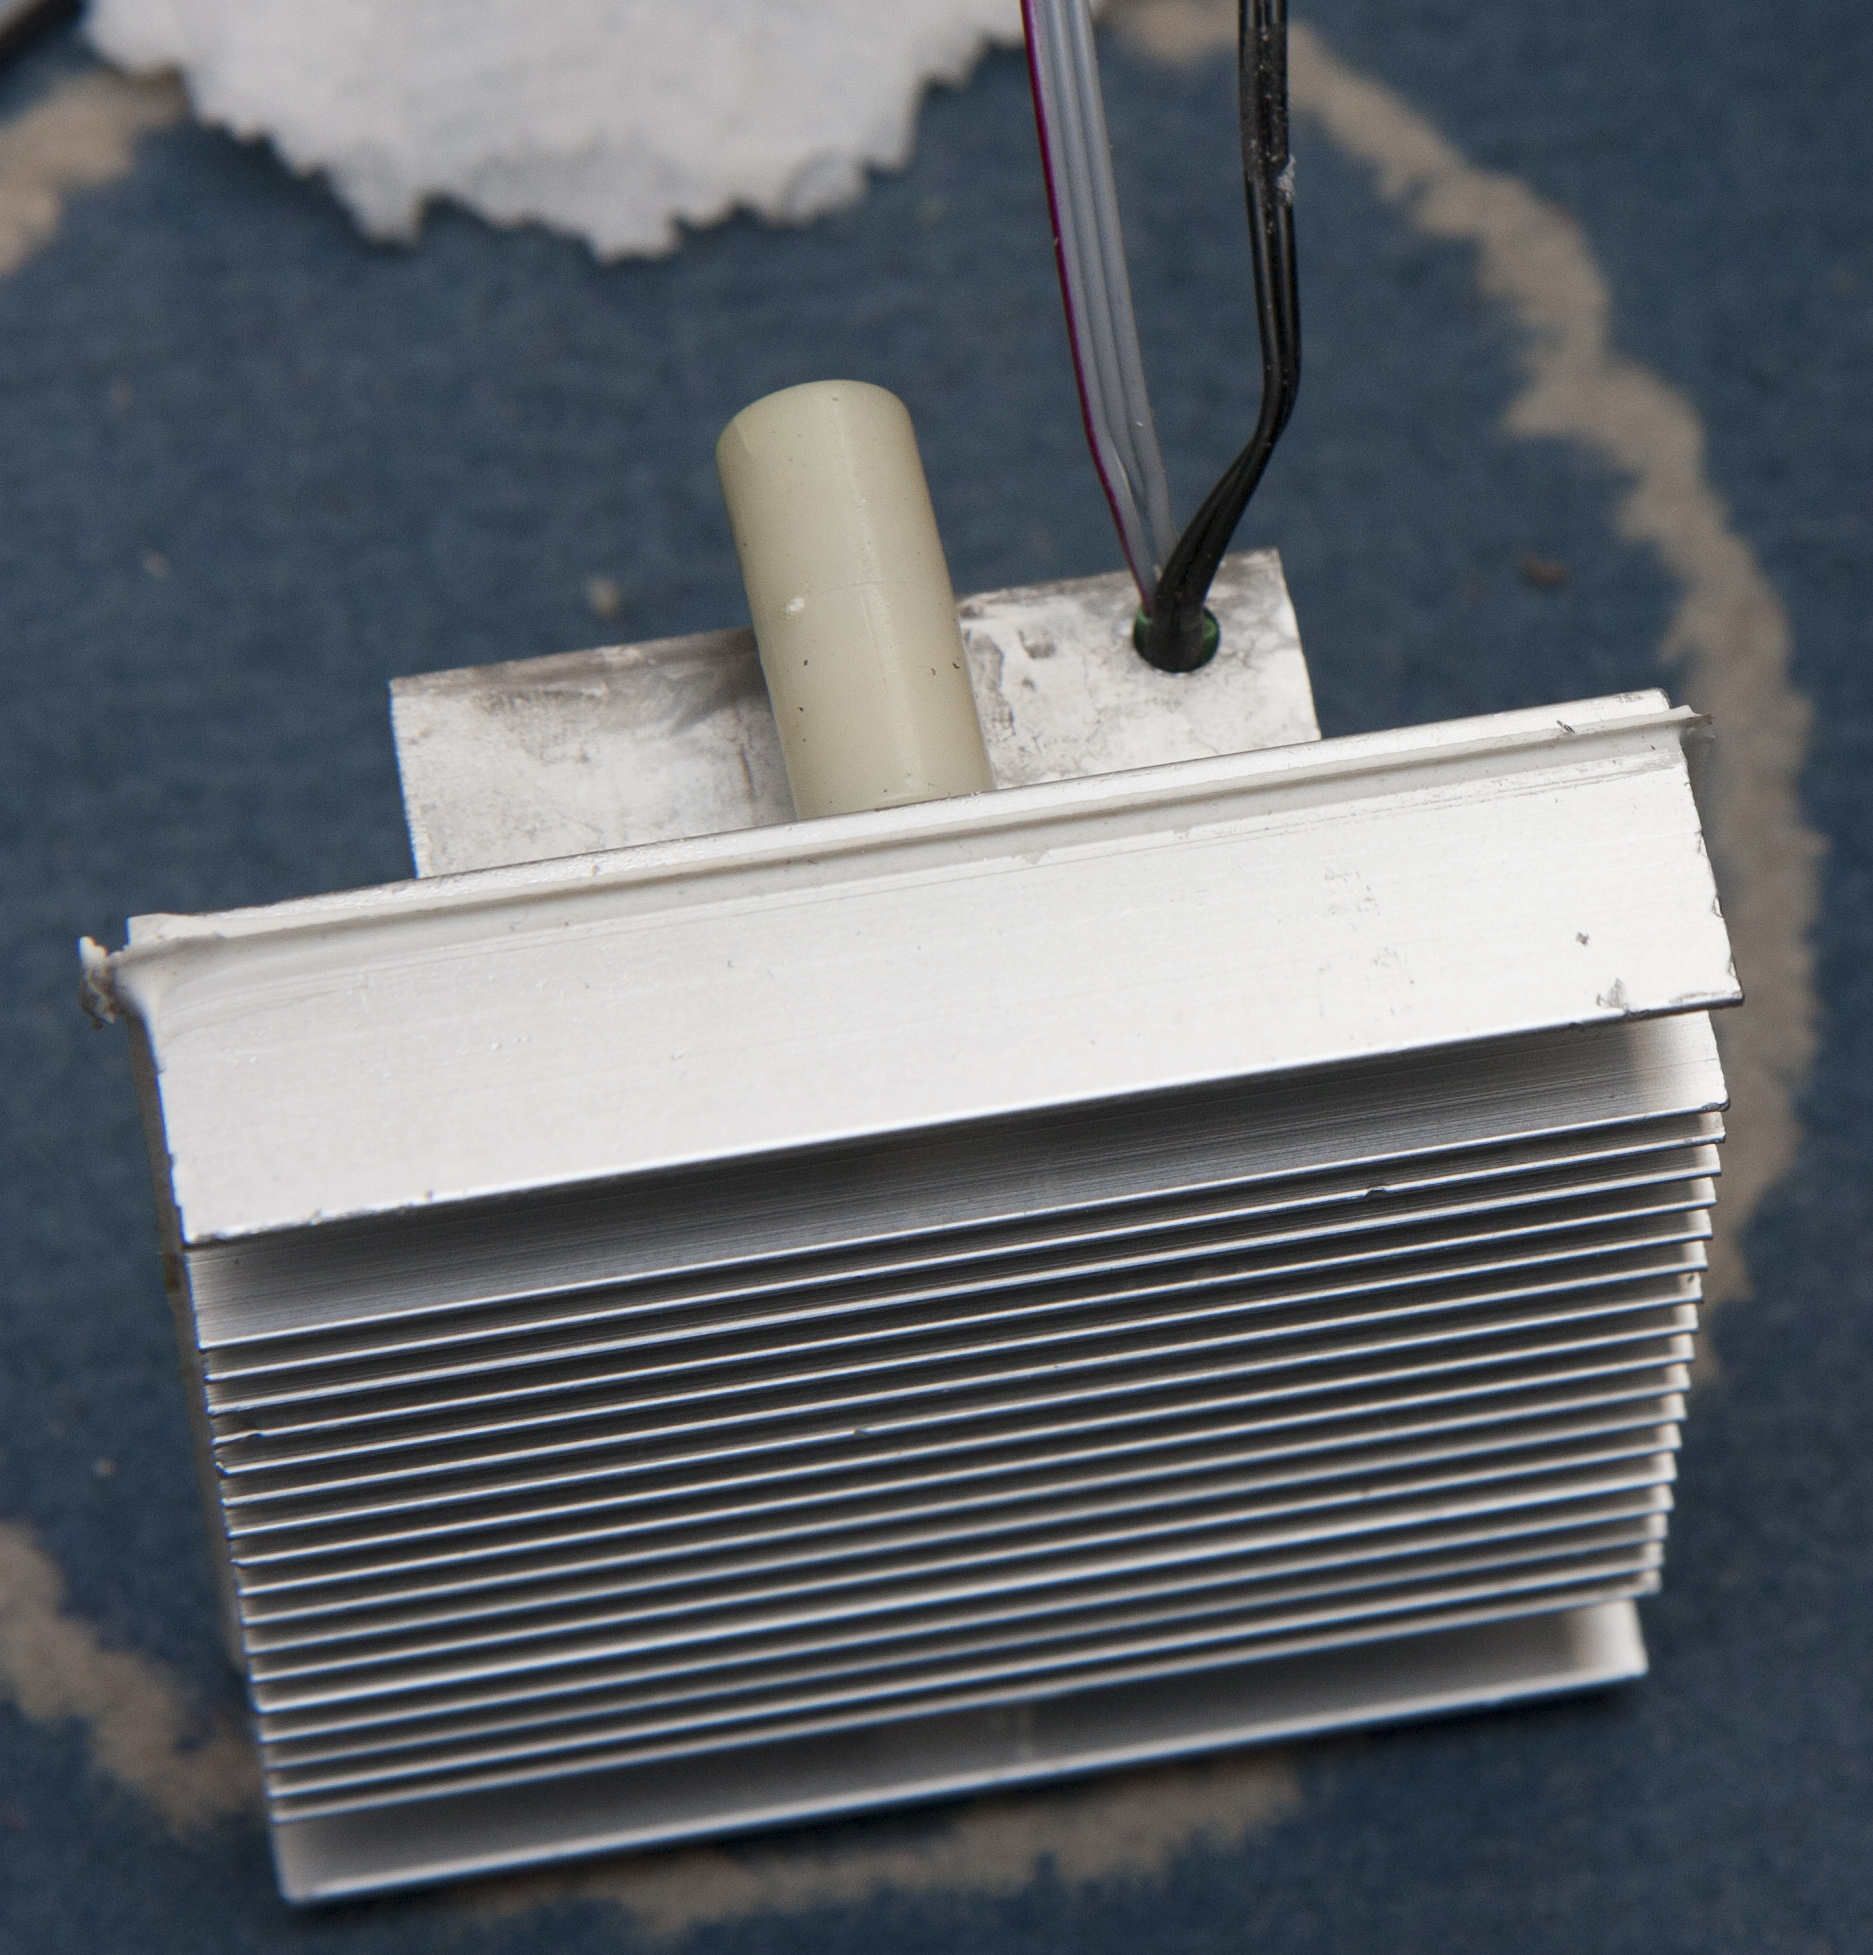
Closeup of the cold sink with the hole that used to contain an NTC thermistor. I drilled out the hole a little so I could also fit a DS18B20 temperature probe in there.
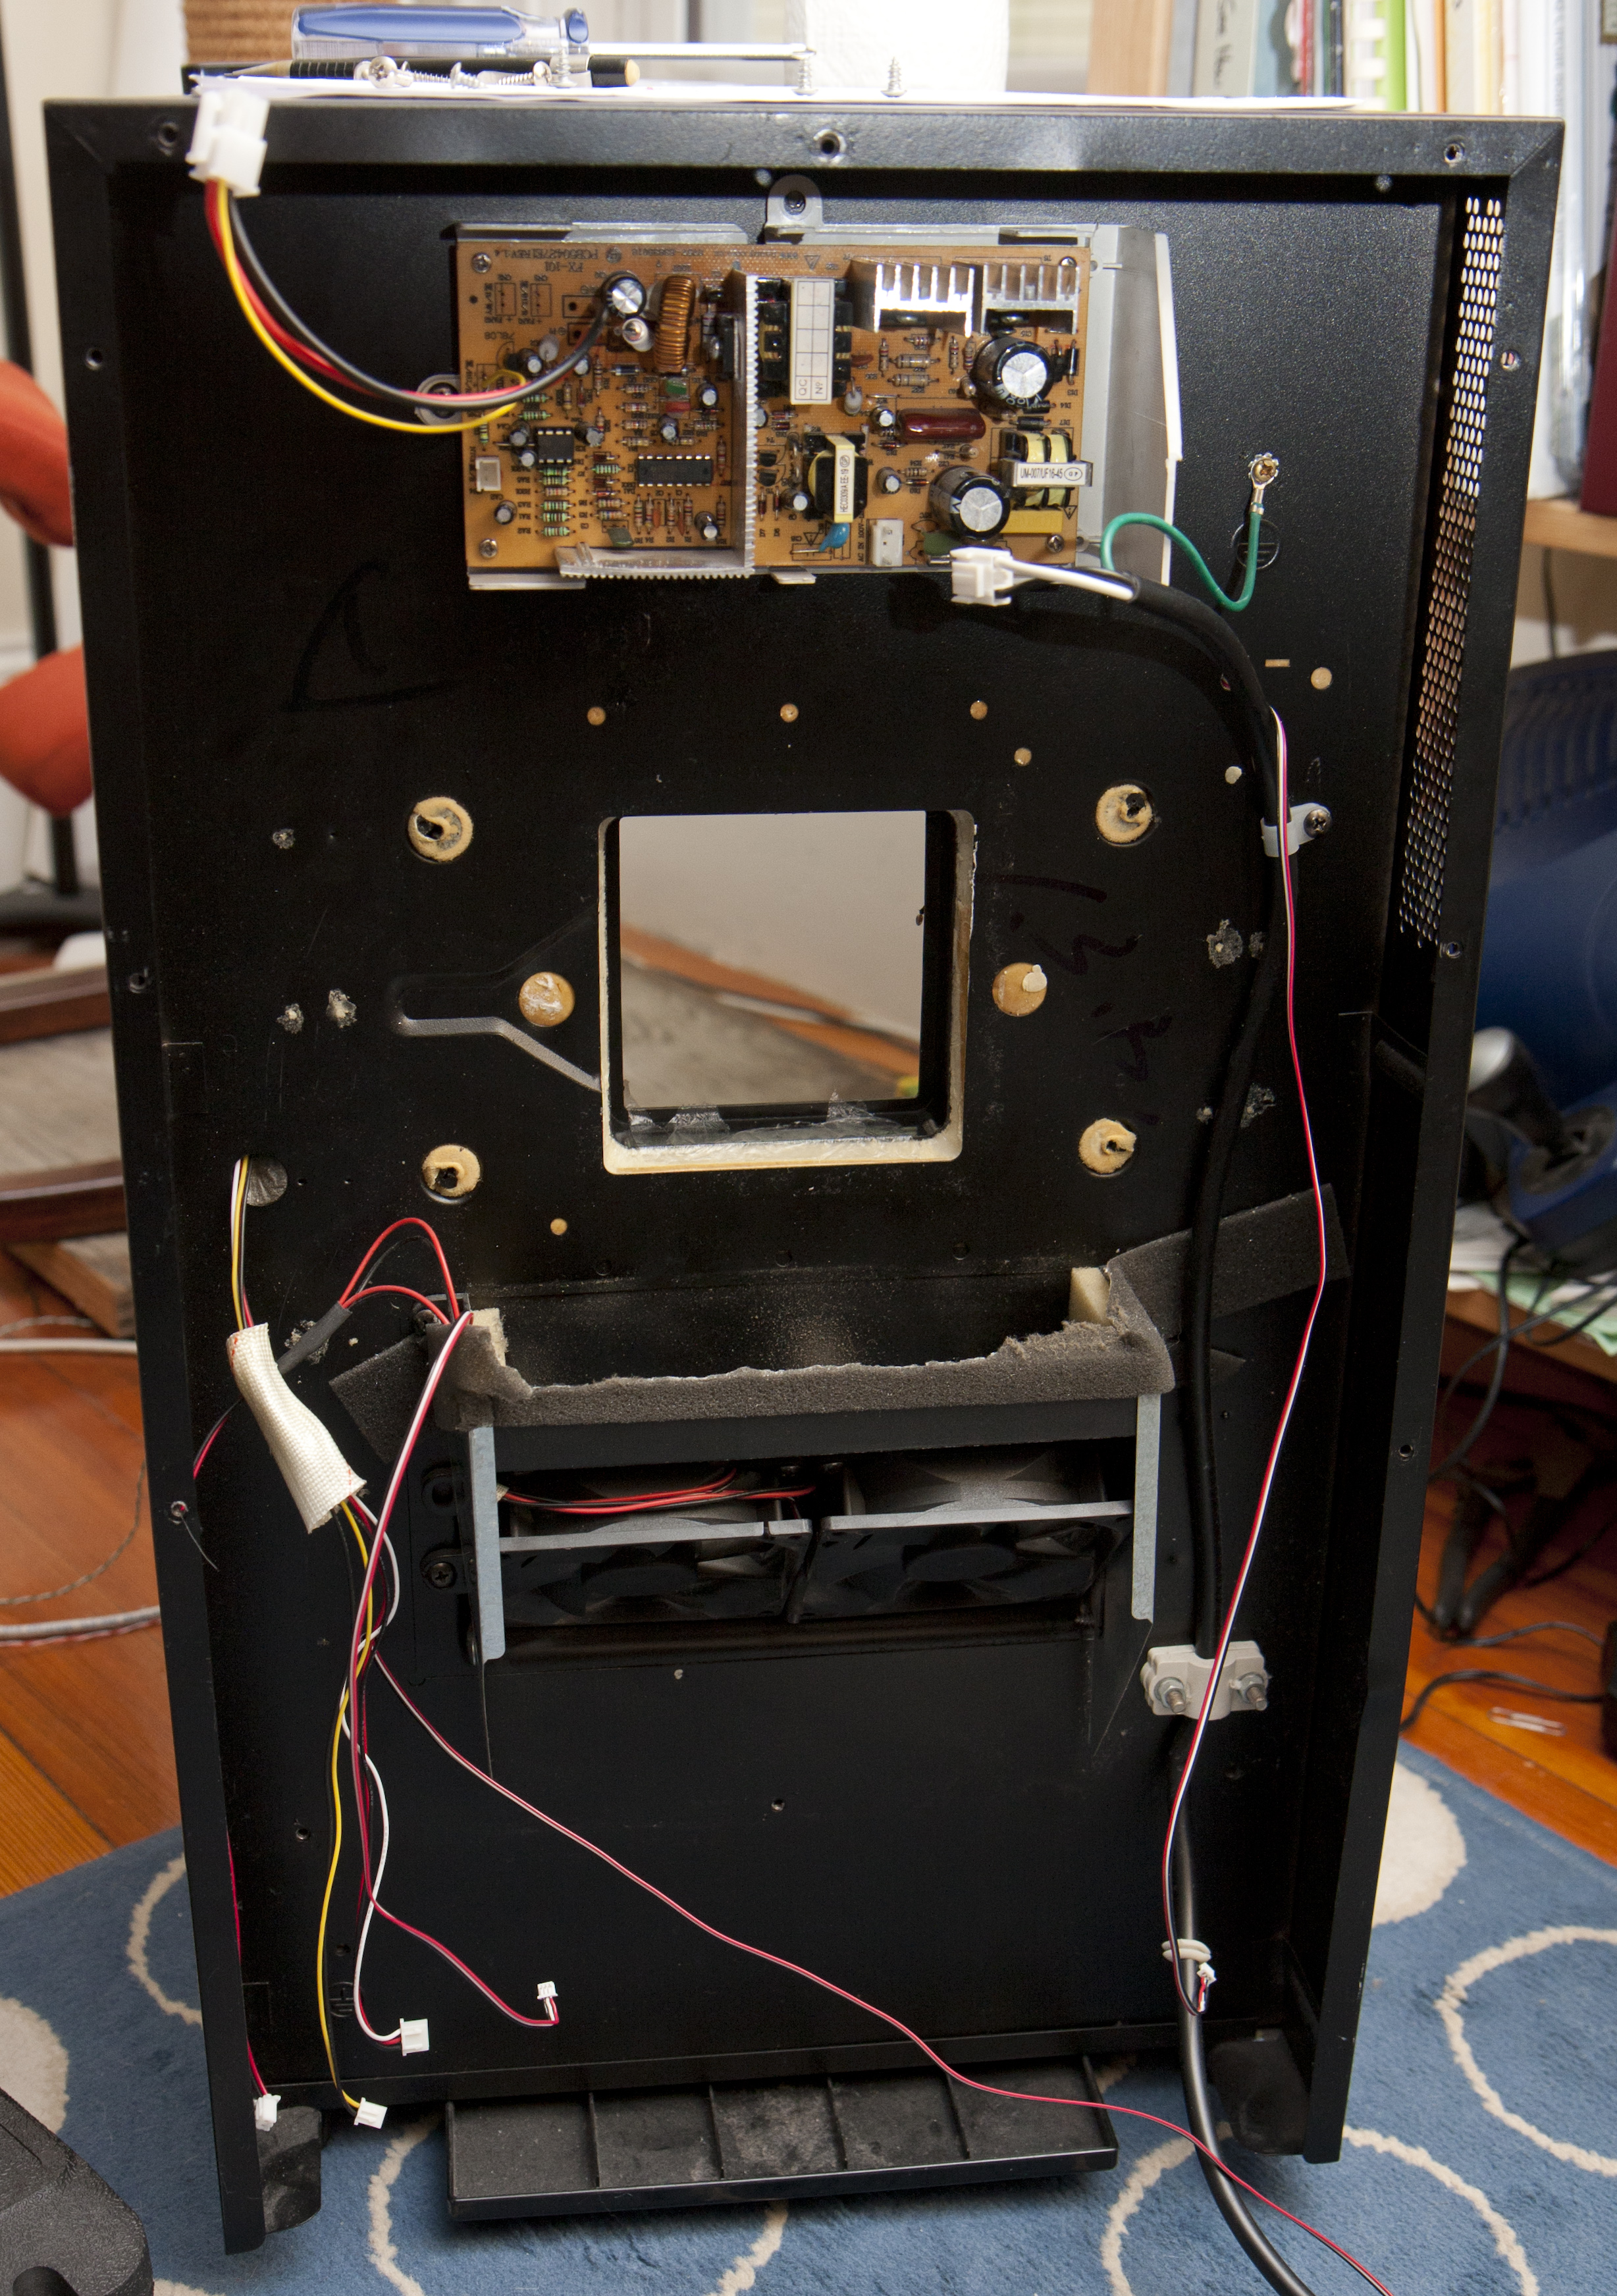
The back of the cabinet, with the thermoelectric assembly removed. It goes into the square hole in the middle. Under the hole are the dual 12cm computer fans that blow air across the external heat sink. The black-white-red wires with the tiny connectors coming out of the back are the temperature probes
The temperature probe in the cold sink is useful since you can deduce if the fans have failed: if it starts getting really cold, the interior fan probably isn’t working, and if it’s hot, the exterior fan is the one not working. Since we’re feeding 70W into the thermoelectric element, I bet it would be bad if a fan failure went unnoticed…
I also installed a temperature probe on the intake side of the exterior fans for monitoring ambient temperature. It might be useful to know what kind of delta-T to the outside we’re trying to maintain.
By the way: one lesson learned was to pay attention to the size when shopping for connectors. Since I needed a bunch of connectors for the 1-wire probes, I looked through the Molex website and found a model called “Picoblade” that looked good. What I didn’t realize was that 1.25mm spacing receptacles are tiny (one could say pico-sized…). The crimp connectors for the wires were so small I needed a magnifying glass just to see what’s going on. Since I didn’t buy the $250 crimp tool, I had to solder the connectors, and it was all too easy to fill the entire connector with solder… Finally I worked out a method of tinning and fluxing the wires and then just heating the connector to attach it that worked, but they were so small it was a serious pain in the ass. (For the high-current connectors from the power supply board and to the thermoelectric element, I picked a connector type called “Mini-fit Jr” which turned out to be the same as the CPU power connector on ATX motherboards, which was nice.)
Finally, the front panel cover was cut out to make space for the 6-digit display and reattached. It used to have a sticker on it but that obviously doesn’t fit now, so you can see the cutouts in the plastic for the “buttons”. It doesn’t look great, but it’s not a high priority.
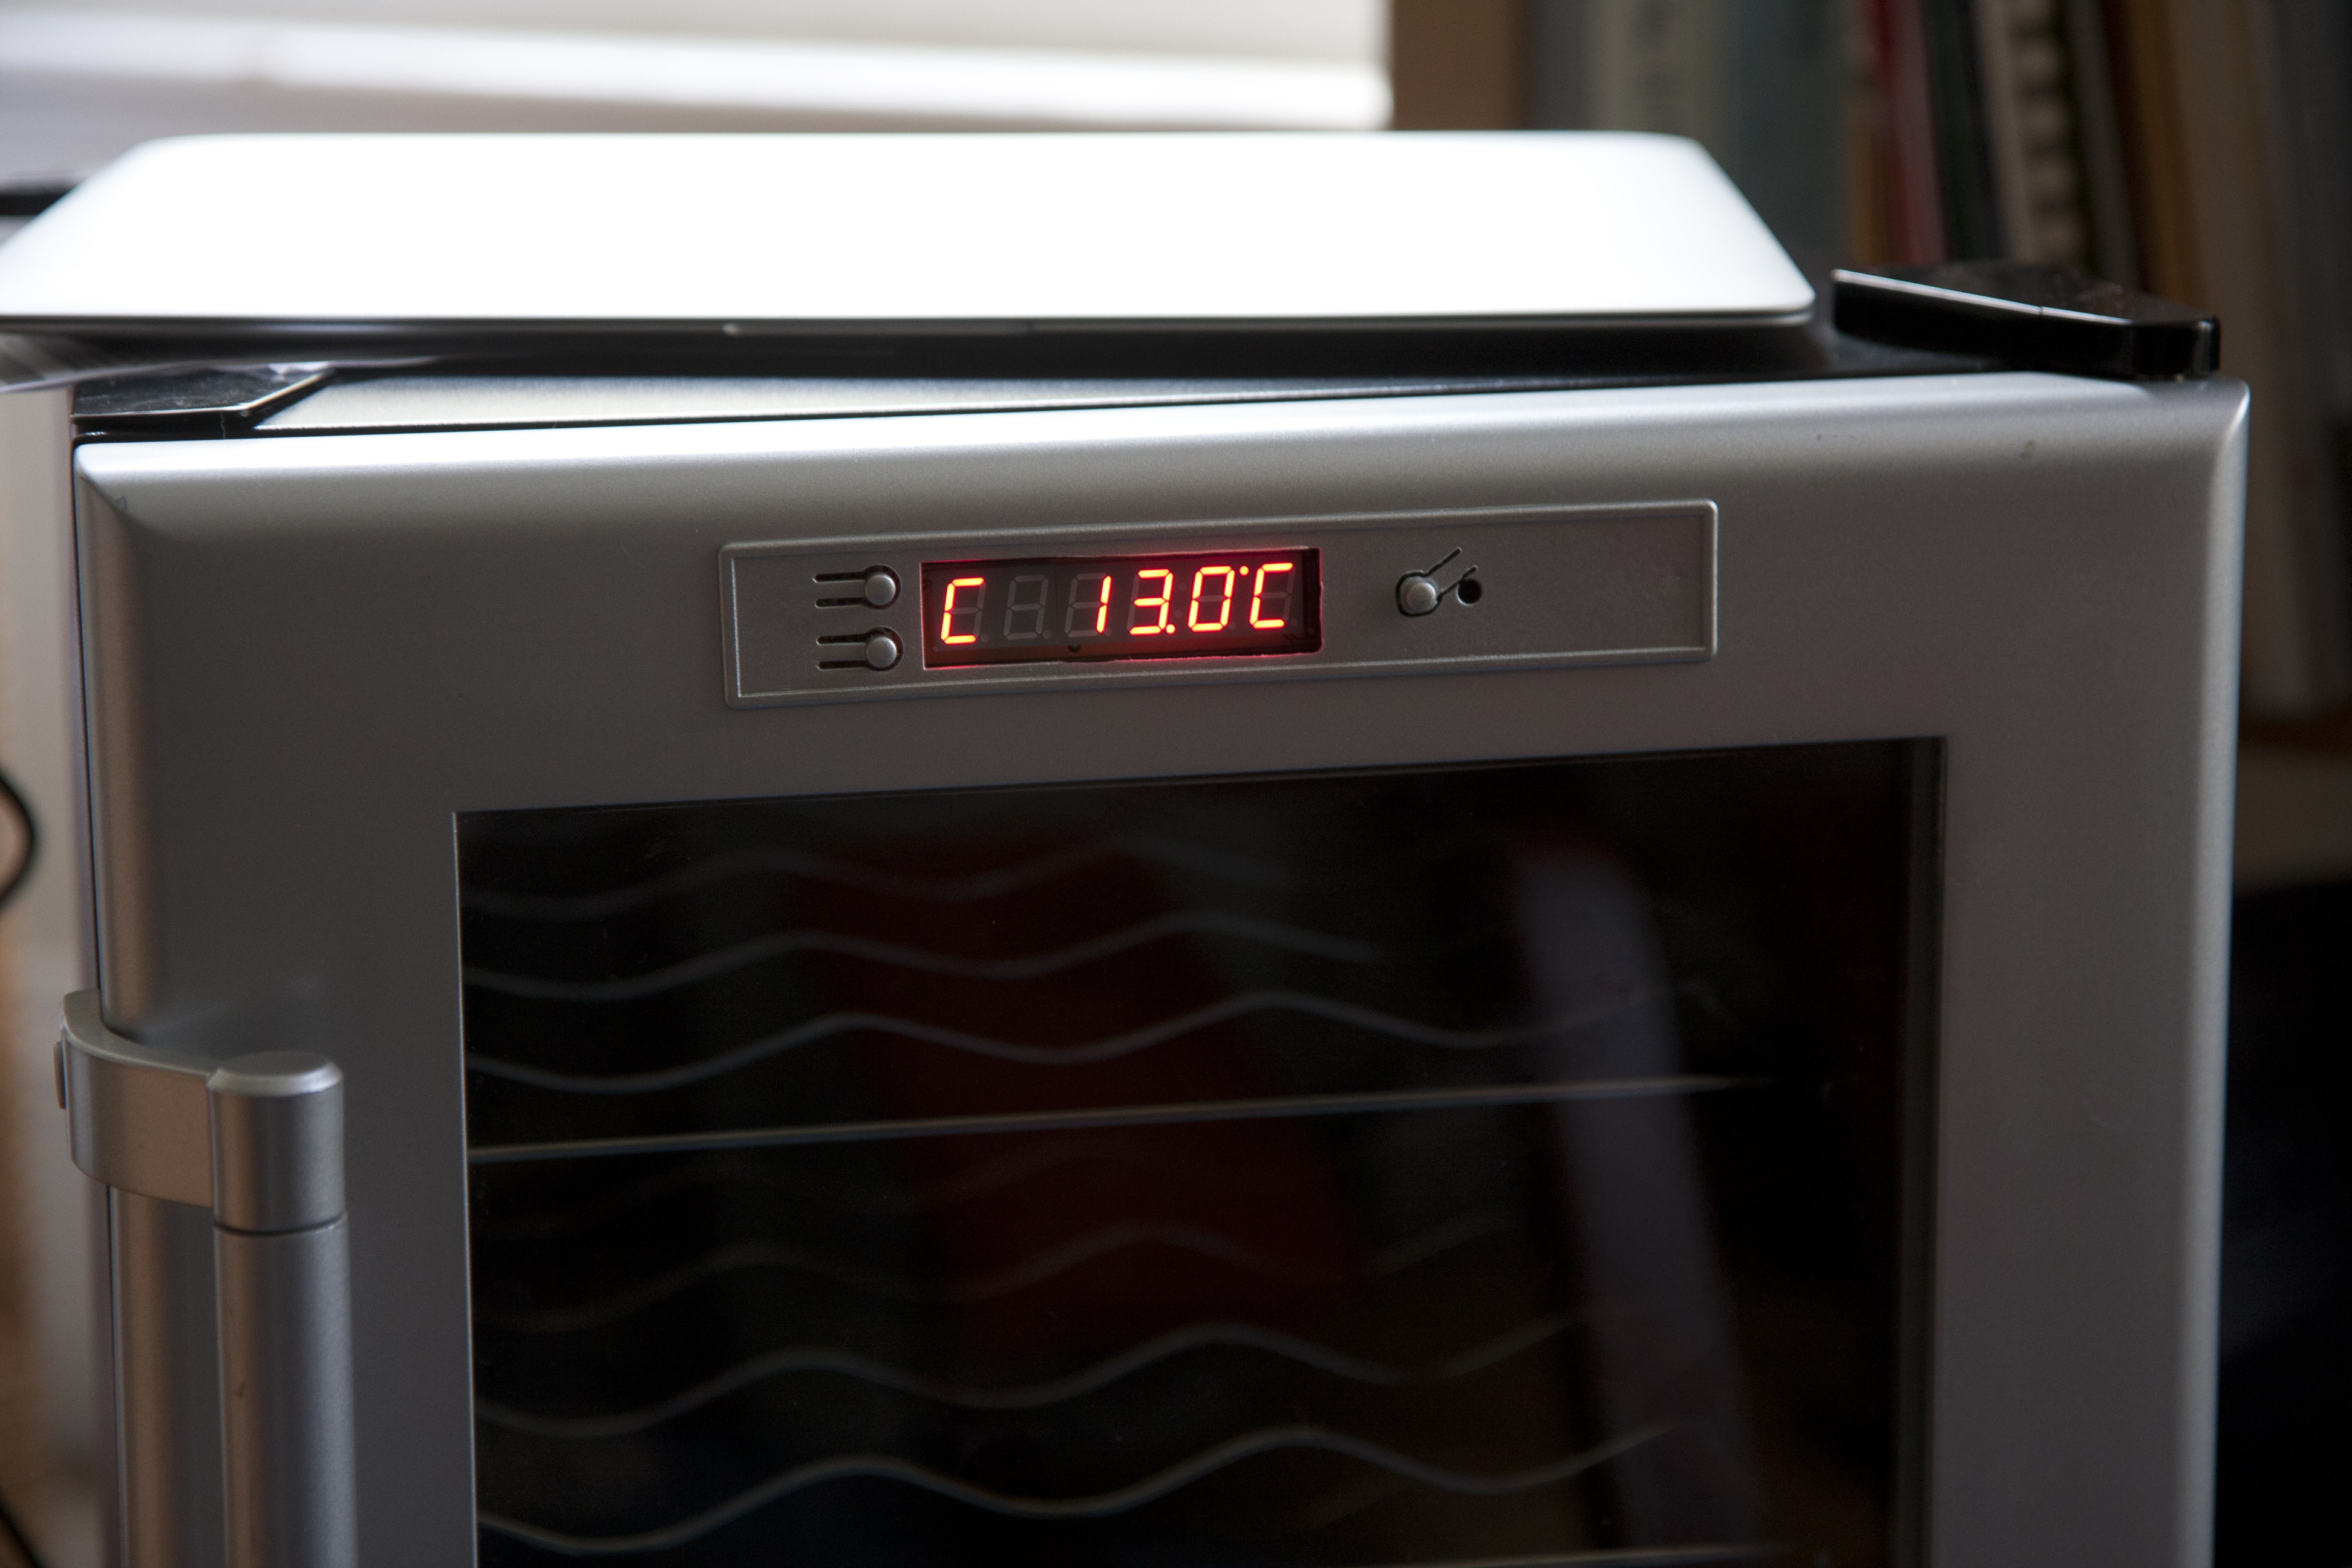
The new front panel mounted in the door. A larger hole was cut out to accommodate the 6-digit display and the right button was moved which required dremeling out a new "button" out of the front plastic. It was originally covered with a silver sticker, which would be nice.
Now we’re ready to start testing the functionality. There were some bumps on the road to getting everything working. Read about it in the next post about troubleshooting.
Pingback: High Performance Wine Storage System #4: The Main Board « Patrik's Projects