This is post #3 describing the wine storage unit upgrade. See the introduction post for the background.
In the ceiling of the cabinet interior was a “lamp”, meaning a single white LED, controllable with one of the front panel buttons. It didn’t really provide enough light to be useful, but it was already wired to the front panel. Since this was the one place where one could hide some components, I also decided that it would be a good place to put the humidity sensor and one of the temperature sensors. The two wires for the lamp could be reused for a slightly better illumination solution, but 4 more wires were necessary for the temperature and humidity sensors.
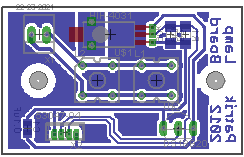
I designed a replacement circuit board (the original only had the LED, connector and a capacitor on it, but there’s enough room to put in everything else. For the illumination, I decided to use 2 of the leftover S-flux LEDs I used for the Passat headlight retrofit back in 2006. For humidity sensor I used a Honeywell HIH-4031 that I found on Sparkfun, and then the obligatory DS18B20 for temperature. Here’s the circuit board from Eagle:
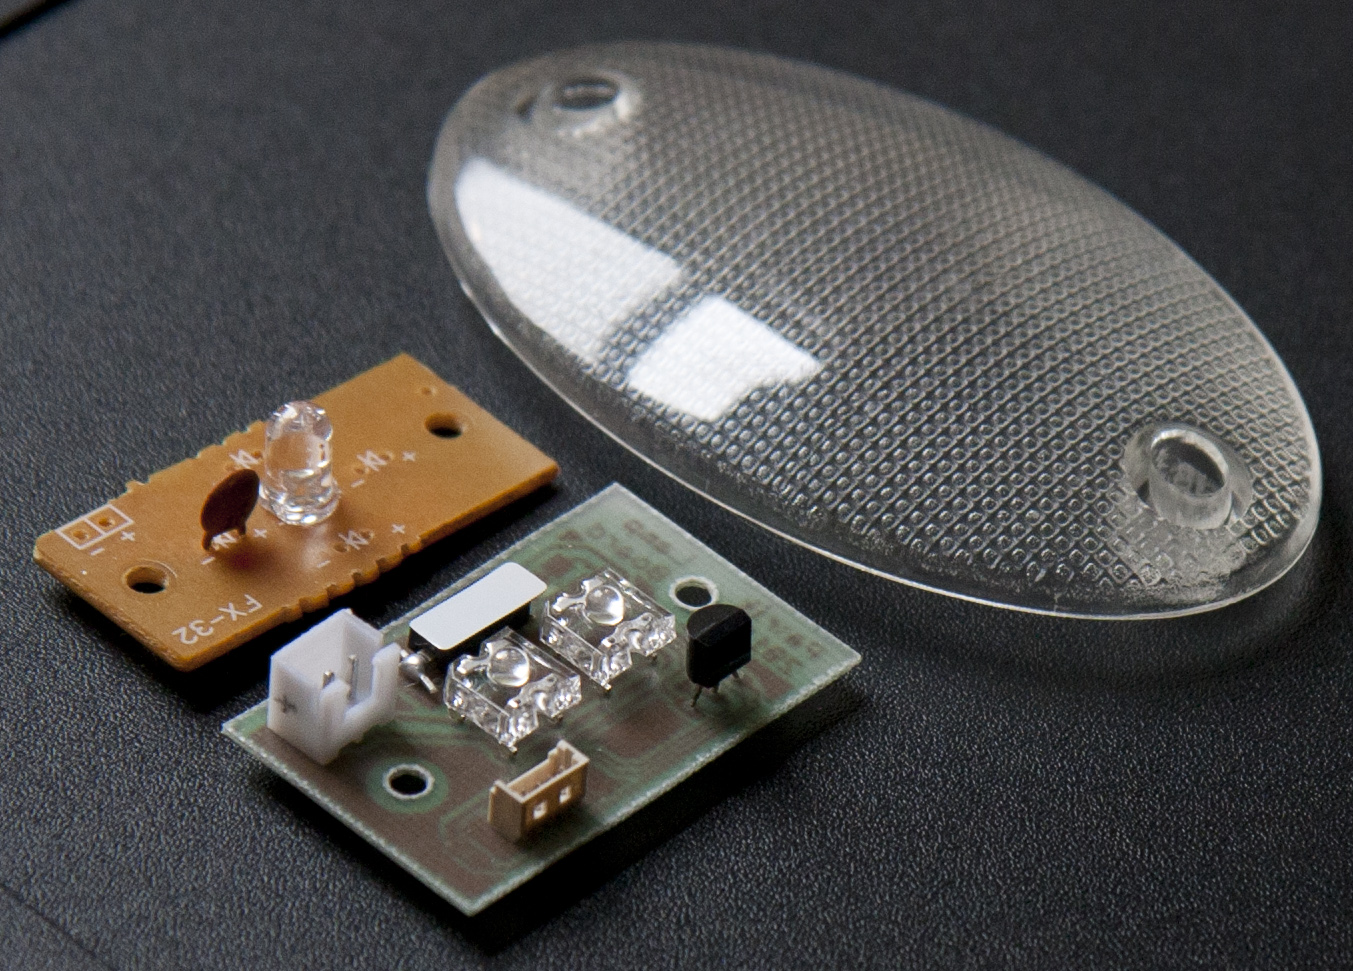
And here’s a photo of the old and the new boards along with the lamp cover. The white square is the humidity sensor with the protective film still attached. I guess I’ll have to drill a bunch of holes in the plastic cover so the humidity in the enclosure can equilibrate with the main cabinet.
So far, I’ve only verified that the LEDs work, the rest will have to wait until the back board with the microcontroller is done. This is described in the next post.


Pingback: High Performance Wine Storage System #2: The Front Panel « Patrik's Projects