After the grinding of the concrete in the basement, it was time to fill. I got some “EpoxyShield concrete patch”, which is basically a very thick epoxy, and started patching holes. First I just filled holes where stones or whatever had come out. (This is an endless task with diminishing returns… I wonder what the distribution of hole sizes are. It certainly goes up steeply towards smaller sizes.)
I was also using the vibrating multitool to get the remains of the carpet adhesive off from the corners and edges where the grinder couldn’t reach. In the process, I looked up close at a patch of dark concrete under the window (visible in the last picture of post #1) and decided the surface didn’t look good. The multitool did a surprisingly effective job demolishing it, the concrete looked kind of like dirt as it came apart. That certainly seemed like it would be a candidate for cracking and chipping after the top coat has come on, so I decided to fill it with patching compound.
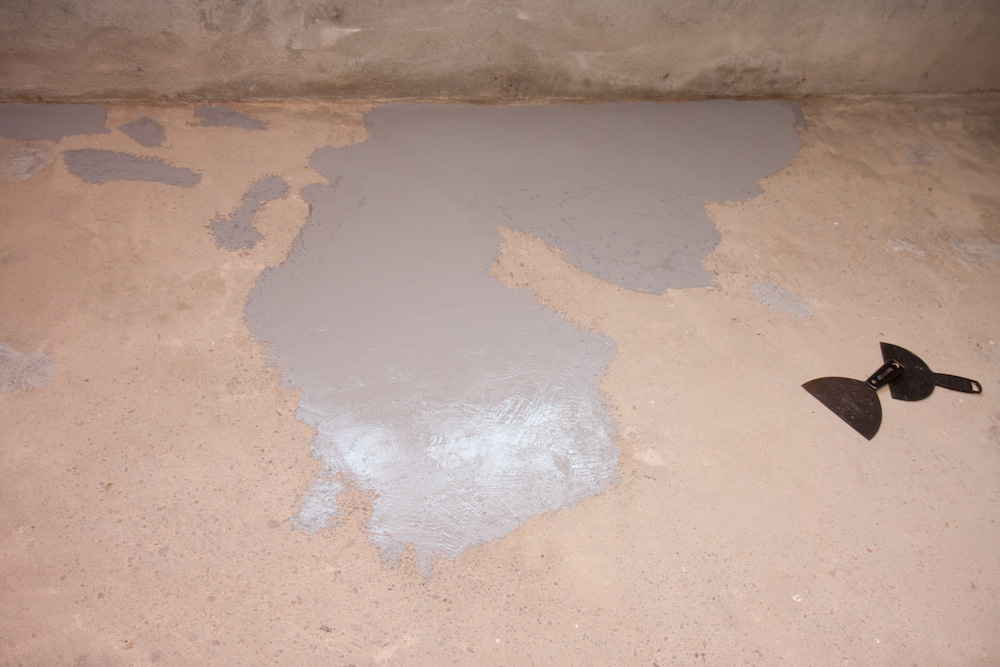
This is the largest area of bad concrete that I filled. It was either soft and crumbling or had a very rocky and uneven surface. See the putty knives for scale.
There were more chunks of bad concrete where it either came apart like the first one, or it was already eroded so the rocks were the highest part of the surface, kind of like dimples. That also didn’t seem too good to coat over, so I ended up needing another set of patching compound before the filling was done
Luckily the concrete in the rest of the basement is in better shape. There were a few areas of the “knobbly” surface, but nothing soft and deteriorating like under the window. However, the area around the floor drain was very uneven, so I figured it wouldn’t hurt to improve it so there would be less chance of getting little puddles of water sitting around without draining.
The
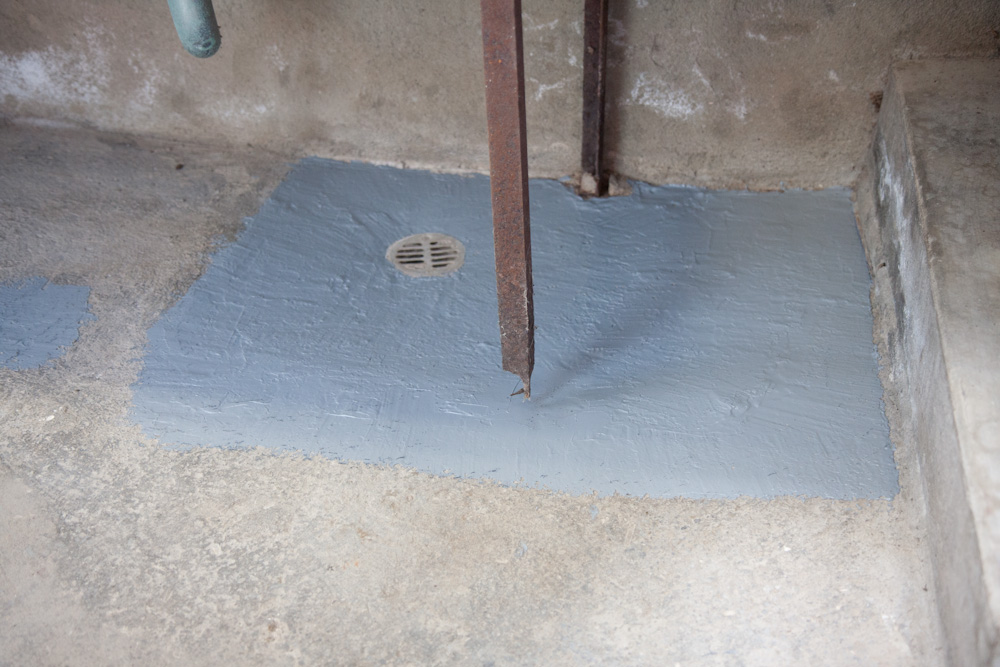
The area around the floor drain under the utility sink was also extremely uneven, like someone chipped out the slope down towards the drain with a huge chisel. I decided to “improve” it with the remaining patching compound.
Once the patches had cured, I sanded them down to be more even. Most of the sanding was done with either the DA air sander or with a random orbital sander. Sanding down into the concrete does a quick number on the pads, so I went through a number. For the more severe cases, like the floor drain, I used the multitool.
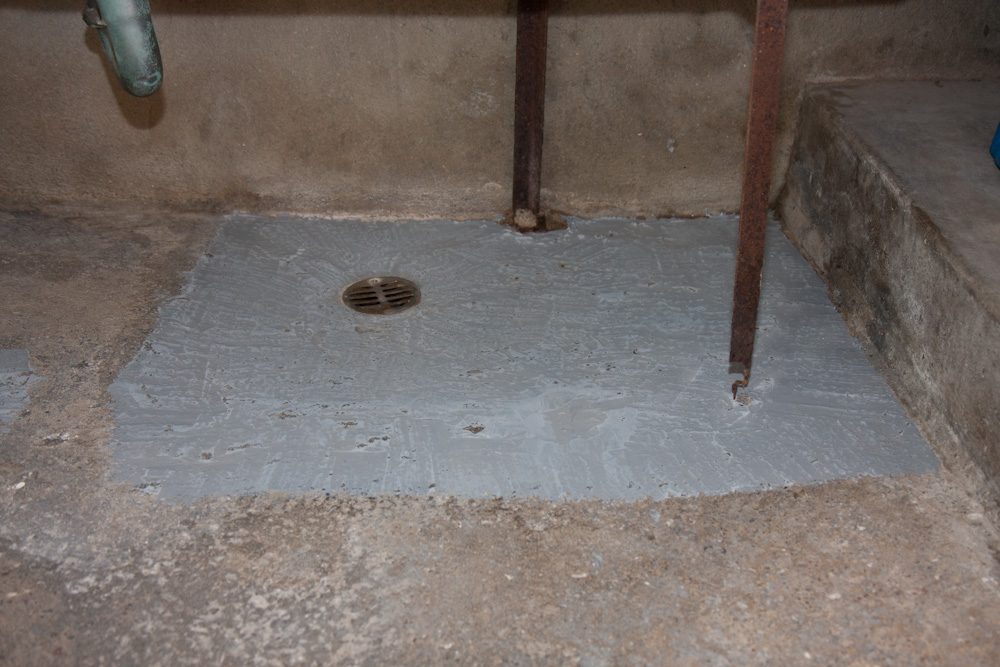
This is after a quick job of evening out the compound. Notice that I’ve gone through to rock in many places, which makes it very difficult to do a better job. It’s still way better than it was before.
After patching, it was time to clean. There was concrete dust everywhere, which of course needs to be cleaned off if the top coat is to adhere well. The instructions say to wet down the floor and then scrub with TSP. Then all the water and dirt has to be removed so it doesn’t just soak in again, and then rinsed numerous times. The trick here was to use the shop vac with a wet pickup nozzle. This is kind of like a squeegee mounted on a narrow, wide vacuum nozzle, and does a quick job getting the water off the floor. It would have been even quicker if I’d had a bigger shop vac, as it was it quickly got full with water and needed emptying. And it clearly was doing something, because the amount of silt and grit in the water was crazy. (The water showed no tendency to get cleaner with repeated rinses, so this is probably also one of these futile jobs you just have to call good at some point.)
Now the floor looks like this:
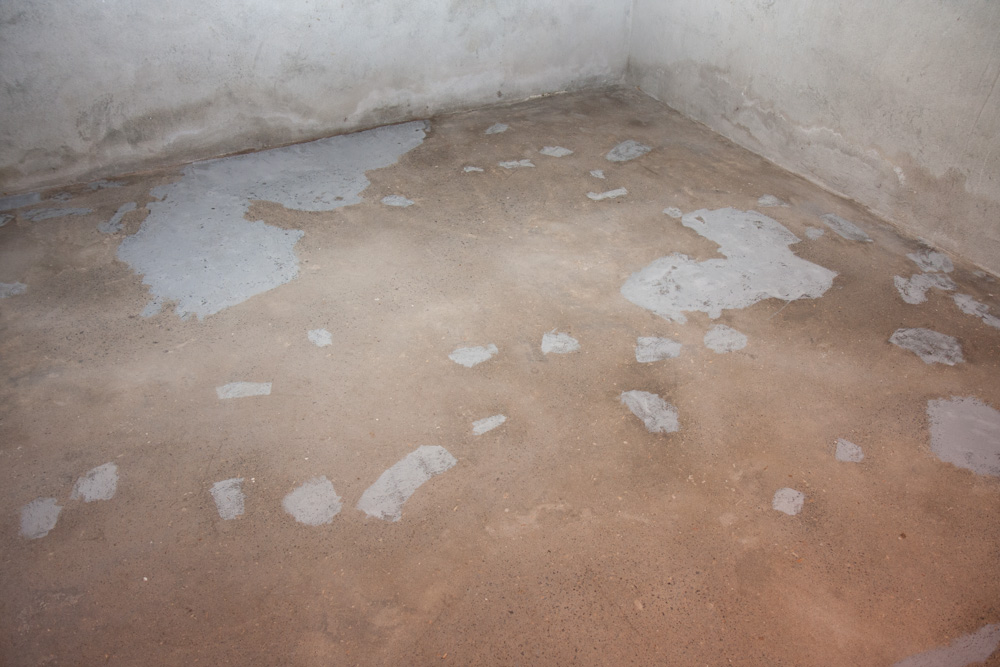
Here’s the floor after scrubbing with water, TSP, and rinsing numerous times.
Note how much less evenly gray the floor is compared to the first picture. That’s because all that gray is remaining dust, even after vacuuming several times.
The next step now is to let the floor dry thoroughly, and then we just might be ready for the top coat. It would really be nice to be able to use this room again!