It’s very common for garages in Hawaii to not have doors (in case you wonder, that does not make them carports. Carports have to be open on at least two sides, or something like that), and ours didn’t.
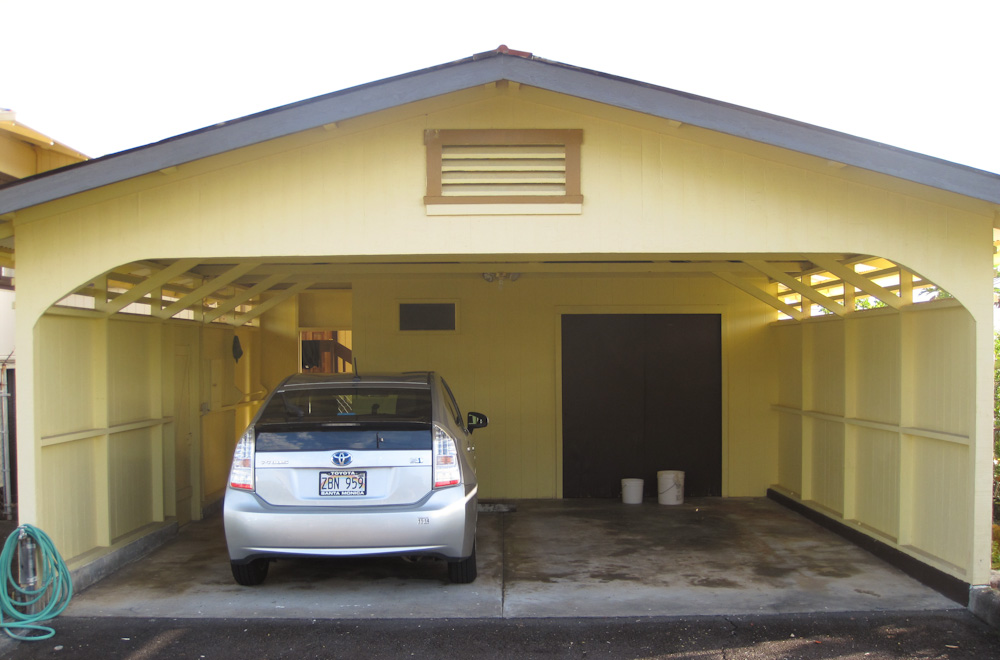
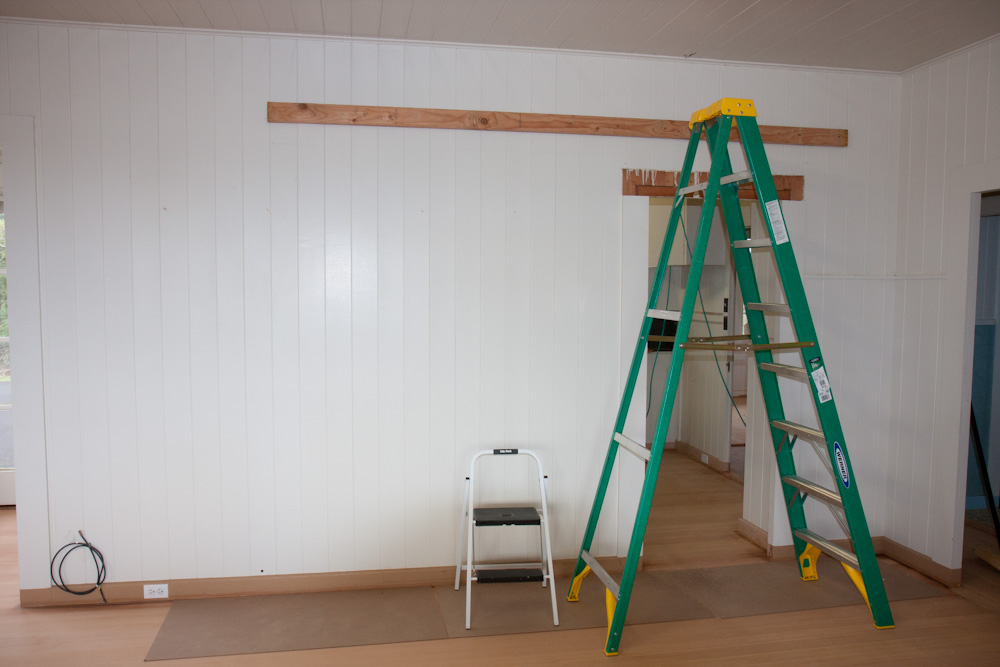
Here’s the garage as it looked when we moved in. There was no door, only this big “arch-shaped” doorway.
The problem with having no garage door is that most people also don’t have motorcycles, and given that theft is a problem in Hawaii, I didn’t really want to have the bikes outside. (This was even confirmed by the movers. When they rolled the bikes out of the Matson container, they told me to not leave them in the garage as they would get stolen.) So, one of the first things we did upon arriving was to call a couple of garage door companies. We liked Kobay Garage Doors, so we went with them.
Things got a bit complicated because, as you can see in the picture above, the garage has these diagonal beams supporting the roof. This means there’s not a lot of vertical space for a door, so they had to use a special door that can turn a tight radius or the door would have to be very low or very narrow. That, on top of the fact that we wanted a flush door instead of the common “carriage house” model with a matrix of squares, meant that there was something like 6 weeks delivery time. Oh well, can’t be helped.
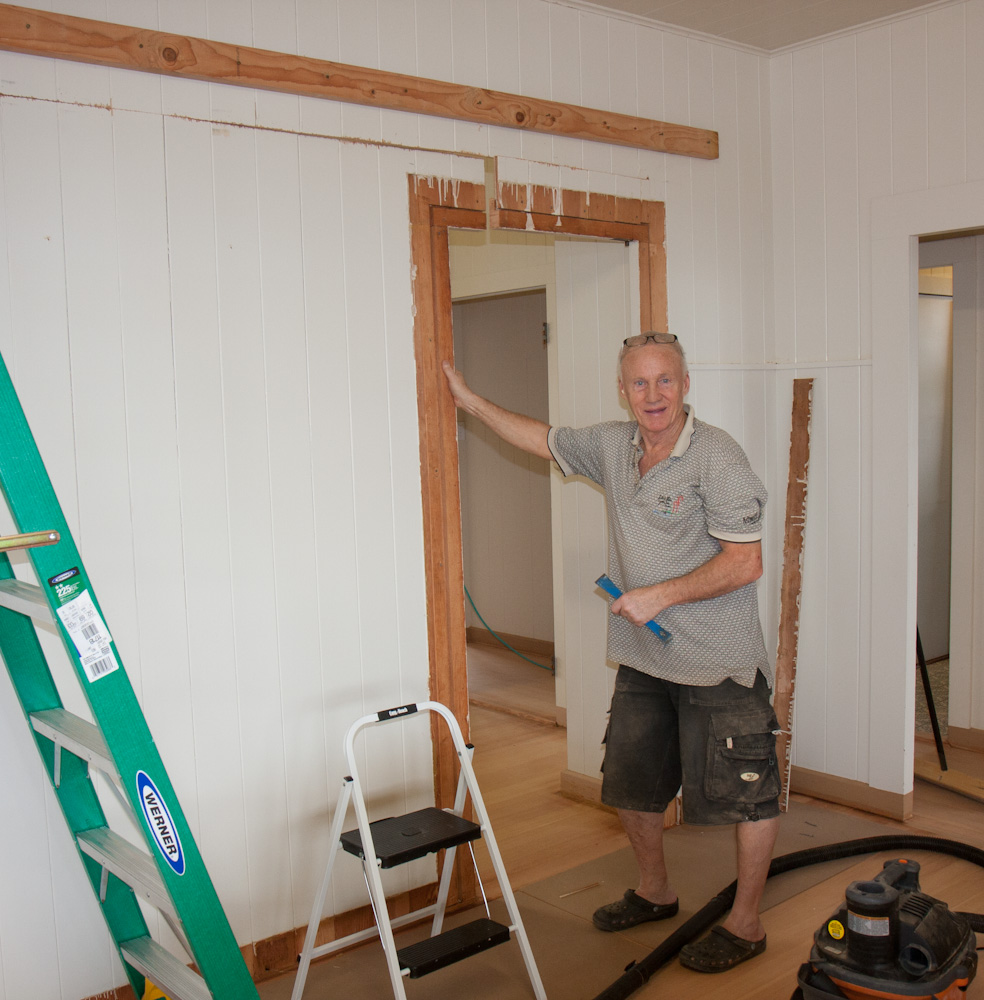
But before the door could be mounted, they had to build a frame for it. When Kobay showed up to do this, they discovered our leftover planks from the kitchen doorway, so they used those instead of plywood. This way it matched the existing garage a bit better (though not really that well).
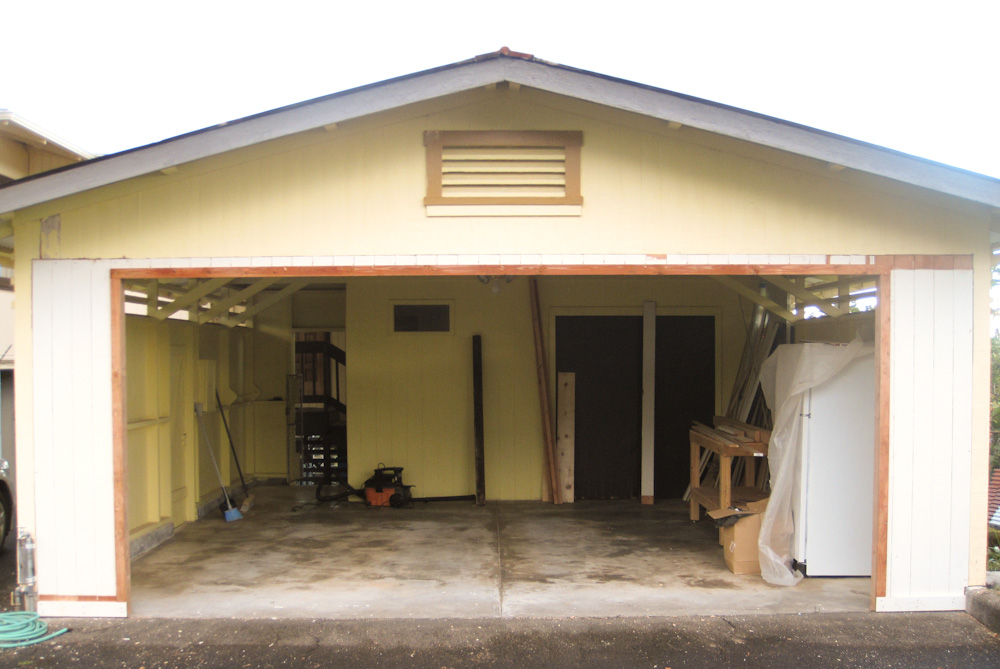
This is after adding the frame for the garage door.
The framing used very rough lumber, and the planks from the kitchen were white. To protect the framing from the elements they had to be painted, but luckily I had 6 weeks to do that… The first order of business was to wait a couple weeks for the wood to dry — it was soaking wet when they added it. I guess this happens often in Hilo.
Anyway, after a bunch of sanding, spackling, and painting, the frame was ready for the door. I concentrated on the inside first, since access to those parts would be blocked when the door was mounted.
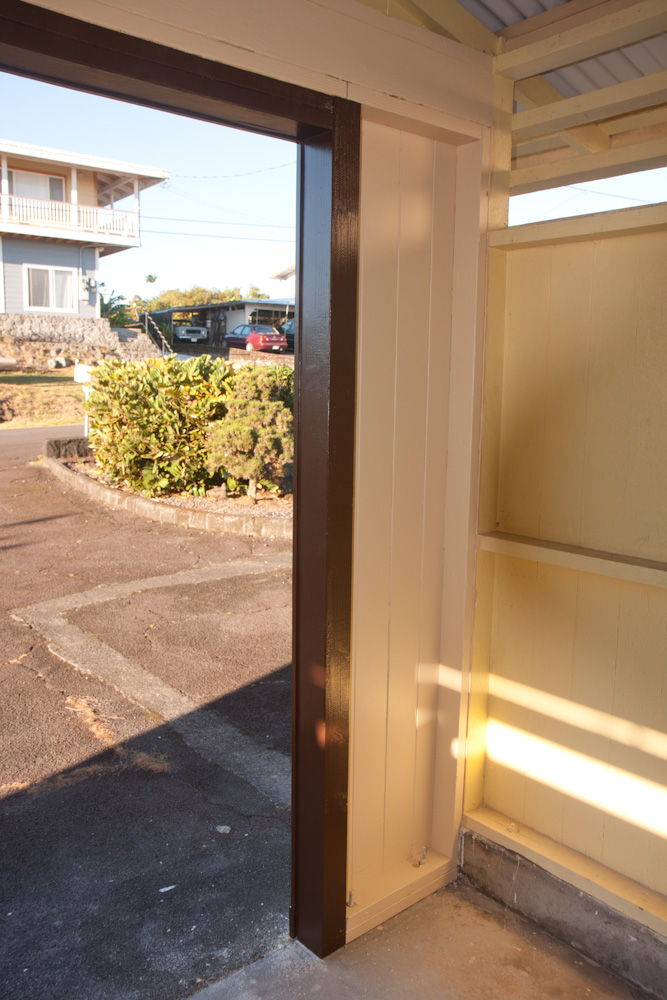
Here’s the painted frame. The yellow paint used on the inside was mis-matched by HPM, so it’s totally the wrong color.
HPM had matched a pint of yellow paint that I used to patch some parts on the house that were flaking. They also recognized the brown used on the framing as “Tudor Brown”, so I also had some of that. However, for the garage I was going to need more than a pint, so I went back and got a gallon. However, when I started painting the inside, I noticed it was a distinctly different color from the pint… It didn’t matter much for the inside, so I finished that up, but then I went back to HPM. Turns out whoever mixed the gallon had used the wrong base. They happily took the useless gallon back and mixed up a correct gallon for me.
Finally, the door showed up and in a few hours, Kobay had it mounted. Now all that remained was the outside paint. The entire garage is a different yellow than the rest of the house, a much more sharp yellow. Because of this, I repainted the entire front. After some TSP washing, light sanding, and scraping of failing patches, two coats of yellow and brown trim, it was finally done. It looks pretty good, and the brown actually matches the brown color of the door itself pretty well.
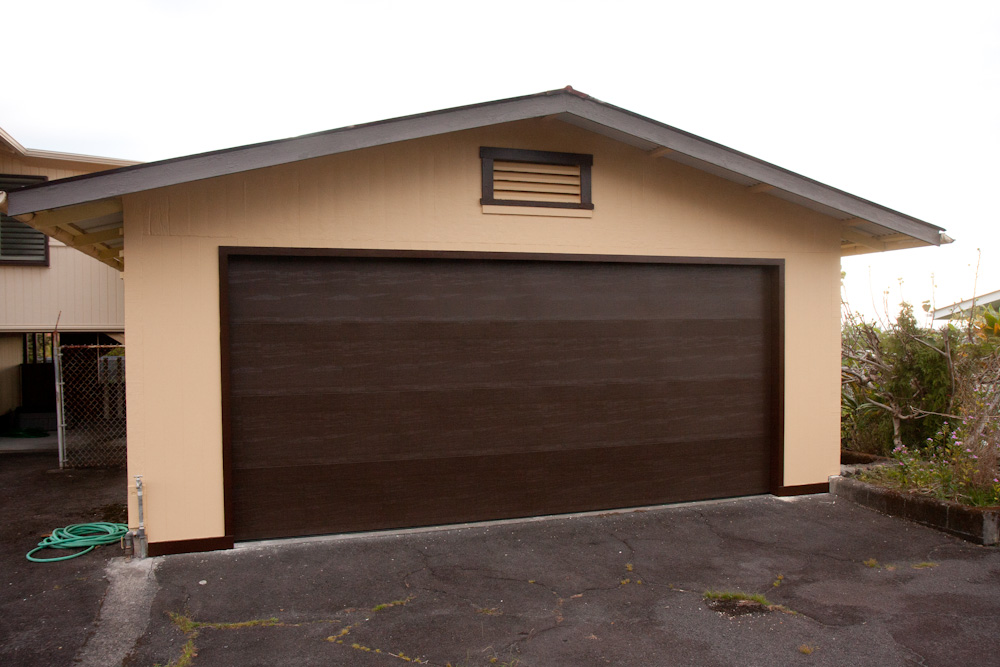
Here’s the repainted front of the garage, now with a yellow shade that matches the house and with the “Tudor Brown” trim.
The only problem, and I should have thought about this, is that the dark brown garage door gets super hot in the afternoon when the Sun hits it. You literally feel the heat radiating from it inside the garage. Maybe at some point we’ll repaint it yellow instead.
So can I now take the bikes out from the basement and park them in the garage? Not quite — the entrance at the back of the garage doesn’t have a door, so it’s still no more secure than before… Besides, the garage is being used as painting/sanding station, so the bikes are probably better off in the basement for a while longer.