While working on the fairing, I’ve also been planning a much more invasive project: Converting the NC30 to fuel injection!
This one may deserve some explanation. I mean, what’s wrong with it as it is? Nothing, really. This is strictly done in the interest of education… What semi-rational explanation I have is that one of the things I’m interested in doing with the engine for the airplane (long-term project as that may be), is to use an aftermarket turbo/fuel injection conversion. Since an airplane is a fairly dubious starting project for learning how to do do engine work, seeing as you can’t pull over when the engine decides to stop, I figured it might not be a bad idea to try a somewhat lower-risk project.
So here’s the plan: The NC30 will have its carburetors and the old ignition control unit ripped out, and they will be replaced with a Microsquirt engine control unit, and throttle bodies with fuel injectors. The list of changes to pull this off is pretty long, so I’m going to do this in two stages:
Stage one is to use the Microsquirt to control ignition, which is comparatively easy as there are no major hardware changes necessary. This is mostly electrical work, as the engine controller needs to be wired in along with the necessary sensors and wiring.
Stage two is then to switch out the carburetors, which is quite a bit more complicated. This entails adding throttle bodies, fuel injectors, fuel pump, pressure regulator, and return line to the tank. The throttle bodies need to be made to fit the intakes as well as the airbox. I’ll discuss this part more later.
The electrical hardware is going under the tail, where luckily there’s quite a bit of space that can’t be used for anything else anyway. An electronic fuel injection system has a quite a bit more complicated electrical system than a stock early-nineties motorcycle, so the old 4-fuse box also isn’t quite adequate.
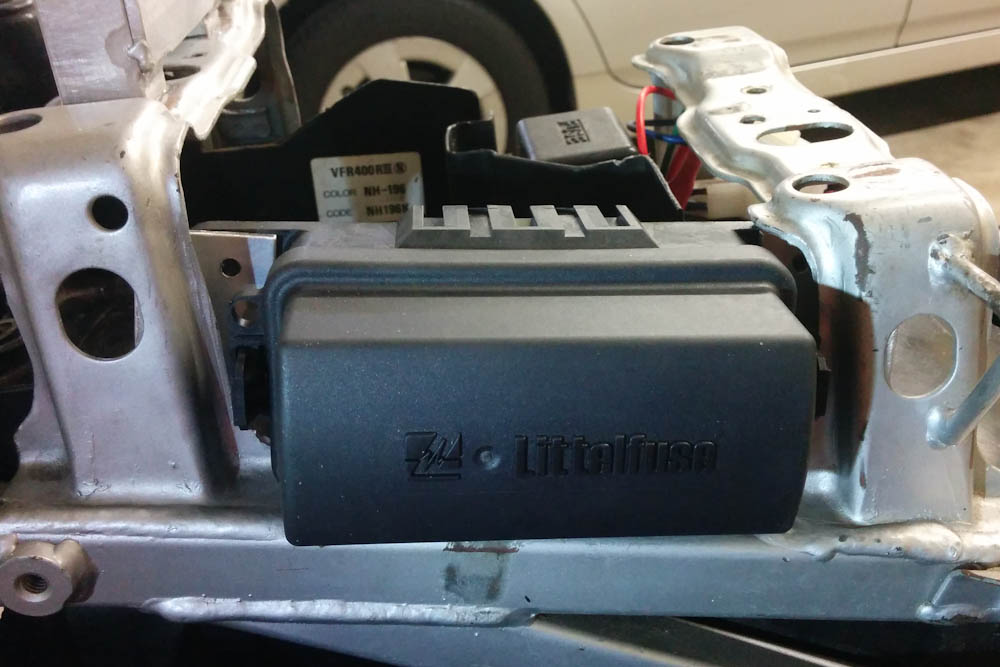
The new fuse box is a sealed Metri-Pack 280-compatible matrix of connections that accommodates both fuses and relays.
The new electrical system will use a number of fuses and relays, and they will go in this super-flexible, sealed, connection box that uses Metri-Pack 280 connector spacing. This is the spacing used by ATM fuses, and there are things like relays and bus bars that use the same spacing. This means you can mix and match and design your own layout, and it’s all waterproof. I mounted this on some aluminum brackets I added to the unused passenger seat rails.
The Microsquirt case is mounted right in front of the tail light. Here, I cut away the existing plastic “wall” in the undertail and added threaded nylon mountings that I “Plastifixed” to the plastic. The Microsquirt has a watertight Ampseal connector that’s facing forward, which should make it fairly easy to add the necessary wires between the fuse/relay box and the controller.
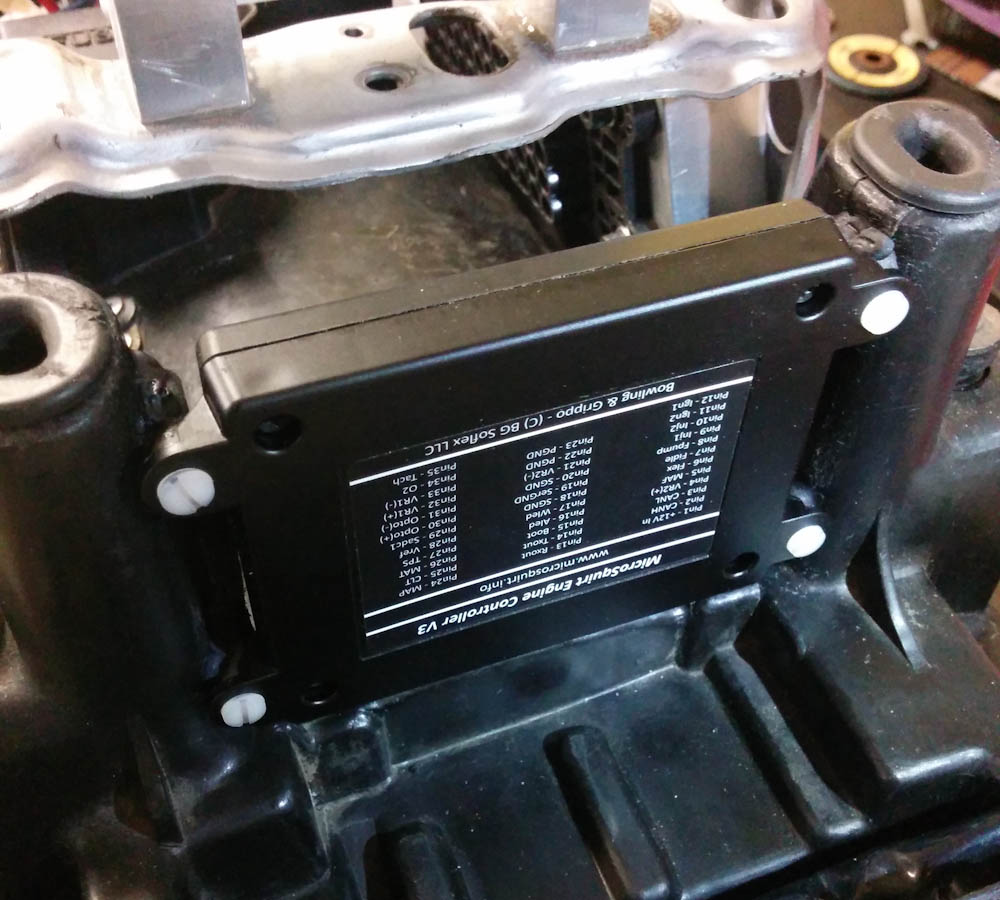
Here’s the Microsquirt mounted under the tail. The “hole” right below it is where the old ignition control unit was located.
Still needing to be added are the controllers for the wideband oxygen sensors (one each for the front and rear cylinder pairs), a home-made board that will contain the Bluetooth modem that will make it possible to connect the laptop to the engine controller without hooking up a wire, an Arduino that will send the oxygen sensor data to the engine controller, and the pressure sensors for barometric and manifold pressure. There’s also an ignition module that switches the high current to the ignition coils, but it needs to be mounted to a heat sink, so I think it should go closer to the ignition coils.
There’s quite a bit of stock wiring that needs to be replaced, but rather than do a hack job, I’m going to do a proper job of disassembling and modifying the stock wiring loom. It’s going to take a while to see this through, I think.
Pingback: Microsquirting the NC30, part #2 | Patrik's projects
Pingback: Back to the Kitchen Again – Cabinets – Patrik's projects