The house apparently never had a range hood. As someone who’d never seen a kitchen without a range hood until I moved to the U.S., this baffles me. Like there isn’t enough grease and crap that coats everything in the kitchen even with one. In any case, it had been on our list to install since moving in, and we even bought a Vent-A-Hood some time last spring. But since hooking it up involves cutting a hole in the wall of the house, I hadn’t quite worked up the courage to do it. My Dad however, had no such problems!
When my parents visited in October, one of the first things he wanted to do was install the range hood. Since it’s a single wall house, getting through the wall isn’t exactly difficult. A few pilot holes and the jig saw accomplished the job quickly.

Here’s Bengt and the hole in the wall for the range hood vent.
The hood just screws into the bottom of the cabinet, into which we had to cut a hole for the vent. But then a small complication arose: we’ve been wanting to strip the lead paint from the cabinets, and this wouldn’t be very easy after installing the hood. Thus, we decided to strip the old and add the new paint before mounting it. Because of drying time, that added two days to the project. It’s not exactly show room quality, but who’s going to look in the cabinet where the vent hood duct is located anyway?
The final product looks like this:
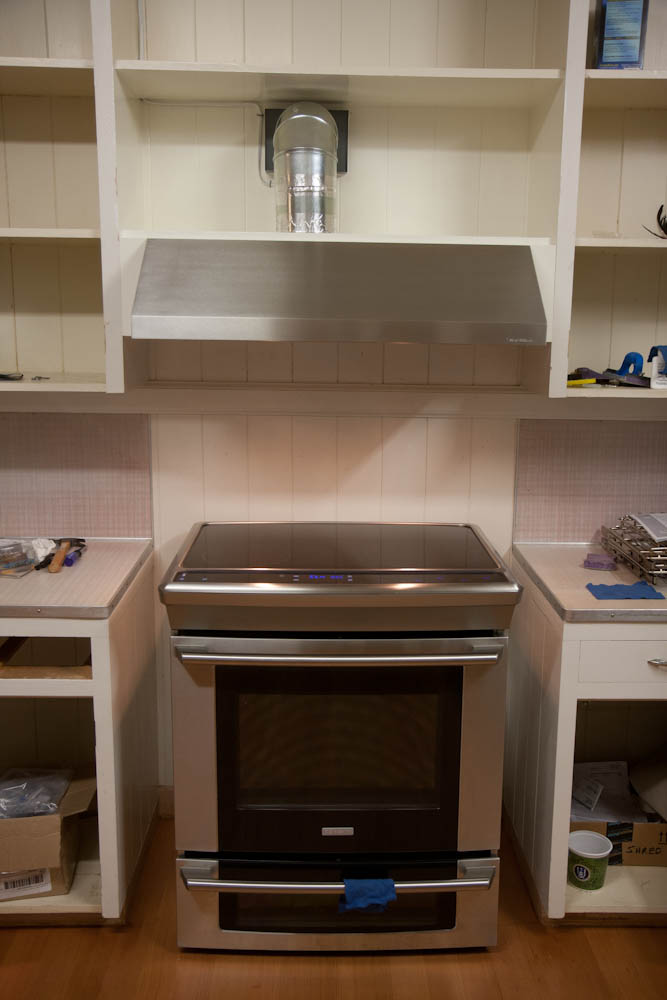
The final vent hood installation. It matches the range quite well.
Note the small cover pieces on each side of the hood. Since the hood is about 4″ narrower than the cabinet above, there would be narrow openings here. This was unacceptable to Bengt, so he manufactured cover pieces to go on the front and around the bottom of the hood. It looks much better, and it also prevents grease and crap from getting into that hard-to-clean space.
While the range was pulled out, we also took the opportunity to finally move the 50 amp outlet, which was mounted too high on the wall. There is a slot at the bottom of the range, but the outlet was about 1″ too high. Tilting it 90 degrees solved that problem, so now the range can also be slid in so it’s flush with the counter… or at least it will be once we’ve covered up the empty spaces on each side. That will have to wait for new counters.
So how is the Vent-A-Hood? It was quite expensive, but is it worth it? Yes. I’m intensely annoyed by loud kitchen fans, and it’s indeed quite quiet. It’s not quite at the level of my parents’ vent hood (which I think is an Electrolux) but it’s by far the most quiet I’ve used in the U.S.
We were initially disappointed, though, because it seemed really loud and didn’t even suck that well. After a week or so, I took the cover off and realized what the problem was. Apart from the big “flap” on the vent on the outer wall (the kind which is blown open by the outgoing air) there is a smaller, similar one on the inside at the perimeter of the centrifugal blower. This flap, which is on the removable cover, had been pinched against the mount and couldn’t open. So the blower was just sending the air spinning and it had nowhere to go!
Once this was rectified, the volume dropped significantly and the sound changed from “choked” to “free flowing”. Not only that, the air flow also increased a lot — before, the flap on the outside barely opened when the fan was running on full. Now it’s fully open even on the lowest setting!
So it’s good — but if you get one, beware of this little gotcha.
Oh, a bonus story: While crawling around in the attic for this project, I came across this perfectly preserved Gecko skeleton:
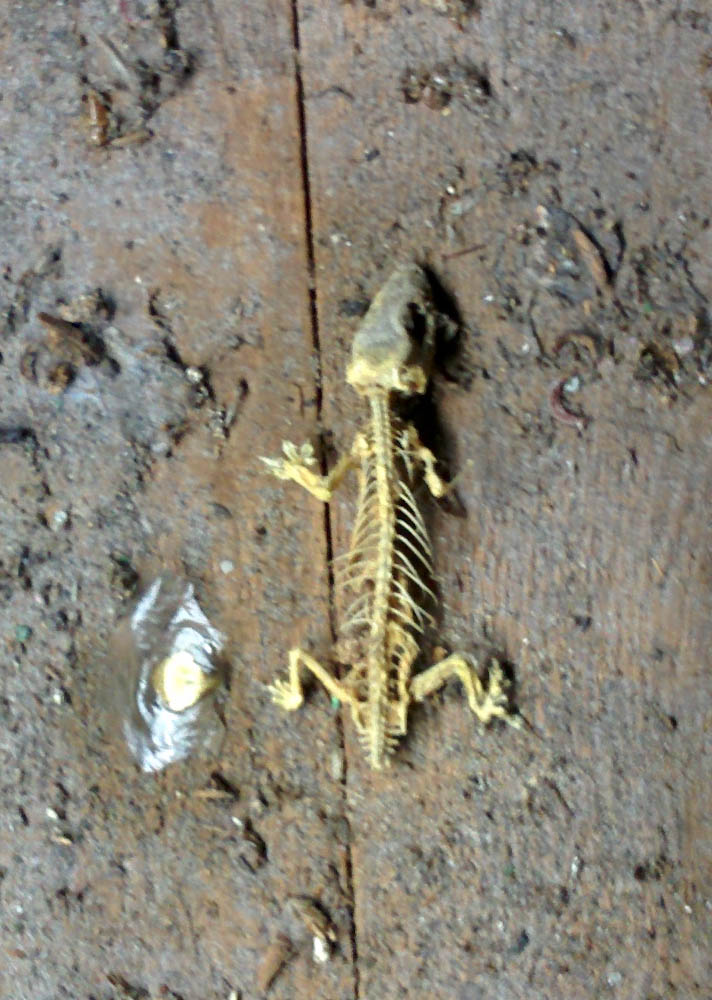
While crawling around the attic, I came across this. Yep, that is a perfectly preserved Gecko skeleton.