I’ve been thinking of getting a welder for a while now, it seems like one of these “generally useful” things. Finally, I bit the bullet, read a bunch of online reviews, and ordered an AlphaTig 200X TIG welder. This is pretty much the cheapest TIG welder you can get that can weld Aluminum, and while it may be cheap, it’s a capable machine.
While I had MIG welded a bit way back when I used to work summers at my Dad’s work at Birstaverken, I’d never used TIG before. TIG isn’t exactly the easiest or fastest way to weld, but the ulterior motive is that if any welding’s going to be useful for airplane work, it’ll be TIG. There are a bunch of useful videos on youtube, like the “Mr TIG” series and this guy’s videos.
Apart from there being a bunch of terminology to learn, you also need Argon. Predictably, Argon in Hawaii is a scarce resource and a good-sized bottle runs over $200 for a fill. Then you need the bottle, of course, which was about $250 alone. The cost of the welder may actually not be the largest part in this hobby…
Anyway, the first obstacle anyone learning to weld encounters is that you need something to weld on. While I have a few workbenches, none are made out of metal so they can’t really handle the heat of being welded on. Well, what better way to get started than to weld up my own table? I found the local steel yard and picked up some angle iron and a 1/4″ plate for the top.
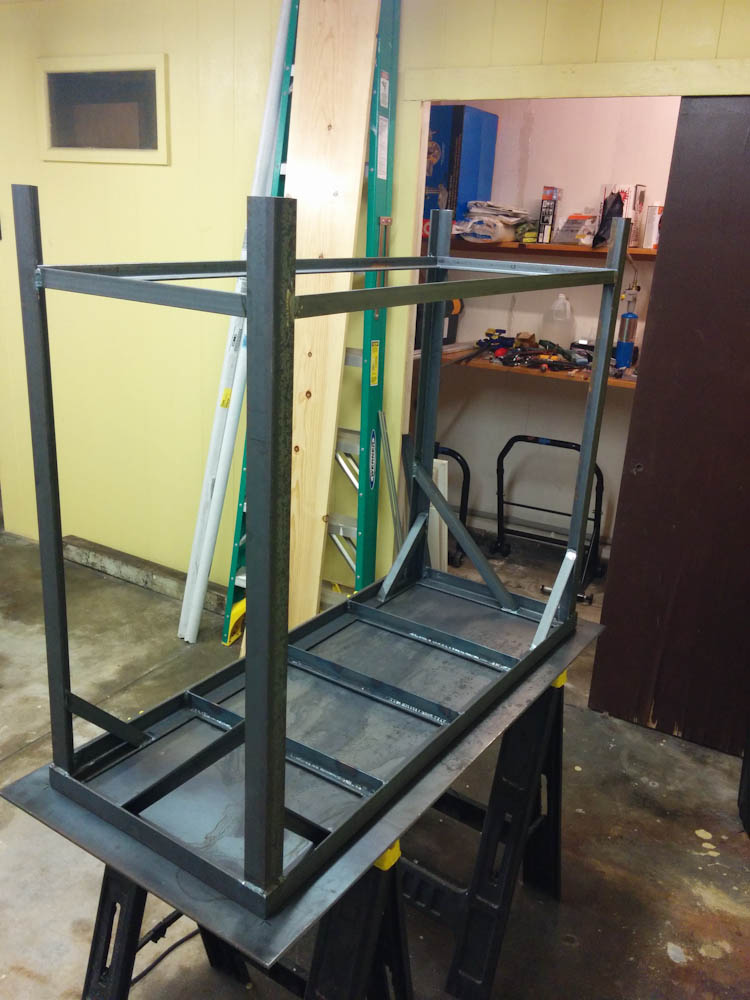
Here, the table is almost complete, and the top is being welded to the frame.
The other thing you need to do if you want to work with metal is cut it. Using a hack saw and angle grinder wouldn’t quite do it at this scale, so I invested in an Evolution Rage mitre saw that can cut anything from wood to steel. The cut is very clean and with a little care the angle can be adjusted to make very square cuts.
Anyway, I can’t say the welds were all pretty, especially inside corner and butt joints were a challenge. But the table came together and serves its purpose!
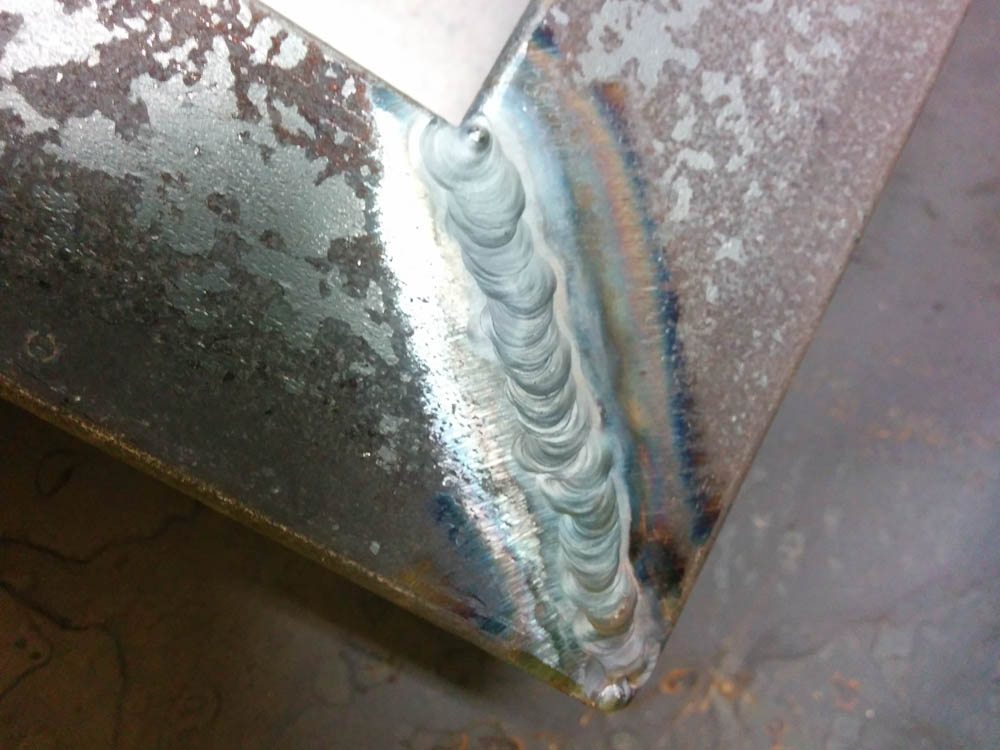
The welds don’t look too bad. I’m not showing the butt joints, though!

The final product, with paint. The top is not painted since it needs to be conductive.
My next welding project is going to be a rack for parts storage, in Aluminum. More on that later.
Dang man! For first ever tig welds you are killing it! Keep up the practice and it will get easier and easier. Oh and then you start aluminum … and it starts over again!