This may be going about it backwards, but the first thing I built for the weatherstation was the antenna for the Xbee radio that would send the data to our server. I had been reading about various antenna designs in connection with the one I built for the ADS-B receiver, and one design was a simple corner cube reflector design by YU1AW that’s designed for 2.4GHz, has very high directional gain, and is easy to make. Since this would be perfect for a point-to-point connection like sending data from the weatherstation to the server, I decided to make one of these.
The idea is simple, make a corner out of copper sheet, mount a radiator on one side, and for better impedance matching, add another, parasitic, element next to it. A didn’t have a large enough copper sheet to make the antenna the full length of the design, so I decided to accept slightly lower gain to fit it on my 24″ copper sheet.
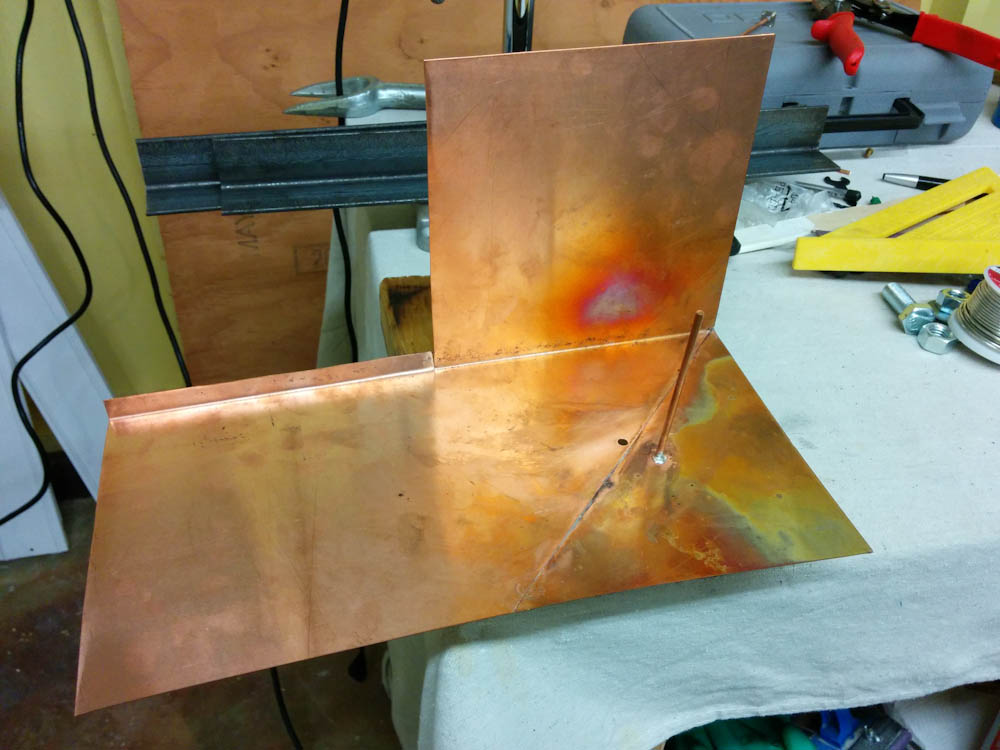
Step one is to cut out the copper sheet and bend it to form a cube. The parasitic element as already been soldered to the bottom face.
Bent into shape, the corner is ready for soldering. The solder across the bottom face is my “repair job” after prematurely cutting that side in half. The hole just behind the parasitic element is where the radiating element will go.
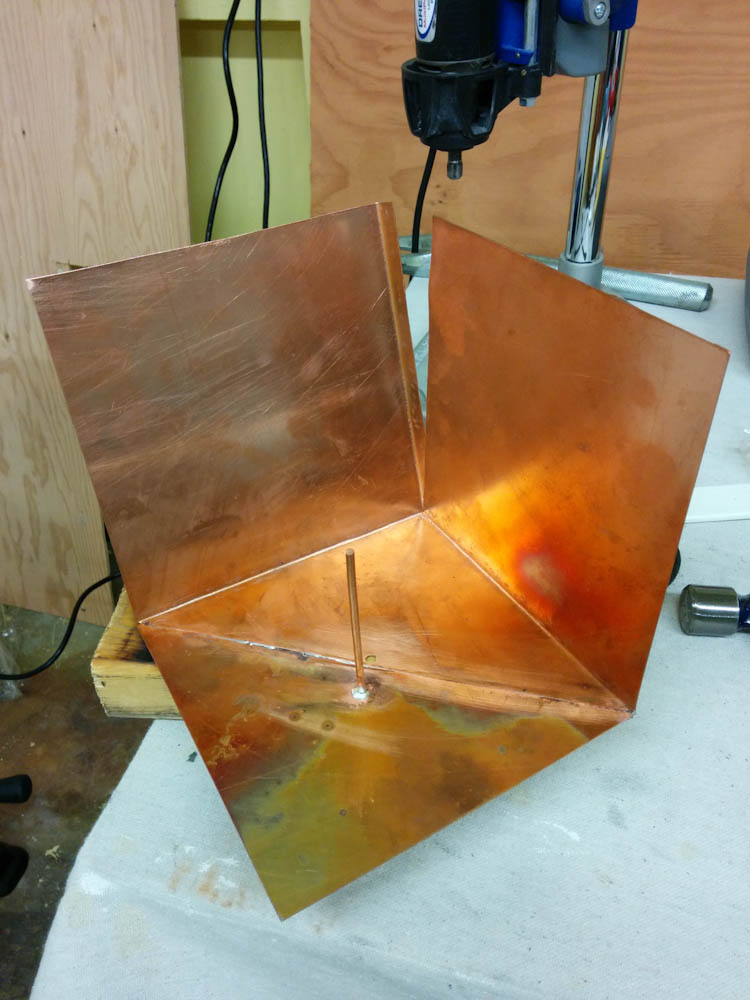
To get good electrical conductivity across the joined edge, it is soldered the entire length.
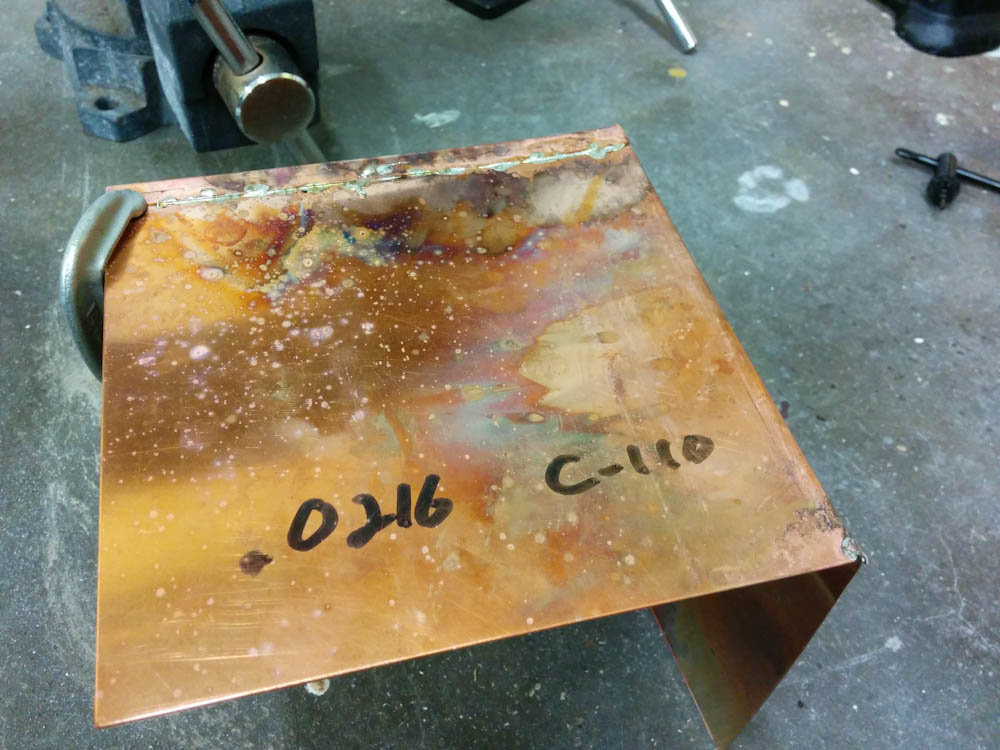
Soldering the copper wasn’t that hard, but getting it to look good is. You need a propane torch to get enough heat, and the heat from the flame tends to burn the flux paste so it turns into this dark, gooey stuff. And then you get little drops of solder in various places. But whatever, we’re looking for functionality, not form!
The last thing to do was to solder the radiating element to the SMA connector and mount it on the antenna. The connector is pretty small, so it was a bit fiddly to get it attached with a solid connection to the copper. Then I glued two U-clamps to an aluminum profile on the back so it could be mounted to the pipes that make up the frame of our “greenhouse” where the weather station is going. The end result looks like this:
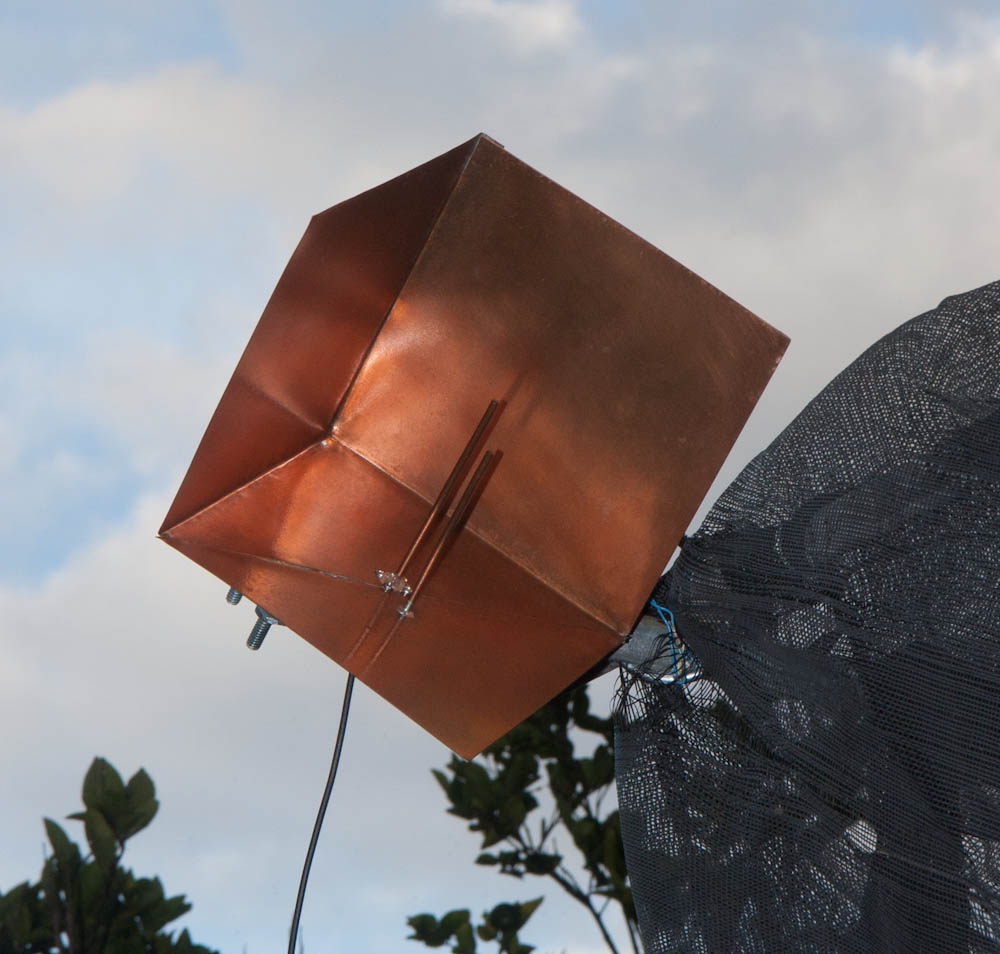
Here’s the corner cube antenna mounted on the greenhouse frame.
I haven’t made any quantitative measurements of the gain, but empirically it works very well. I also have a little detachable RP-SMA dipole antenna (basically like the radiator element on the corner cube by itself) and I would have sketchy reception at various places in the house with it. There was no reception at all at the outside location where the weather station sits (about 100ft away from the other radio on the server), but with the corner antenna the reception is rock solid. The opening angle is also quite wide, I’ve not had to take any special care in aiming it. All in all, quite a successful result.
In the next post, I’ll talk more about the weather station electronics.
Pingback: Weatherstation #3 – the hardware | Patrik's projects